- 05 Mar 2024
- 6 Minutes to read
- Print
- DarkLight
- PDF
Scripting extension overview
- Updated on 05 Mar 2024
- 6 Minutes to read
- Print
- DarkLight
- PDF
The scripting extension can streamline your workflows when you want to modify field information, add multiple records at once, filter with complex criteria, and more. With the introduction of script templates, any user - even without technical knowledge - will be able to leverage the power of the Scripting Extension by installing pre-built scripts from our extensions marketplace created by Airtable and members of Airtable’s growing community.
Introduction
All paid plans | |
| |
Platform(s) | Web/Browser, Mac app, and Windows app |
Related reading | |
Extension - Extensions are modular components that add visuals or functionality to a base, and were shown in the base's dashboard. Users can create custom extensions, or they can use extensions created by Airtable or other open-source extensions. |
Getting started with the scripting extension
Once you have added the scripting extension to a dashboard in your base, the extension will open up in edit mode with three panes. If you are not able to add the scripting extension, your organization may have restricted the use of the scripting extension for your account.
Any user can press the Run button in a scripting extension, however, the scripting extension respects the permission level of the user running the script.
For example, if a certain line of code were to "update a record" or "create a record," then the user running the script would need to have corresponding permission levels, in this case, creator-level permissions, in order to successfully run the script. If the user does not have those permissions, then the scripting extension will throw an error code.
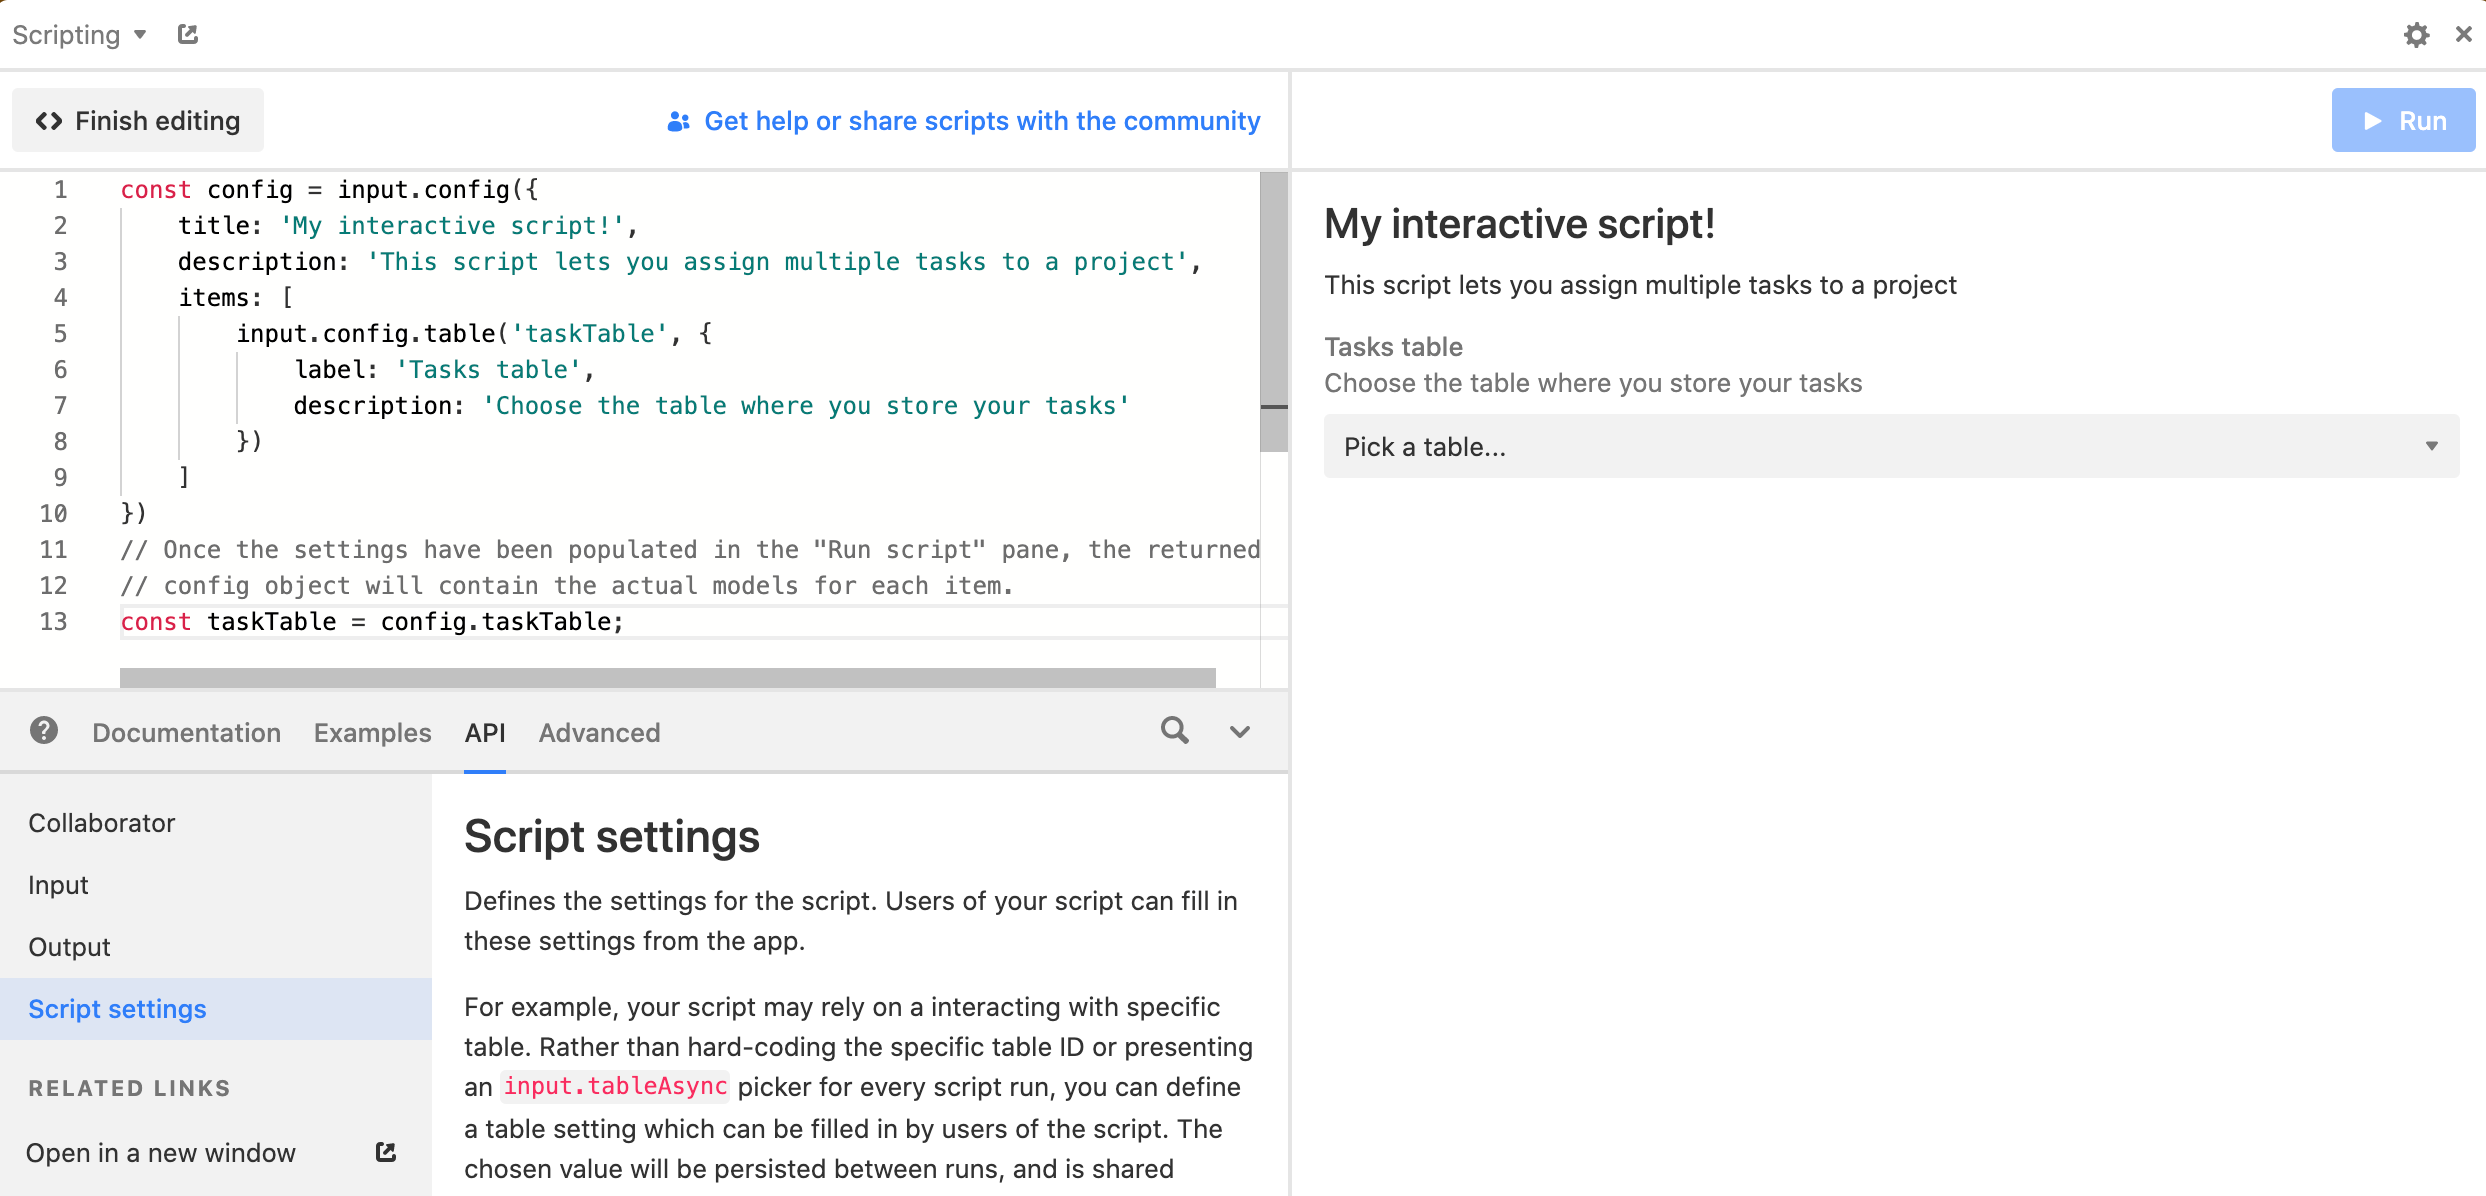
In the top left is the code editor where you write your script in Javascript. Below that, is the in-app reference for the scripting extension if you are looking for examples and help. The result pane on the right half of the extension displays the output of your code.
Adding a script from the extensions marketplace
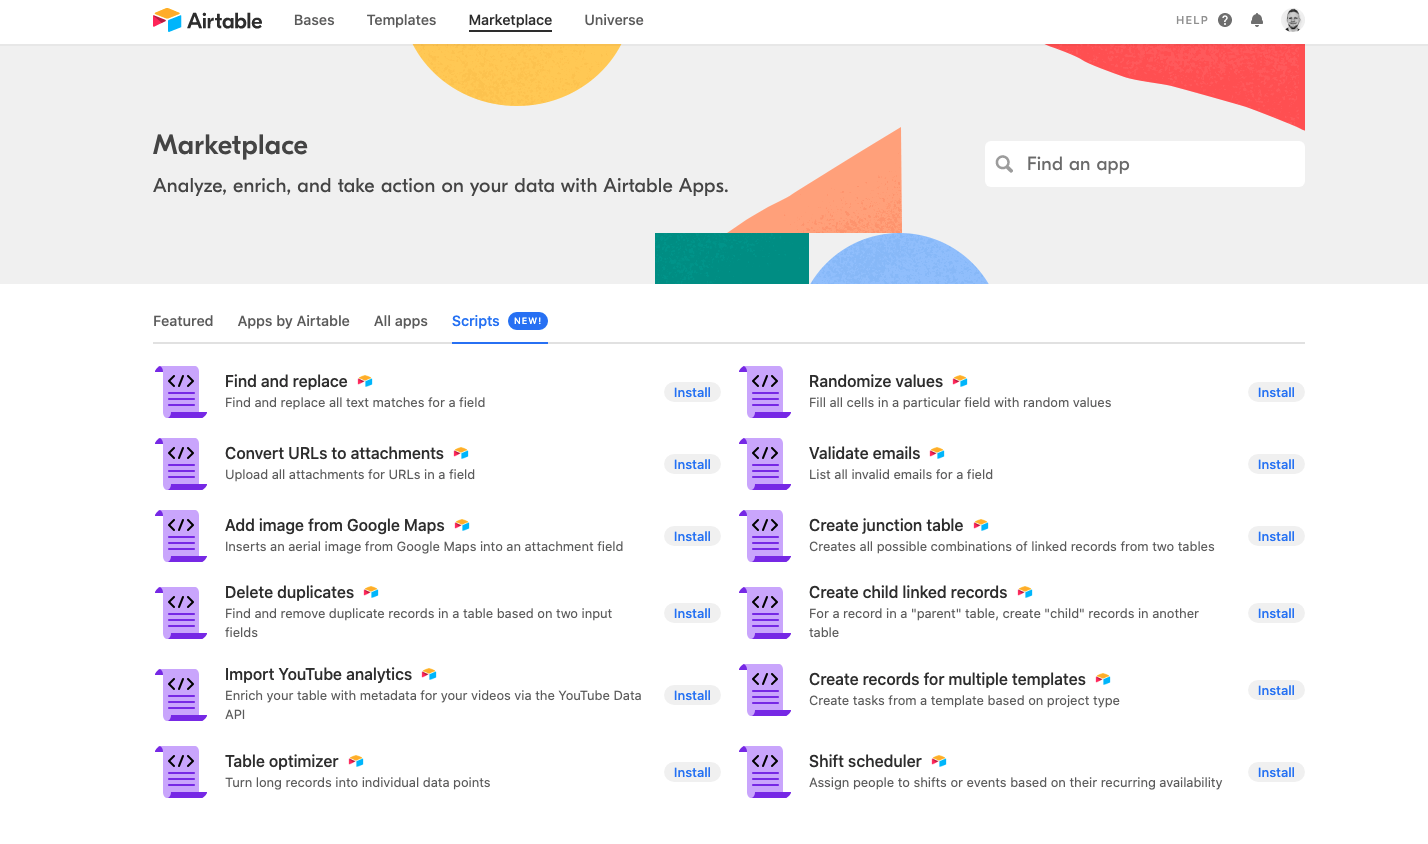
You can install pre-built scripts from our extensions marketplace. Start by visiting the scripts section of the marketplace and browsing through the available script templates.

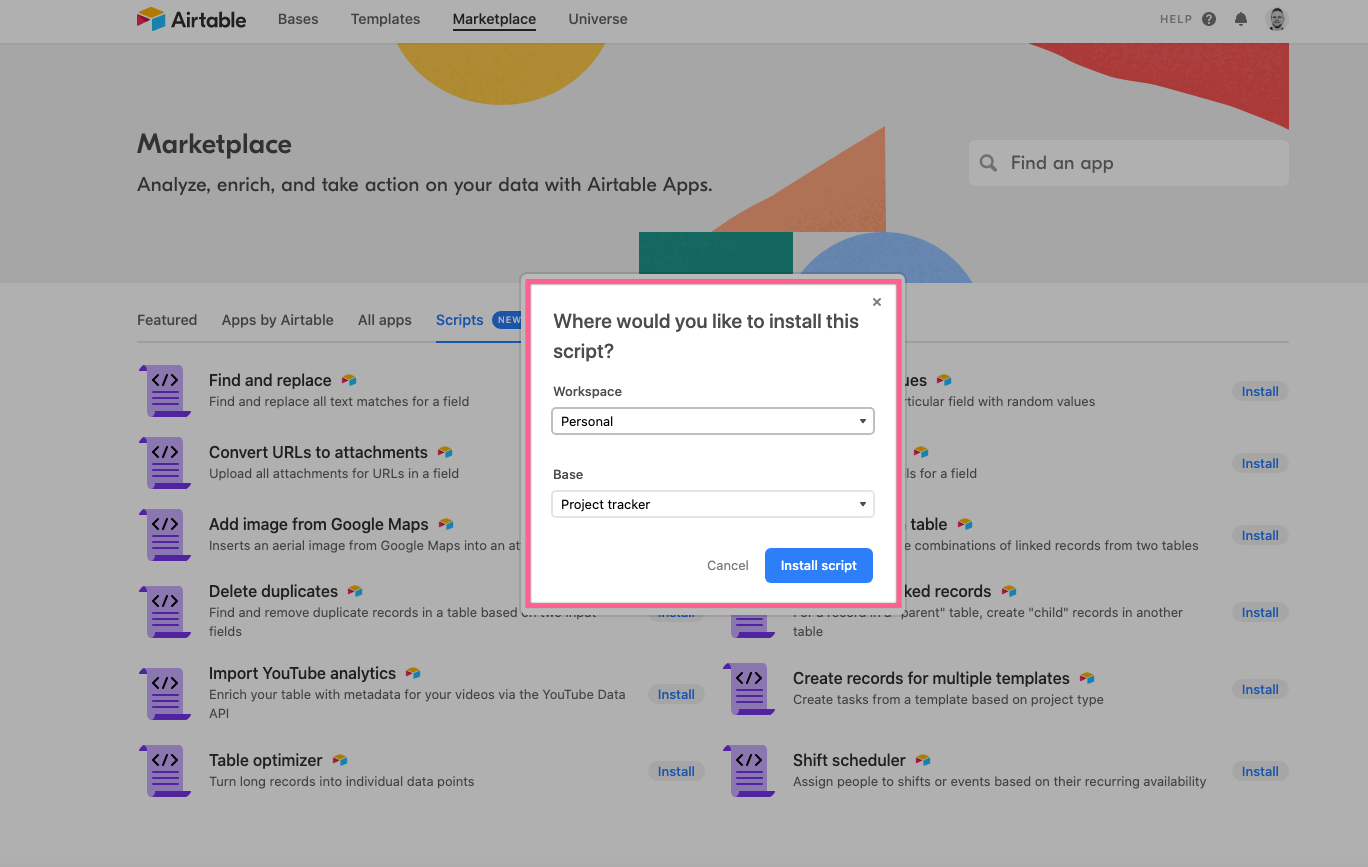
When you find one you'd like to install, click the "Install" button. You'll then be given an option for which base you'd like to install the script on.

Add your own custom script
To get started with developing your own custom script, view our developer documentation here.
Running a script
To run a script, click the "Run" button in the right-hand results pane. If you need to stop the executing script at any time, you can click the red "Stop" button in the upper right. Once the script is complete, you have the option to run it again using the "Run" button.
Script Settings
Using script settings, you can enable an interactive UI to make your script more user-friendly and easily customizable. Rather than hard-coding table names or field names, you can add an interactive UI to configure settings for the script.
Getting started with script settings
To get started with script settings, add a call to input.config() at the beginning of your script, and follow the in-app documentation (under API -> Script Settings) in the scripting extension code editor. You can also access the documentation and see more examples here.
 As you update your code in
 input.config(), the UI in the right-hand pane will update accordingly. Settings can be defined for tables, fields, views, text, numbers, and select options. After the settings have been configured in the interactive UI, the object returned from input.config() will contain the actual models for these items that can be referenced later in your code. When running a script with script settings enabled, the settings panel needs to be fully populated before the "Run" button is enabled.
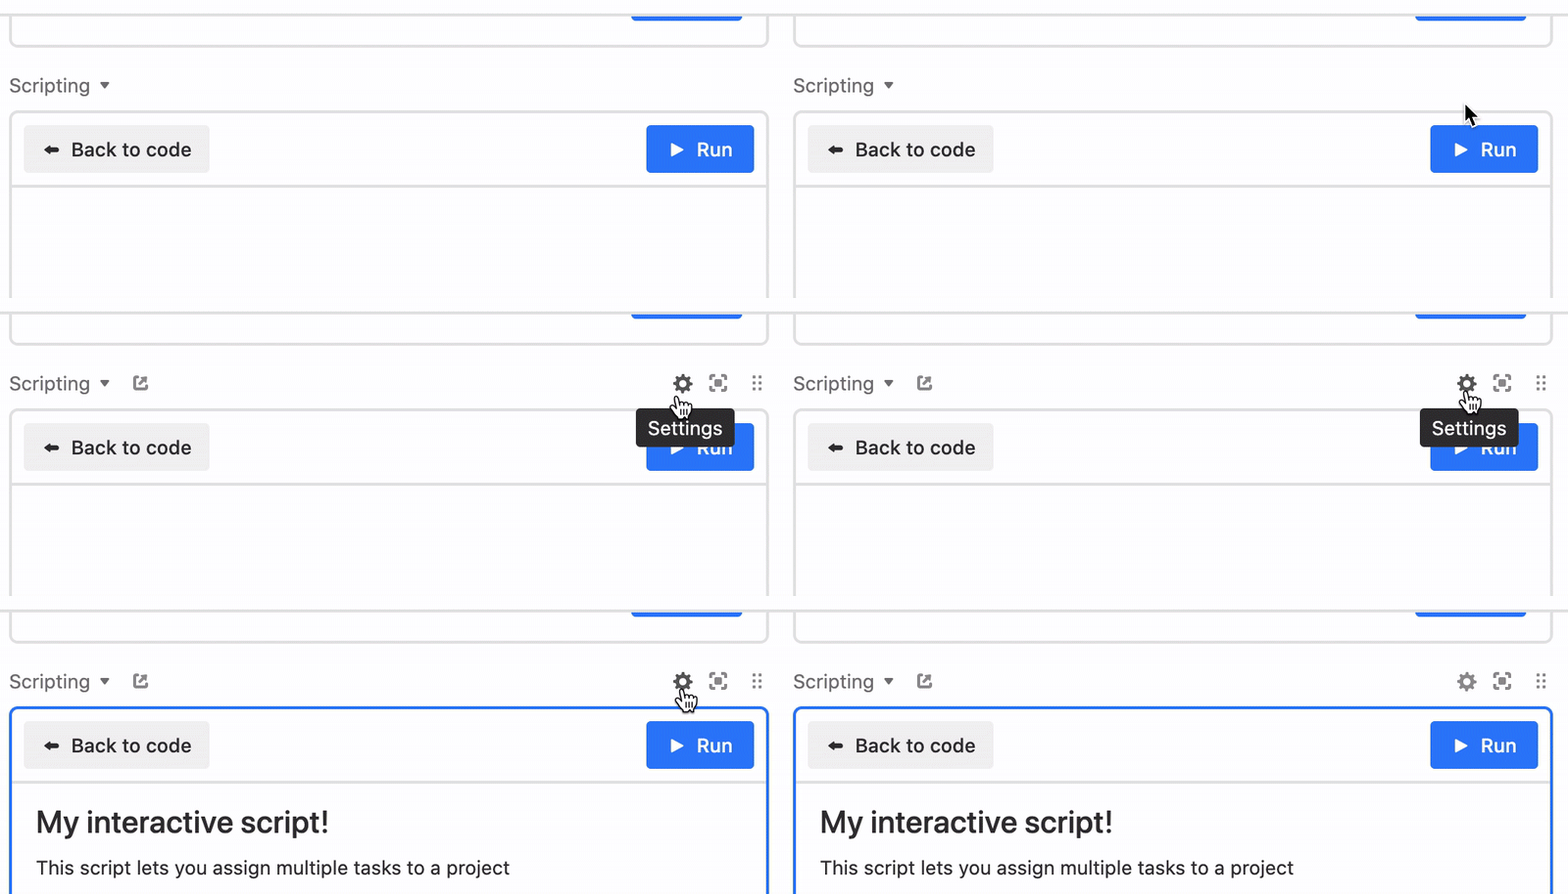
After settings are configured from the UI, the values chosen will persist between runs and are shared between all collaborators. To re-configure the script settings, simply click the settings icon:

NoteLooking for example scripts and general coding assistance? Check out the scripting extension section in our community forum.
Scripting extension code editor
More information about the code editor
The scripting extension includes a robust, built-in code editor. You can switch to the edit mode by clicking the "Edit" button in the upper left of the extension. When you are done writing code, you can exit by clicking the "Finish editing" button. In edit mode, the extension will expand to fit the current window (note the image below shows a very small window to best show the switching to edit mode).
The code editor is built on Monaco, an open-source component managed by Microsoft. If you have used Visual Studio Code in the past, some of the functionality of the scripting extension code editor will be very familiar.
Intellisense
Shortcuts (see below)
Syntax highlighting
Collapse and expand nested code
Common shortcuts
Cmd c | Copy code |
Cmd x | Cut code |
Cmd v | Paste code |
Cmd a | Select all code |
Cmd z | Undo last action |
Shift Cmd v | Redo last action |
Cmd f | Find |
Assistance from the Airtable Community
For real-world examples, you can't beat the scripts found in the scripting extension section of the community forum. Along with the examples posted, there are tips and tricks from others who had the same questions and posted their learnings for others to benefit.
NoteIf you are a developer, then you will likely find our scripting overview page helpful.
Adding an example script from the in-app docs
Within the in-app documentation are several example scripts. You can view scripts that demonstrate how to load records, modify records with find and replace, and many other common workflows by navigating to the Examples section. There are also example scripts within the main API reference section.
Each script example can be run using records from your existing base so you can preview what the code will do. The examples are generated using the tables from the base you are in. In the below script, the table named "Artists" was included in the script. To view the results, you can click the "Run" button. Because some examples modify your record values, you may want to create a copy of your base to try out these sample scripts.
If the code outputs a result, it will be viewable in the far right pane.
If you would like to use and modify the example code, you can copy it to your code editing pane by clicking the copy button.
Understanding scripting timeouts
When writing complex scripts, you may run into timeout issues. In these instances, you can try the following methods to improve the script that may prevent scripting timeouts:
.selectRecordsAsync()calls are very taxing. Where possible, use.selectRecordsAsync()which will call a single record instead of all of the records.If
.selectRecordsAsync()is absolutely necessary, use a view (e.g. “view.selectRecordsAsync()”) and/or field parameters to improve the call. Returning fewer fields or inheriting filters from a view will return fewer records and thus improve the call.Calling external APIs can be unpredictable. If your script is calling multiple APIs with
fetch(), then try splitting these calls into multiple scripts rather than including them all in a single script. This will help spread out the time thus reducing timeouts.
NoteCreating multiple script actions in Automations can often help avoid timeouts. Output.set() can be used to pass values from one script step to another where needed.
FAQs
How can I trigger a script automatically?
The scripting extension only executes when you click the run button. If you're interested in writing a script that will run on a certain trigger, check out the Run a script action.
I need a bigger screen for my code.
Minimize the in-app docs by clicking the down arrow.
Can single-select or multi-select field option names and/or colors be updated with a script?
Yes, the scripting extension (note, this is ONLY available in the scripting extension, not in Automations nor via the Airtable Web API) includes a method .updateOptionsAsync() that can be used to update the names and colors of select options. You can learn more about the method here and how to do it for specific field types (like single select) here.

