Airtable sync integration: Zendesk
- 17 Apr 2024
- 3 Minuten zu lesen
- Drucken
- DunkelHell
- pdf
Airtable sync integration: Zendesk
- Aktualisiert am 17 Apr 2024
- 3 Minuten zu lesen
- Drucken
- DunkelHell
- pdf
The content is currently unavailable in German. You are viewing the default English version.
Article Summary
Share feedback
Thanks for sharing your feedback!
Plan availability | Business and Enterprise Scale access only |
Permissions | Owners/Creators - To create or update synced tables, you'll need to have creator permissions in the base where you are setting up the sync. |
Platform(s) | Web/Browser, Mac app, and Windows app |
Related reading |
|
Setting up a Zendesk sync
Airtable Sync integration allows you to bring information from external tools into a single, centralized table within Airtable. This article covers how you can sync ticket information from a particular Zendesk view that you have set up to create a synced table in a base.
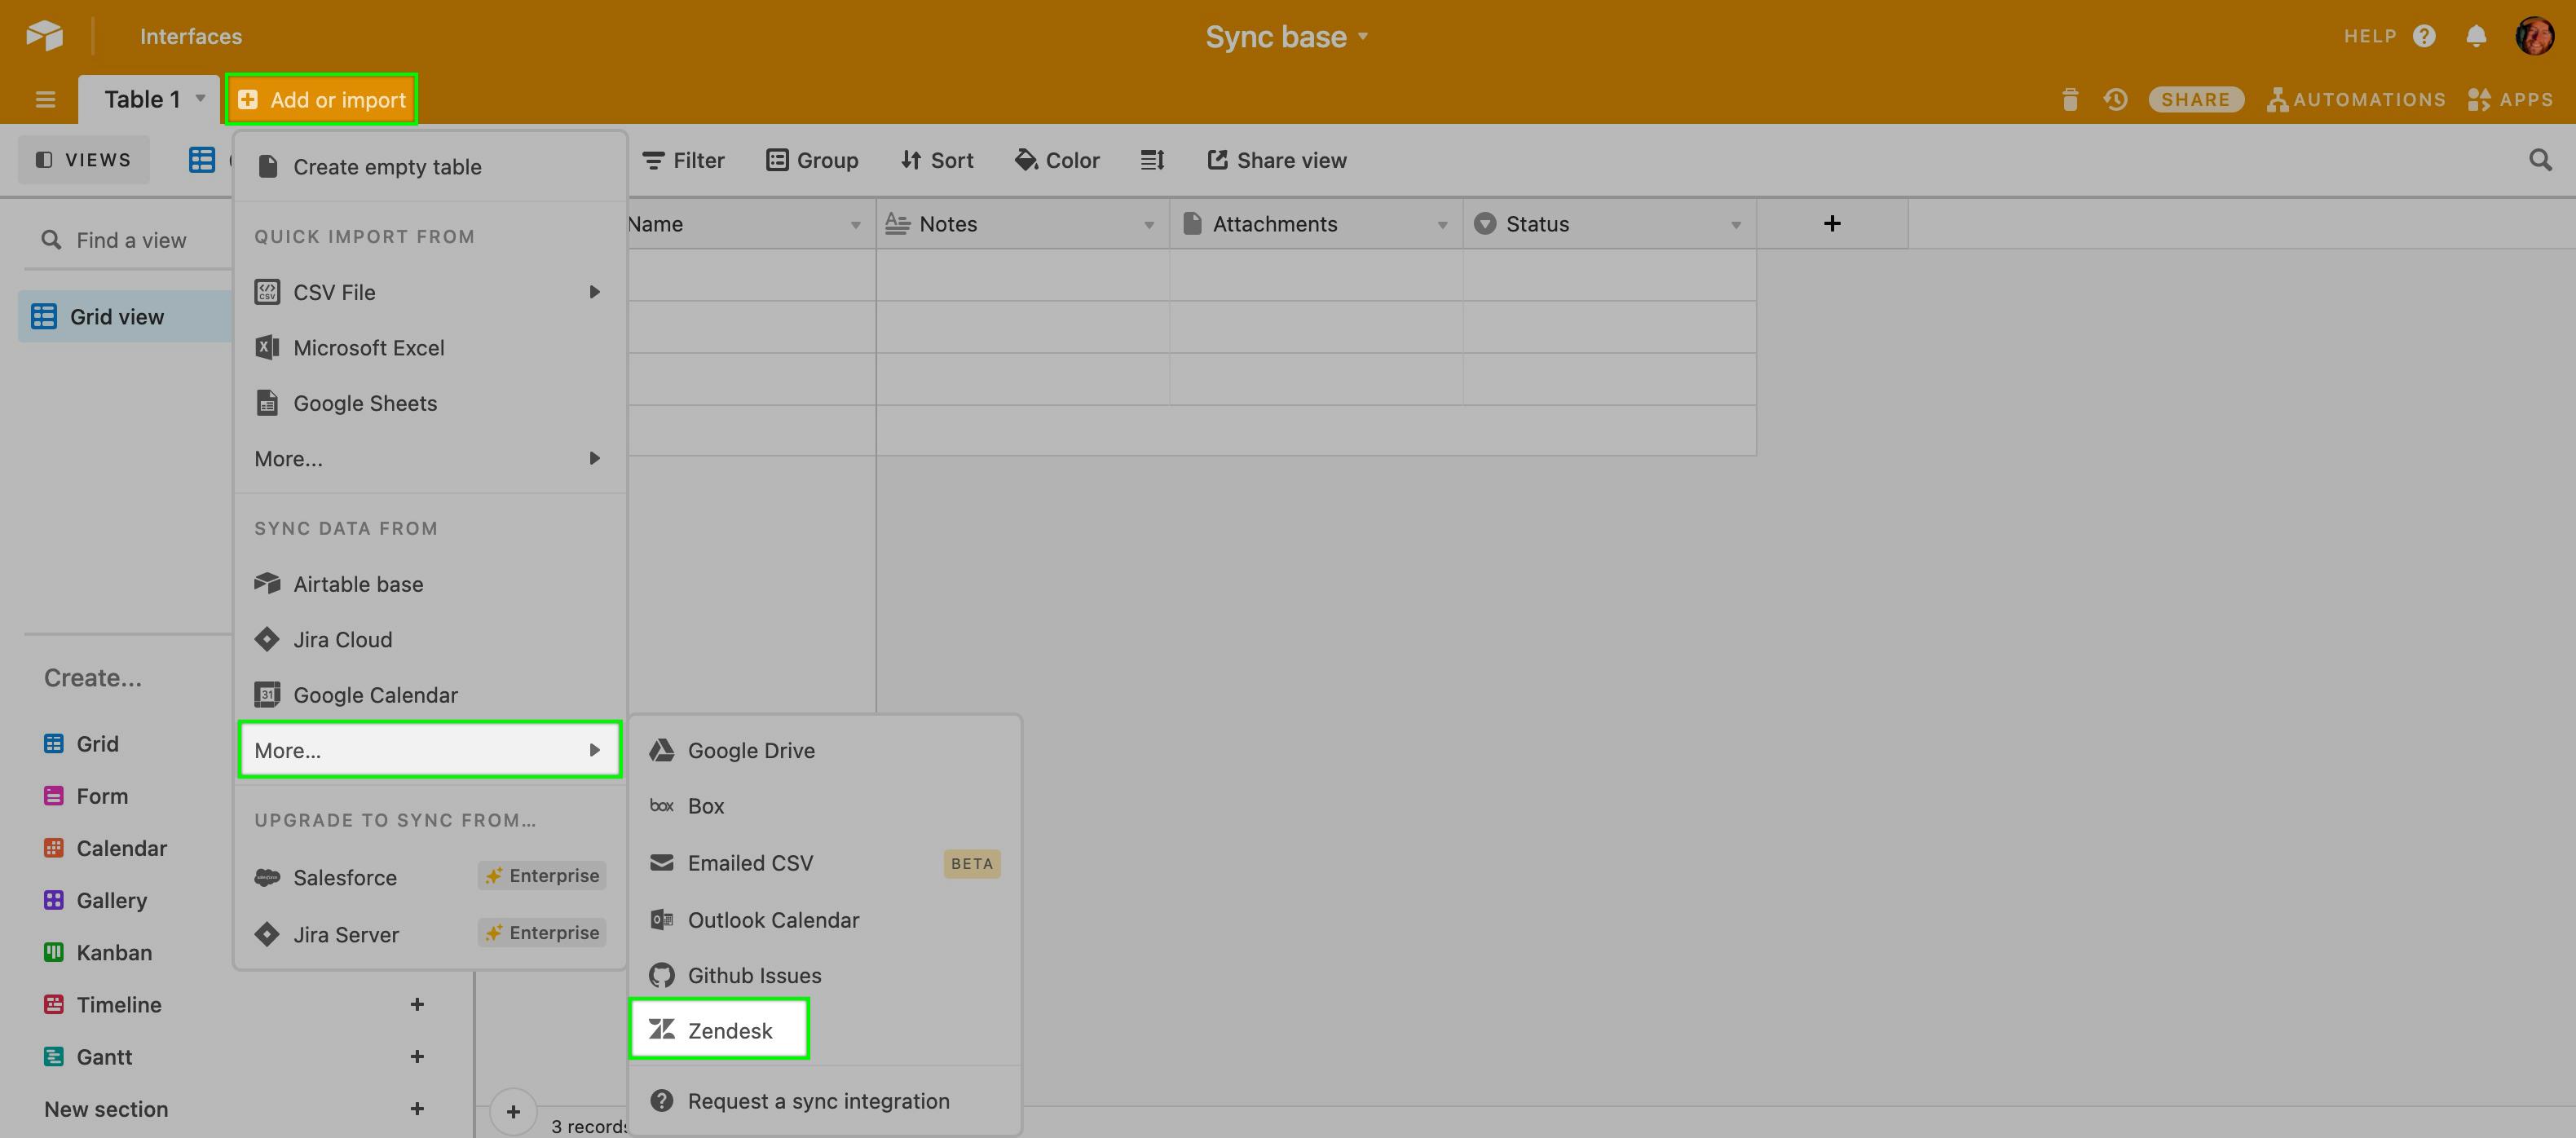
Step 1: Add a new synced table
You can find the option to sync with Zendesk by pressing the “+” button next to the table furthest to the right in your base.
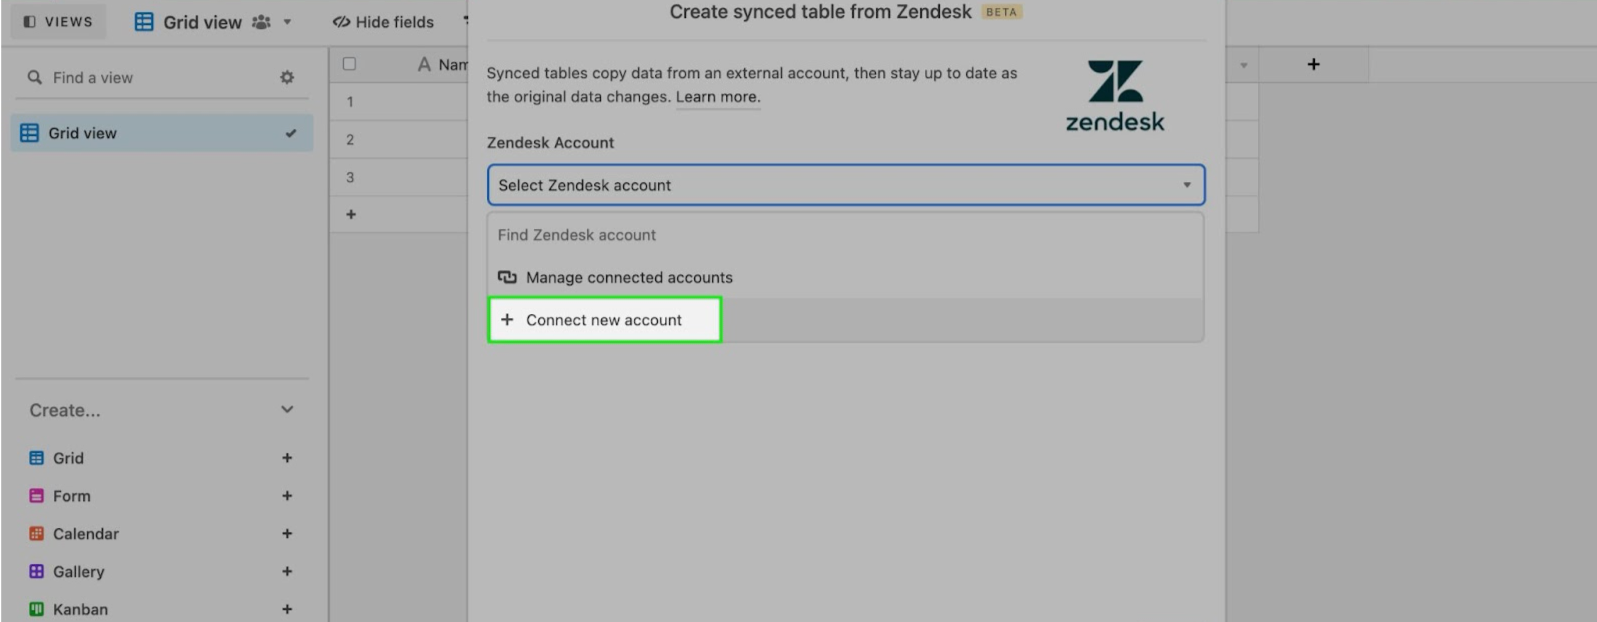
Step 2: Select Zendesk account
Next up, if this is the first time you are connecting your Airtable account with Zendesk, then you will need to press the “+ Connect new account” button.
This will bring up a new window where you will enter your company’s Zendesk subdomain. For the example below, we use Airtable, since that is our subdomain.
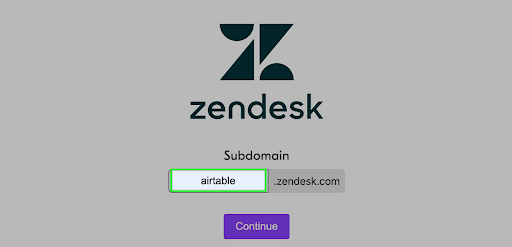
We use OKTA for user authentication at Airtable. Depending on your company’s sign-in processes you may need to enter your Zendesk username and password.
Next up, if this is the first time you are connecting your Airtable account with Zendesk, then you will need to press the “+ Connect new account” button.
This will bring up a new window where you will enter your company’s Zendesk subdomain. For the example below, we use Airtable, since that is our subdomain.
We use OKTA for user authentication at Airtable. Depending on your company’s sign-in processes you may need to enter your Zendesk username and password.
Step 3: Select a view to sync
After successfully connecting to your Zendesk account you should see a list of all of the views that you have set up within Zendesk. Pick a view that you are looking to sync into Airtable and click “Next.”
Step 4: Select fields to sync
After clicking next, you’ll be presented with two sync options; you can sync:
All fields from the Zendesk source view, including any fields added to that Zendesk view in the future.
Specific fields from the Zendesk source view. (Default)
For the Zendesk sync option, field selection will default to the “Specific fields in source view…” option with the 13 common field types within Zendesk automatically toggled on.
1. Subject | 6. Priority | 10. Via |
2. Status | 7. Created | 11. Tags |
3. Assignee | 8. Updated | 12. Followers |
4. Description | 9. Requester | 13. ID |
5. Type |
Additionally, you’ll be shown a menu where you can toggle each individual field that you want to sync from the Zendesk view that you’ve chosen.
Step 5: Create a synced table
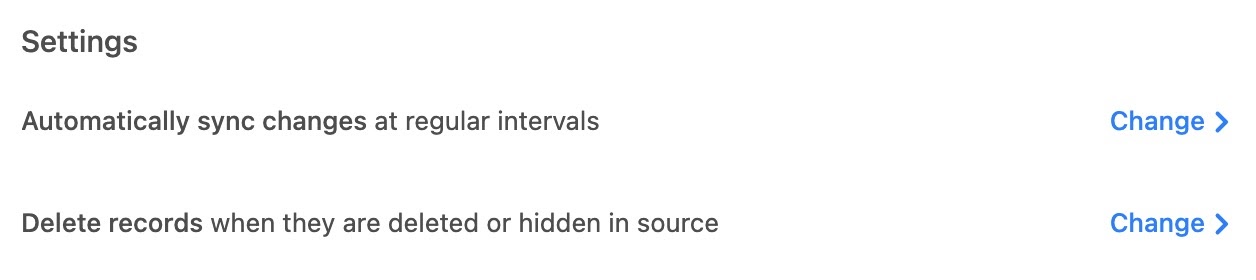
Before creating your synced table, there are “Settings” options that allow you to choose how often you want to sync, and how to handle deleted or hidden fields in the Zendesk view source.
The frequency of syncing. The options are manual syncing and automatic syncing which happens around every 15 minutes.
Whether or not deleted fields in Zendesk should be removed from the Airtable table. By default, deleted rows will be removed.
FAQs
Are there any limitations to be aware of for this sync integration?
Due to how the Zendesk API works, we can only show the oldest 1000 views a user has access to. If you are unable to see a particular view, this may be the reason why.
The maximum number of records that can be synced is 10,000 by default. This is a limit that we impose to ensure reasonable performance. There is no way to "batch" a sync, it is all or nothing. This means that any Zendesk view connected in this sync that contains more than 10,000 will be incompletely synced. As a workaround, if you can batch Zendesk views into 10,000 tickets a piece, then you can sync each view as a different table in Airtable. Remember that your plan's record limits per base will come into play here as well.
What happens if the user who set up the sync becomes deactivated/deleted?
The sync will stop working and will require a different user to reconnect or set up a similar sync integration under their own login information.
War dieser Artikel hilfreich?