Building custom Airtable form URL filters using ENCODE_URL_COMPONENT
Last updated: October 6, 2026
Plan availability | All plan types |
Platform(s) | Web/Browser, Mac app, and Windows app |
Configuring bases in Airtable
Let's say that you're on a recruiting team for a growing business, and need to hire for a few key roles. You can use an Airtable form to collect information from job applicants, but you have a few prospects in mind that you'd love to hire. Sending a prefilled form their way can save them some time filling out the form and create a positive first experience for your company.
Starting with the grid, you'll want to create a few key fields to track information. We'll track the Role / Title of the position you want to hire for, as well as the names of prospective hires. On the form, the applicant will have a space to write out why they're the best fit for the role.
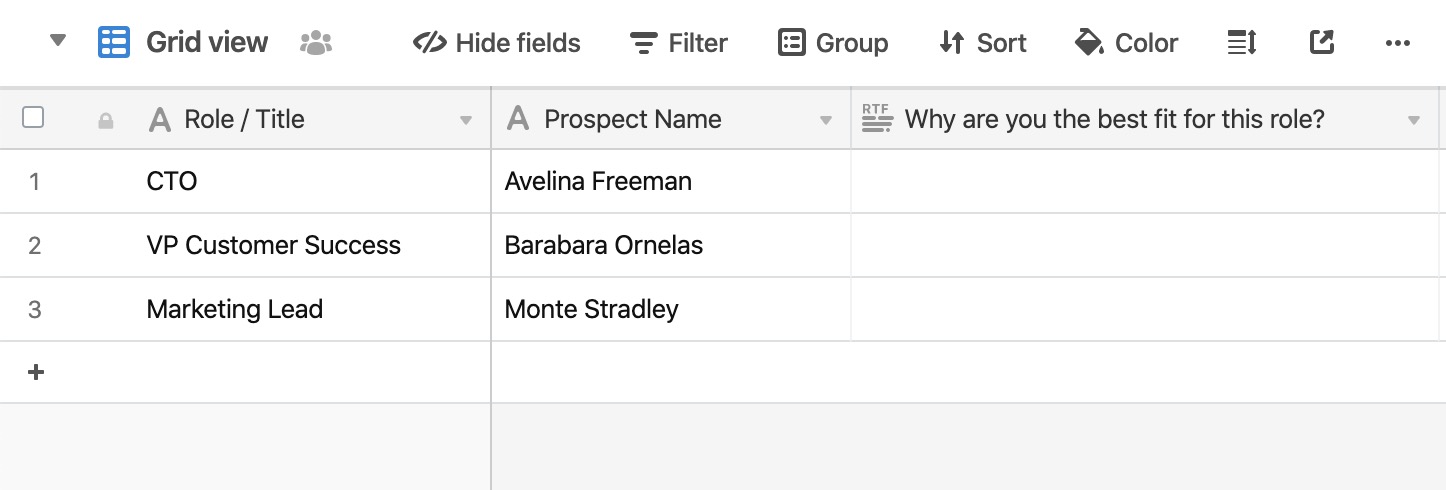
Once the fields are created, add a form view to the table.

The same fields created in the grid view are now available as form fields.
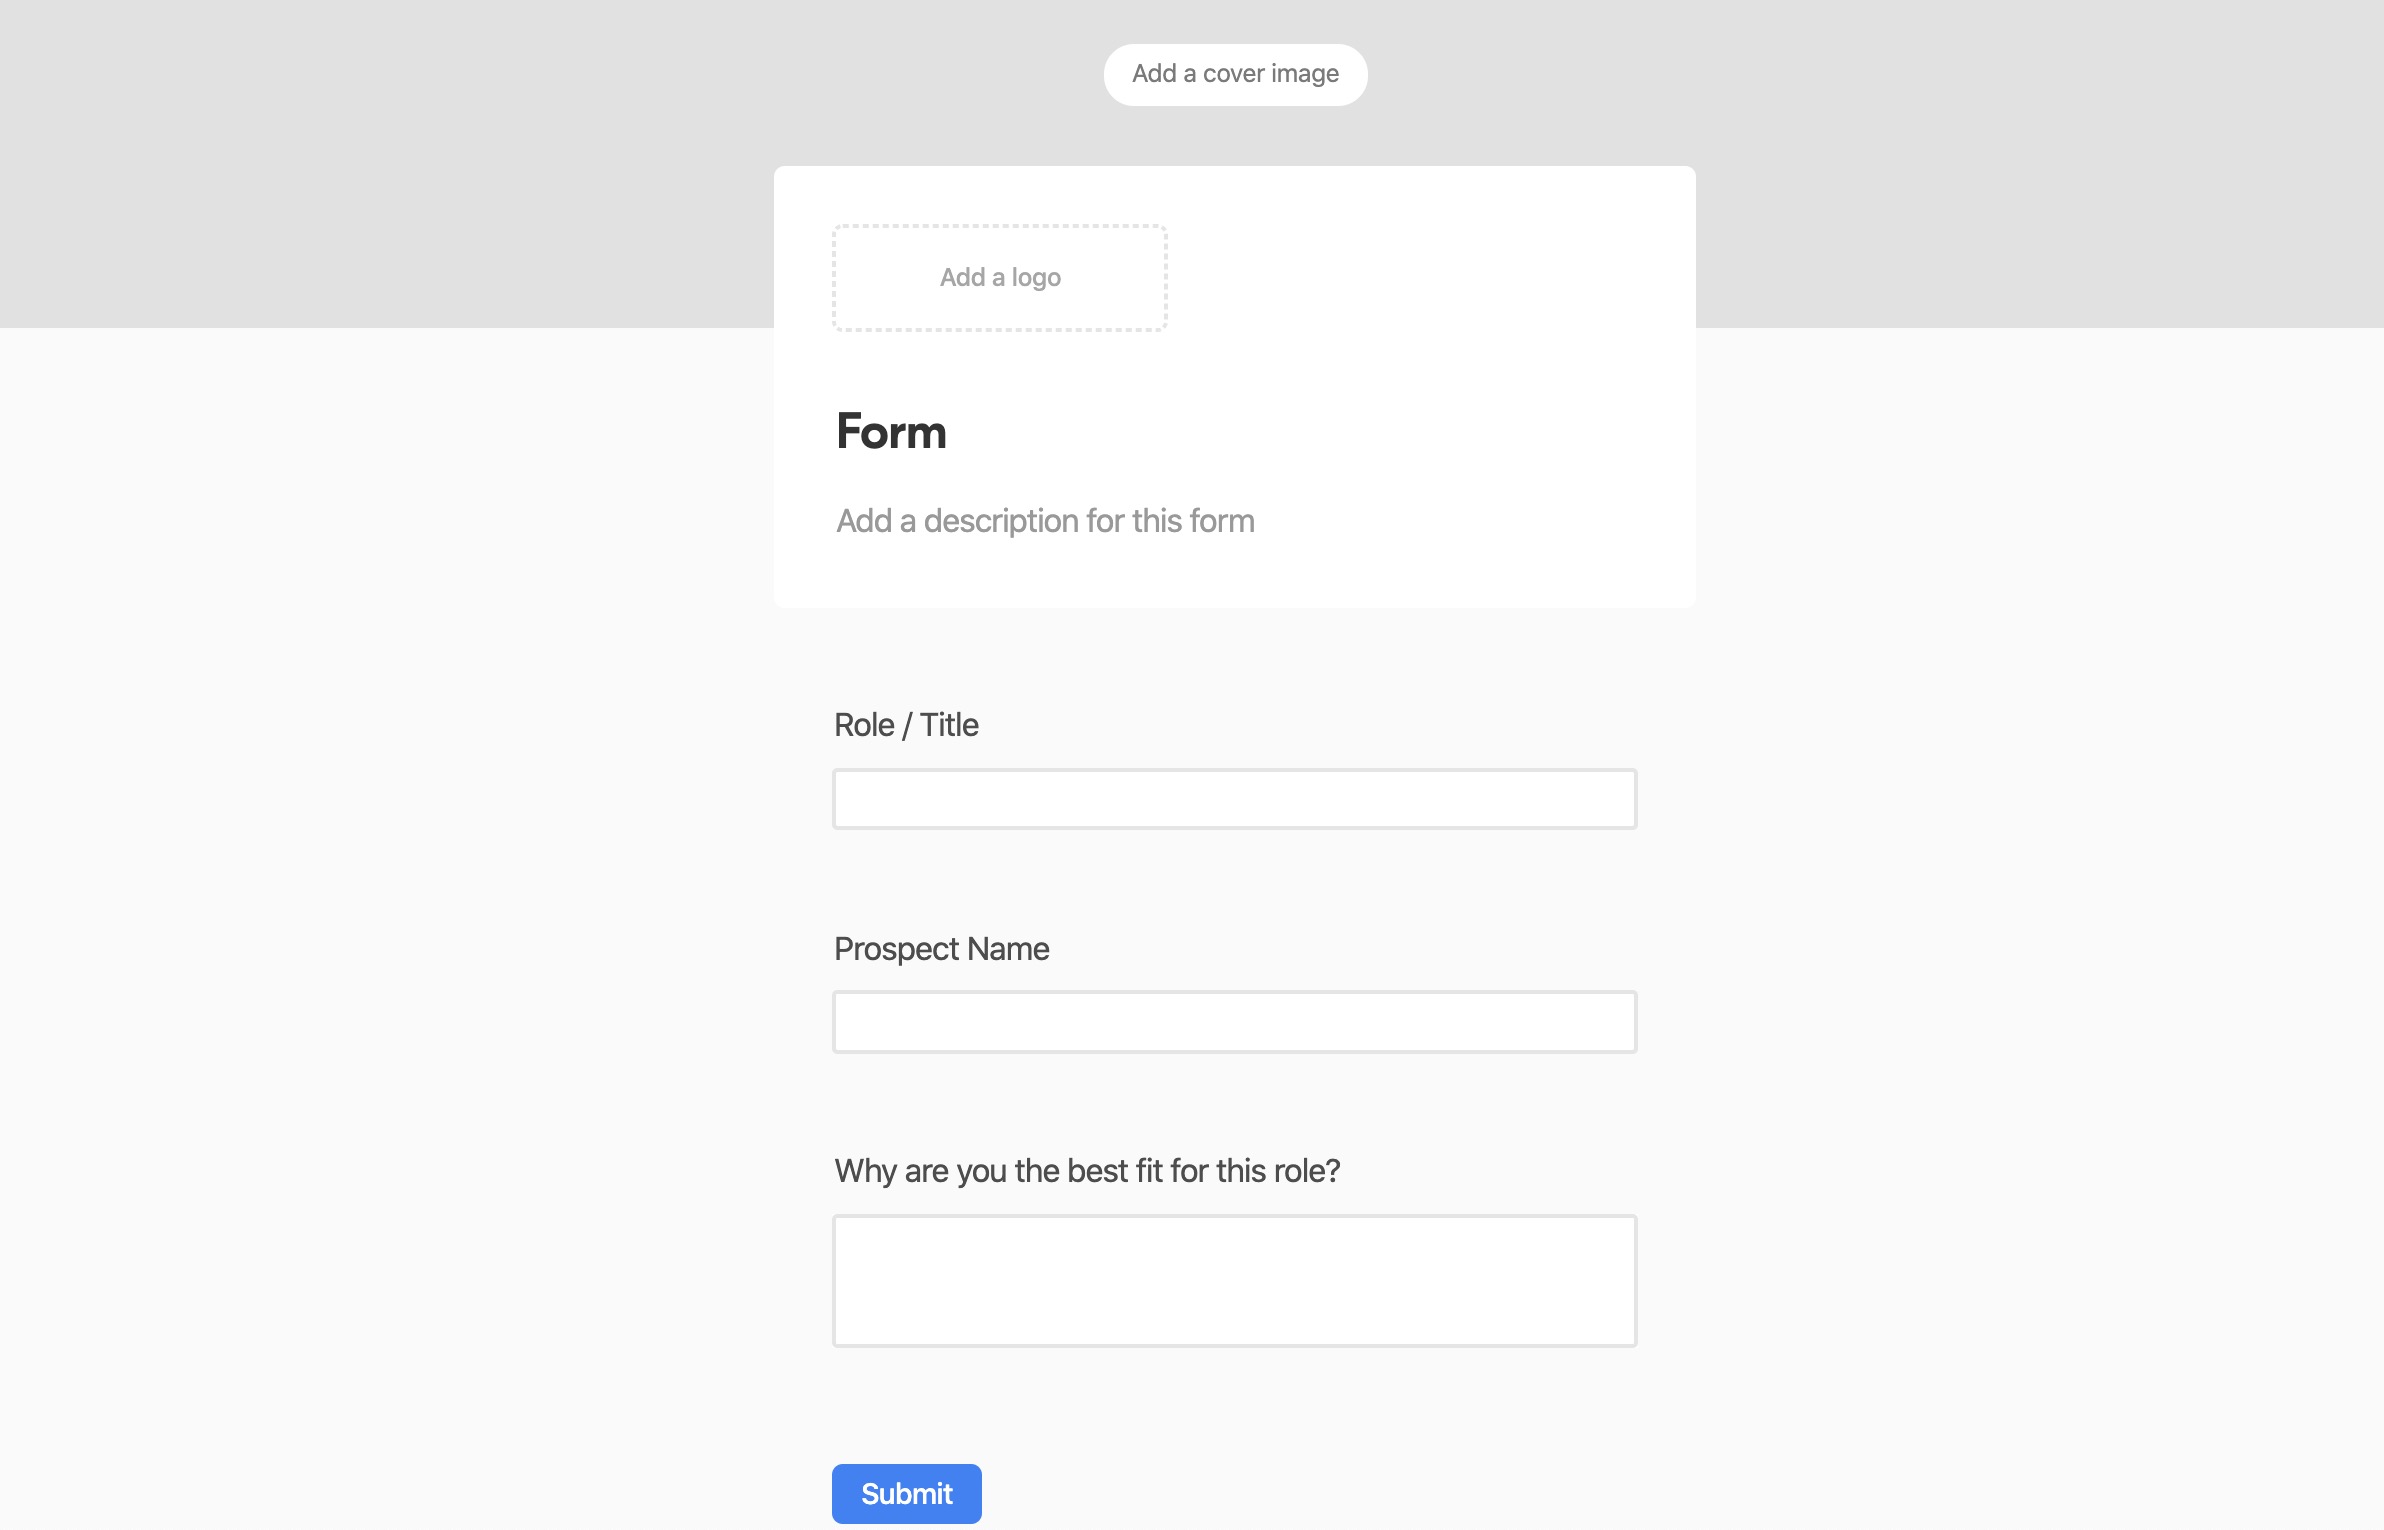
You may want to adjust the field names to be more targeted to job applicants filling out the form. We'll change Role / Title to Position you're applying for, and Prospect Name to Your Name. Note that this only changes how the field name appears on the form - the actual field names, as shown in the grid view, remain the same as before.

Now you're ready to send the form - already pre-filled with their basic information - to your prospective hires. To do so, we'll need to write a formula using the ENCODE_URL_COMPONENT function. Here's what that should look like when we're done.

Writing formulas
Step 1
We'll start writing the formula by including some of the basic information needed. Clicking on the "Share form" button will show you the newly created form's URL.
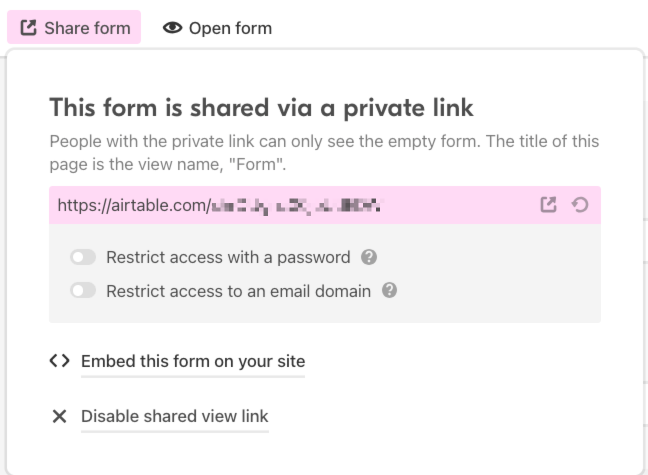
Copy the form URL, and paste into a new formula field (we called ours Encoded form URL). At the end of the URL insert a question mark, like so:
"https://airtable.com/YOURFORMULAHERE?"Here's the result of the first part of the formula:

Step 2
Next, we'll want to add to this URL by chaining on a new function. To do this we will first insert an ampersand (&) as a separator. So we will do the following:
We are looking to prefill a form input so we'll add the text
'prefill_'followed by another separator &.Add the
ENCODE_URL_COMPONENTfunction. The encode URL function will translate the text name of your field (Role / Title) into an encoded URL.Follow this by
& '=' &Lastly, we'll ensure to encode the value in the field (the title in the Role / Title field) by adding
ENCODE_URL_COMPONENT({Role / Title})
Leaving us with a formula that looks like this:
'https://airtable.com/YOURFORMURLHERE?'
& 'prefill_' &
ENCODE_URL_COMPONENT('Role / Title') & '=' & ENCODE_URL_COMPONENT({Role / Title})
Building on step 1, here's the next portion of the pre-filled URL.

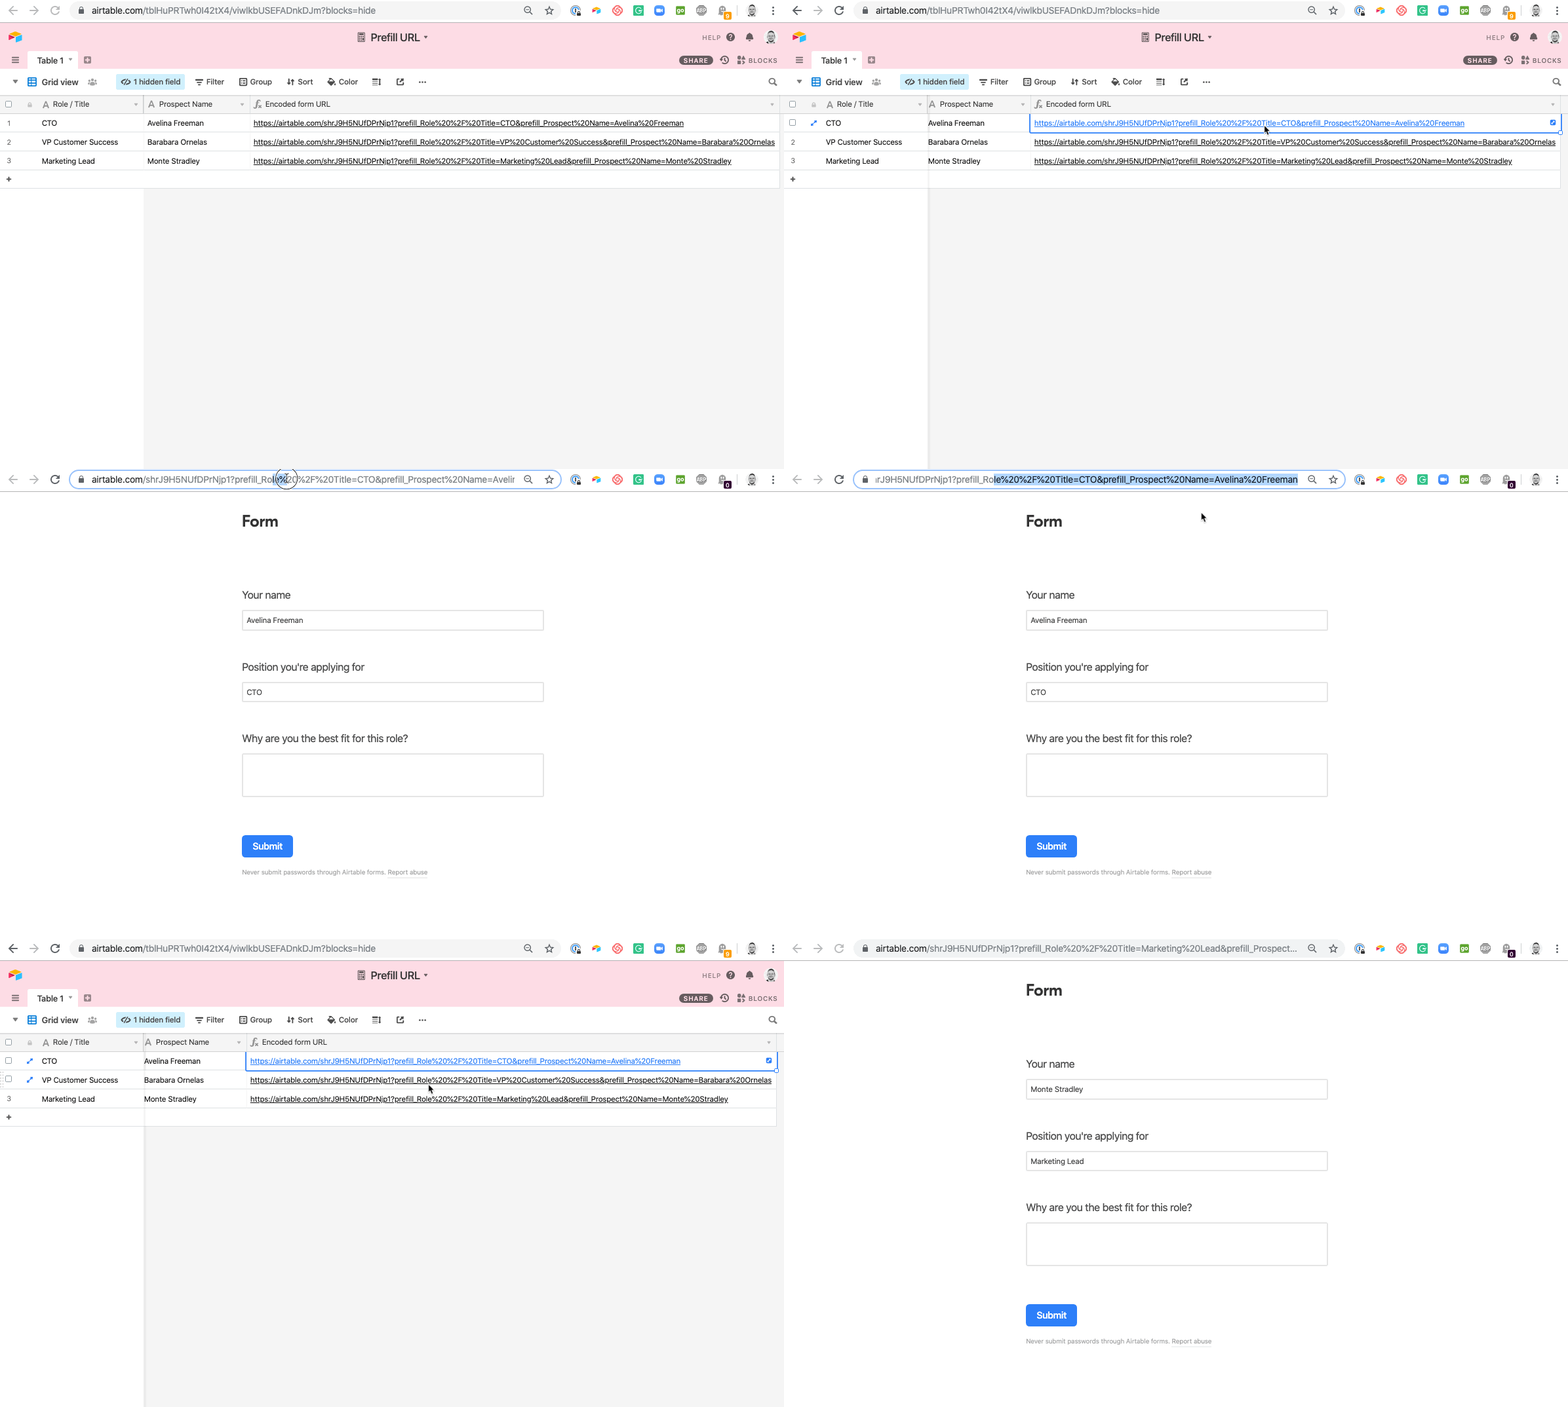
Clicking on one of the URLs we just created (in the Encoded form URL field) we can now see that the value for that record has been prefilled into our form. Pretty neat!

We can see that the field that should show the prospect's name is still empty though. So one step to go!
Step 3
If you'd like to prefill more than one field in the URL, you'll need to add the "&prefill_" url parameter between each field you'd like to fill, like so:
'https://airtable.com/FormUrl?'
 & 'prefill_'
 & ENCODE_URL_COMPONENT({Field1})
 & '='
 & ENCODE_URL_COMPONENT({Field1})
 & '&prefill_'
 & ENCODE_URL_COMPONENT({Field2})
 & '='
 & ENCODE_URL_COMPONENT({Field2})
The last piece of information we need to add to the URL is the prospect's name. To do this:
Add another separator (
&)This prefill will be a bit different because it is the second field we are prefilling. When prefilling multiple fields we need to add an ampersand within the prefill string. Like so
'&prefill_'We'll follow with another separator (
&)Add the
ENCODE_URL_COMPONENTfunction. The encode URL function will translate the text name of the field ('Prospect Name') into an encoded URL.Add another separator (
&) followed by ('=') followed by another separator(&)Lastly, we'll ensure to encode the value of
{Prospect Name}by addingENCODE_URL_COMPONENT({Prospect Name})
'https://airtable.com/YOURFORMURLHERE?'
 & 'prefill_' & ENCODE_URL_COMPONENT('Role / Title')
 & '=' & ENCODE_URL_COMPONENT({Role / Title})
 & '&prefill_' & ENCODE_URL_COMPONENT('Prospect Name')
 & '=' & ENCODE_URL_COMPONENT({Prospect Name})
The results in the full pre-filled URL for each unique record in your table:

You can test out each URL by clicking them and seeing the unique date filled in the form.
Troubleshooting prefilled values
If a link opens the form but a field is blank or shows the wrong value, check these common causes.
Single select and multiple select fields arrive blank. A prefilled value fills a select field only if it exactly matches an existing option on the field the form writes to. The match is case-sensitive, so "In progress" and "in progress" are different values. Spaces inside the option name count too ("In progress" with two spaces won't match). Spaces at the start or end are ignored. When nothing matches, the form doesn't show an error. The field is simply blank, which looks the same as a missing prefill parameter.
For a multiple select field, separate options with commas. If an option name contains a comma, wrap that option in double quotes. Options that match are filled and options that don't are silently dropped, so check that every option you expect shows up.
This most often happens when the form writes to a different table than the one holding your formula, and the two select fields were set up separately. Copy and paste the option names from one field to the other instead of retyping them, then compare them character by character. Option colors don't need to match.
A date arrives a day early or with the wrong day and month. A date field referenced directly in the formula can come through in a format the form reads differently from what you expect. Convert the date to text first with DATETIME_FORMAT, then encode it:
ENCODE_URL_COMPONENT(DATETIME_FORMAT({Due date}, 'YYYY-MM-DD'))Use that in place of the bare field reference after the "=" in the prefill parameter. The
YYYY-MM-DDformat is read the same way no matter which date format the form's field uses. Formats likeMM/DD/YYYYare read according to that field's format, so 03/04/2026 becomes 3 April, 2026 on a field set to European format. For other date patterns, see Supported DATETIME_FORMAT format specifiers in Airtable. After changing the formula, open one record's link and compare the date on the form with the date on the record before you share the links.
FAQs
How do I how to pre-fill a linked record field with multiple values?
You can prefill a linked record field with multiple values in an Airtable form by adding the record IDs, separated by commas, to the form URL.
For example: https://airtable.com/shrXXXXXXXX?prefill_FieldName=recID1,recID2,recID3