Adding descriptions in Airtable
- 28 Aug 2024
- 5 Minutes to read
- Print
- DarkLight
- PDF
Adding descriptions in Airtable
- Updated on 28 Aug 2024
- 5 Minutes to read
- Print
- DarkLight
- PDF
Article summary
Did you find this summary helpful?
Thank you for your feedback
All plan types | |
| |
Platform(s) | Web/Browser, Mac app, Windows app, and mobile apps |
Airtable terminology | Base guide - Unlike other surfaces in Airtable, a base description is referred to in the product as a Base guide. Typically, base guides will describe the broader details about the information contained within the base and therefore may require more information than other surfaces in Airtable. |
Why add descriptions in Airtable?
Descriptions in Airtable help your collaborators understand a particular part of the workflow. By providing descriptions in the surfaces covered below, owners and creators in Airtable can ensure that:
Onboarding new employees goes as smoothly as possible
Subtle or complex builds can be easily understood when changes need to be made in the future
When an employee leaves there is a "paper trail" of how and/or why something was built in Airtable
Other users understand why they may not want to change a certain configuration due to wider implications
Known points of confusion can be addressed in a way that prevents repetitive internal discussions or IT tickets
Adding and viewing descriptions in Airtable
Base guides
Unlike other surfaces, a description of a base is called a “Base guide” in Airtable because entire bases usually require a bit more information to fully explain. For that reason, after a base guide has been added, it will appear the first time another user opens the base.
To add a guide to a base or edit an existing guide, navigate to the base to which you'd like to add a guide. Next, click the dropdown arrow next to the base's name. Then, click the dropdown next to “Base guide” option.
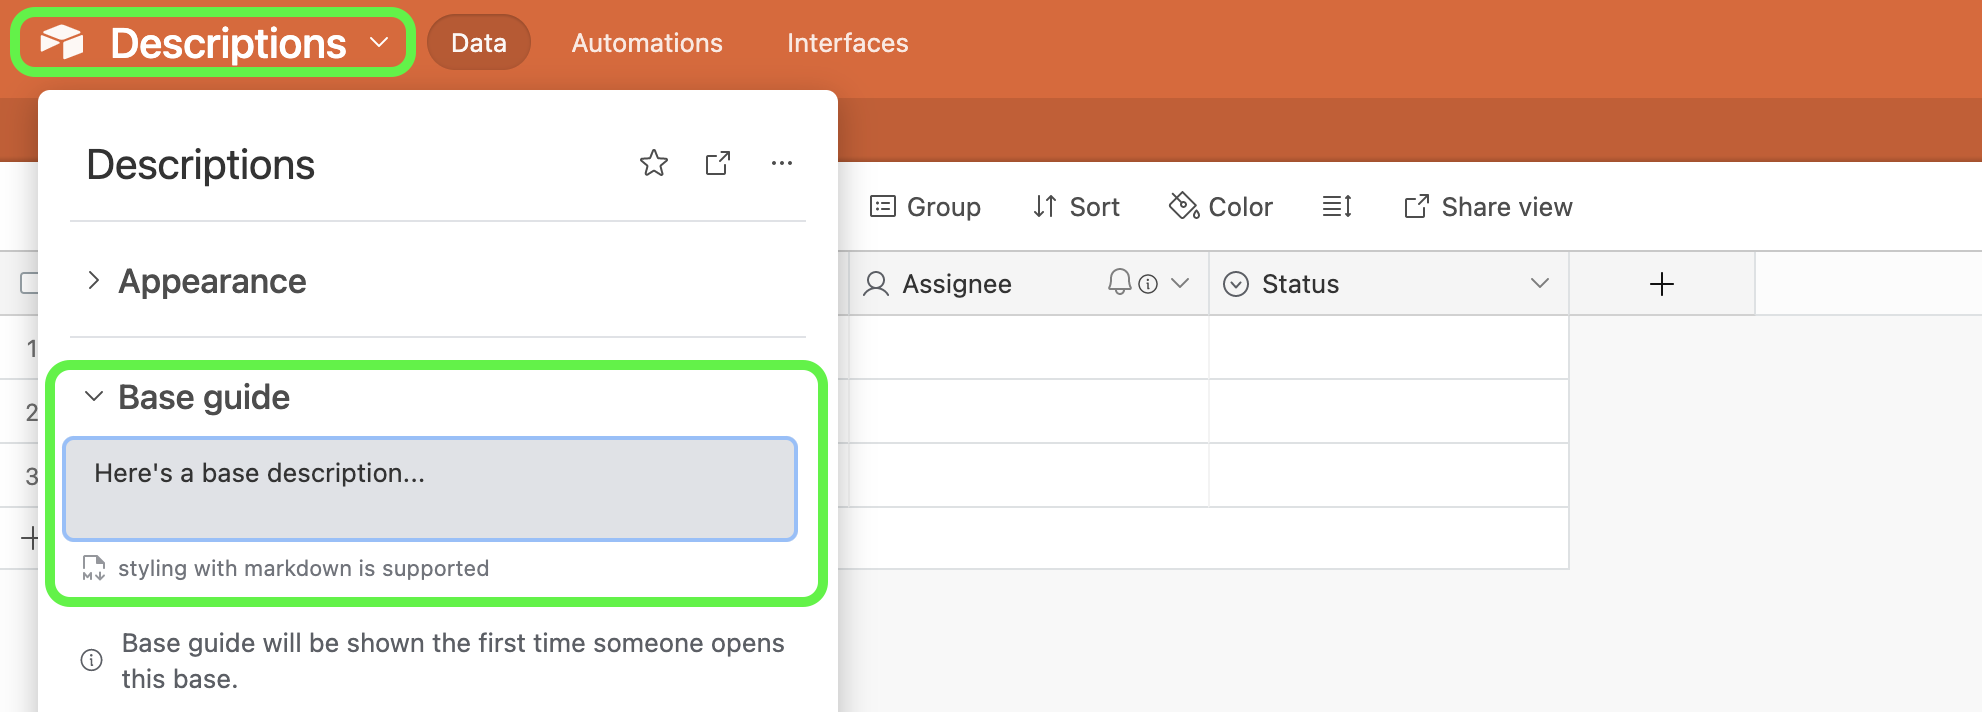
This will open up a text box into which you can enter details about the base or edit an existing guide. You can also use Markdown within the base guide to add headers, links, emojis, and images.
Note
Creating a walkthrough video to help onboard future users is an excellent addition to a base guide. You can then add the video's link to the base guide.
Table descriptions
Sometimes the name of your table or view isn't long or detailed enough to explain everything. When this happens, you can add a description to make it easier for your collaborators to understand how the base is set up.
To add a description to a table, navigate to the table to which you'd like to add a description. Next, click the dropdown arrow next to the table name. From the dropdown menu, select Edit table description.
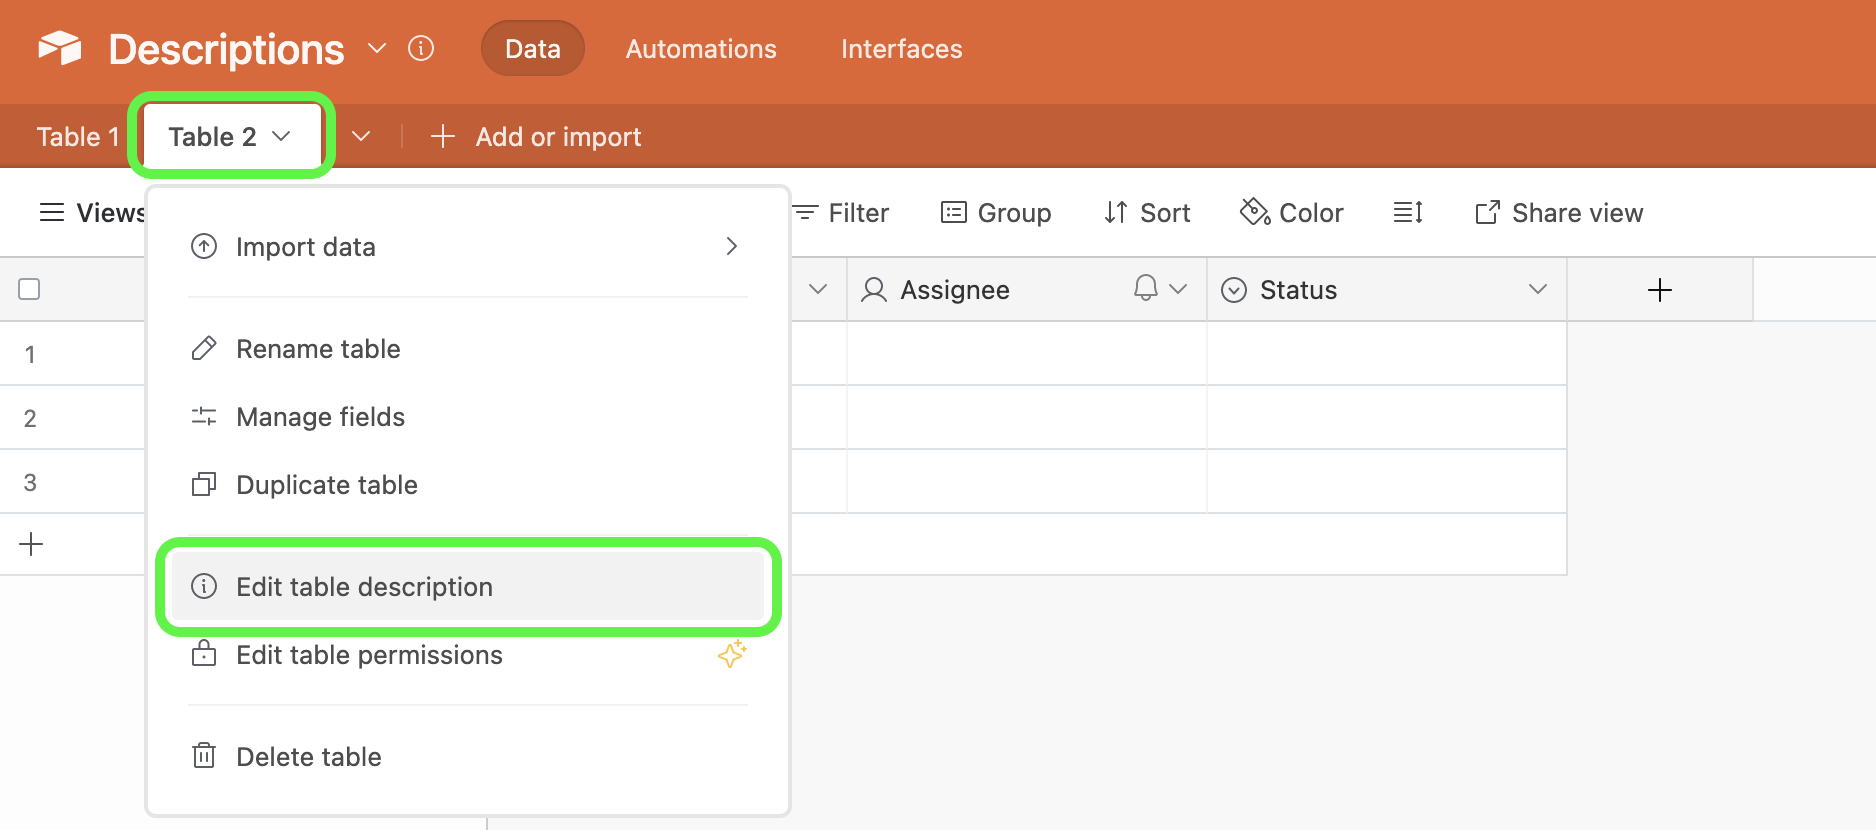
This will open the description window where you can fill in a brief description of the table:

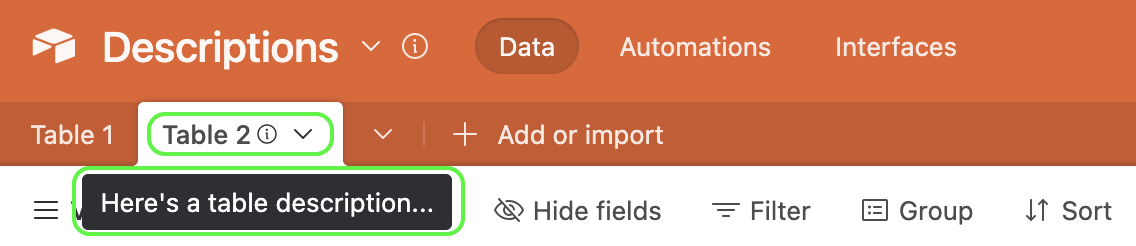
The table description will appear when hovering over the table's name:
View descriptions
View descriptions help to keep track of what each of your views is set up to display and communicate that information with other users. To add or edit a view description, start by clicking on the name of your view to expand the view options menu. Then click Edit view description.
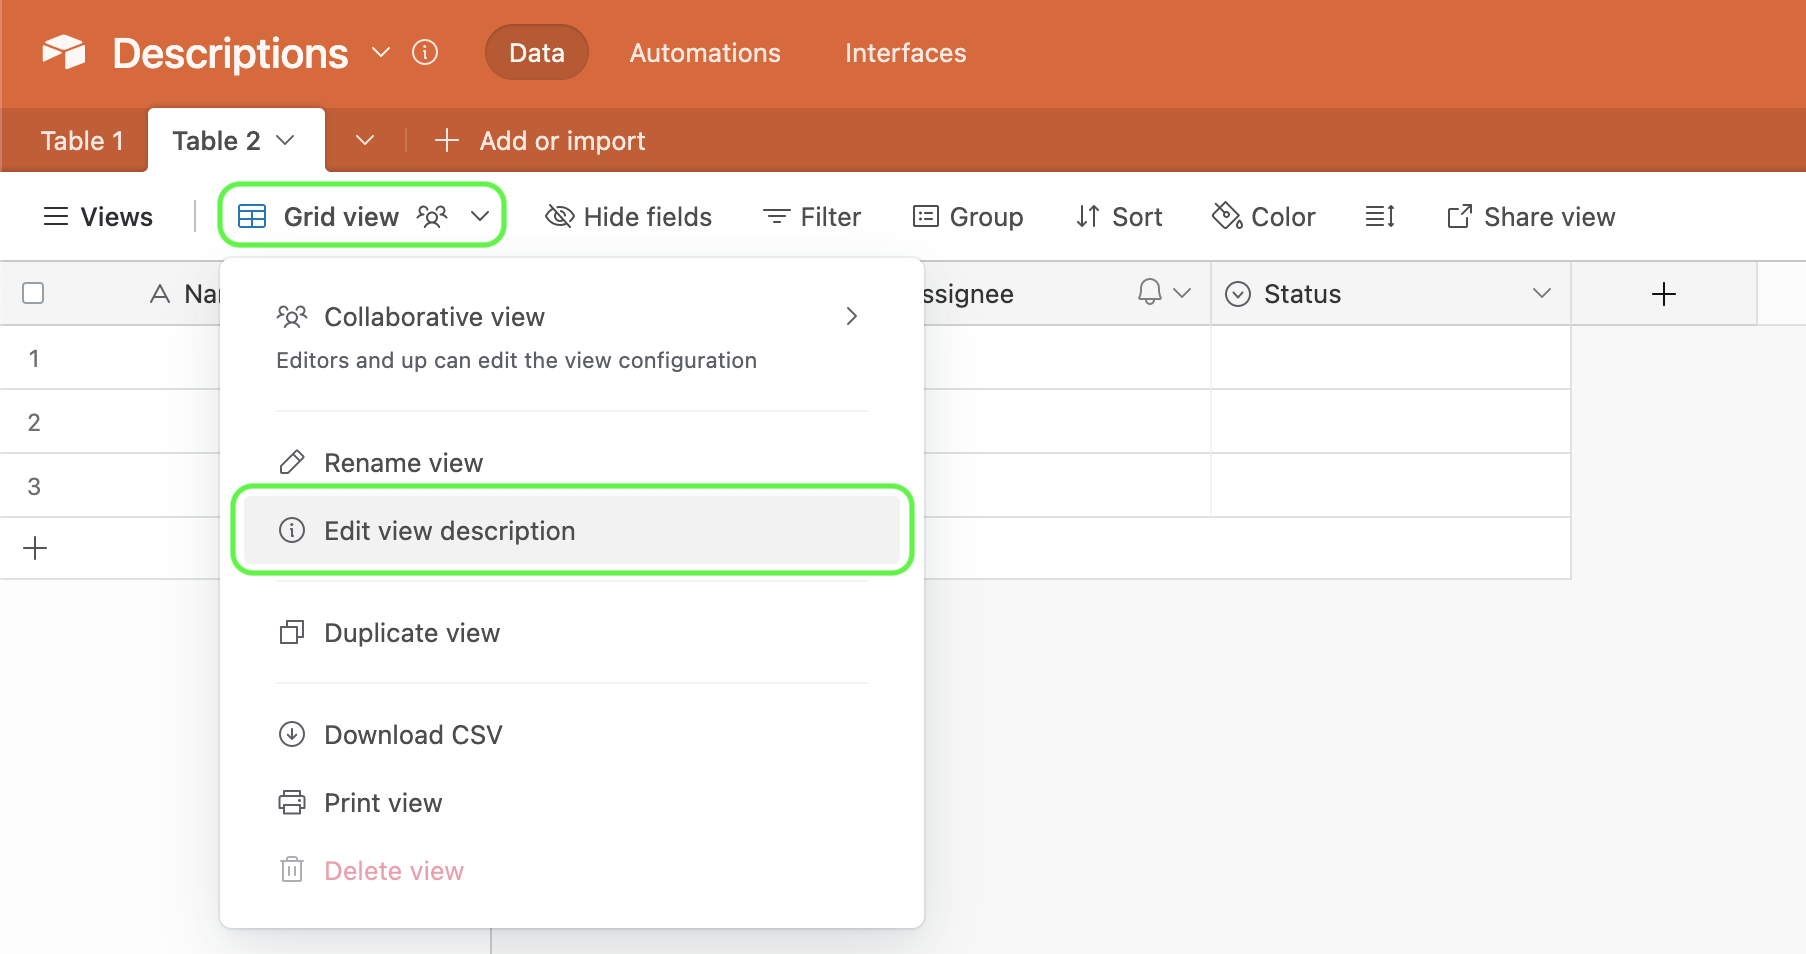
This will open the dialog box where you can fill in a brief description of the view: 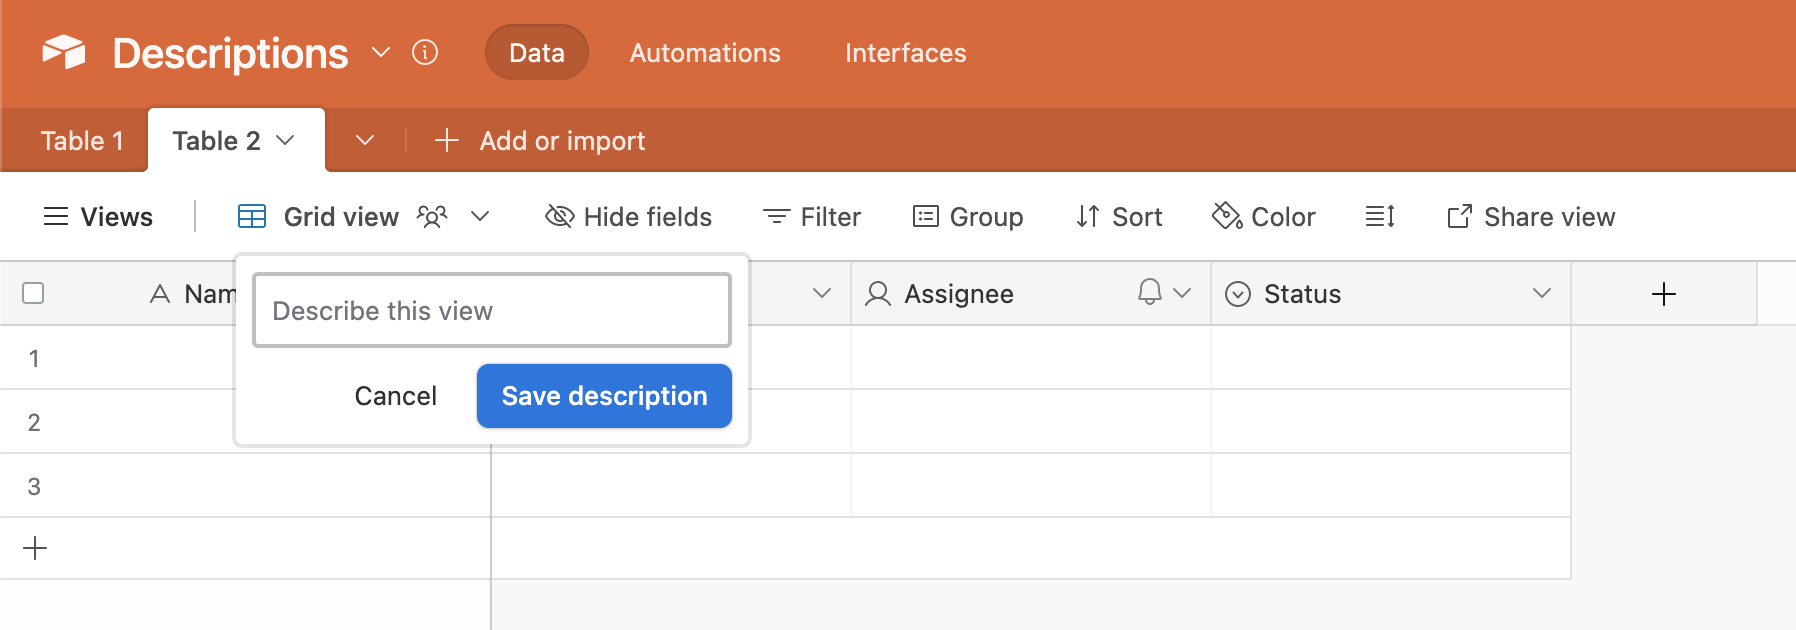
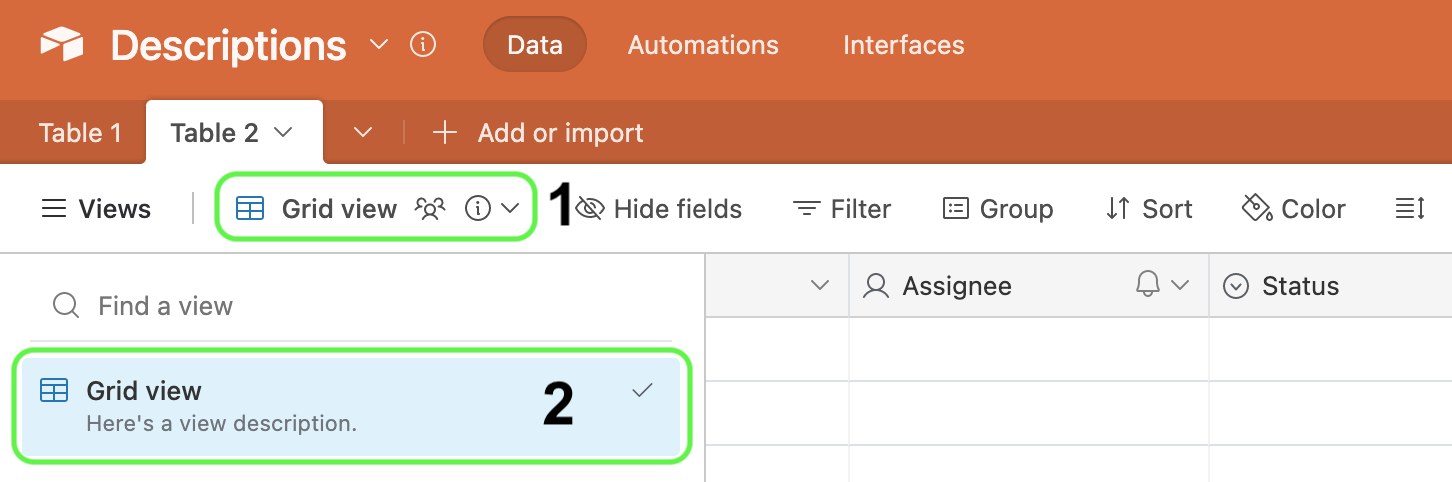
The view description will appear in two places:
By hovering over the view's name
By opening the views sidebar and finding the description under the view
Field descriptions
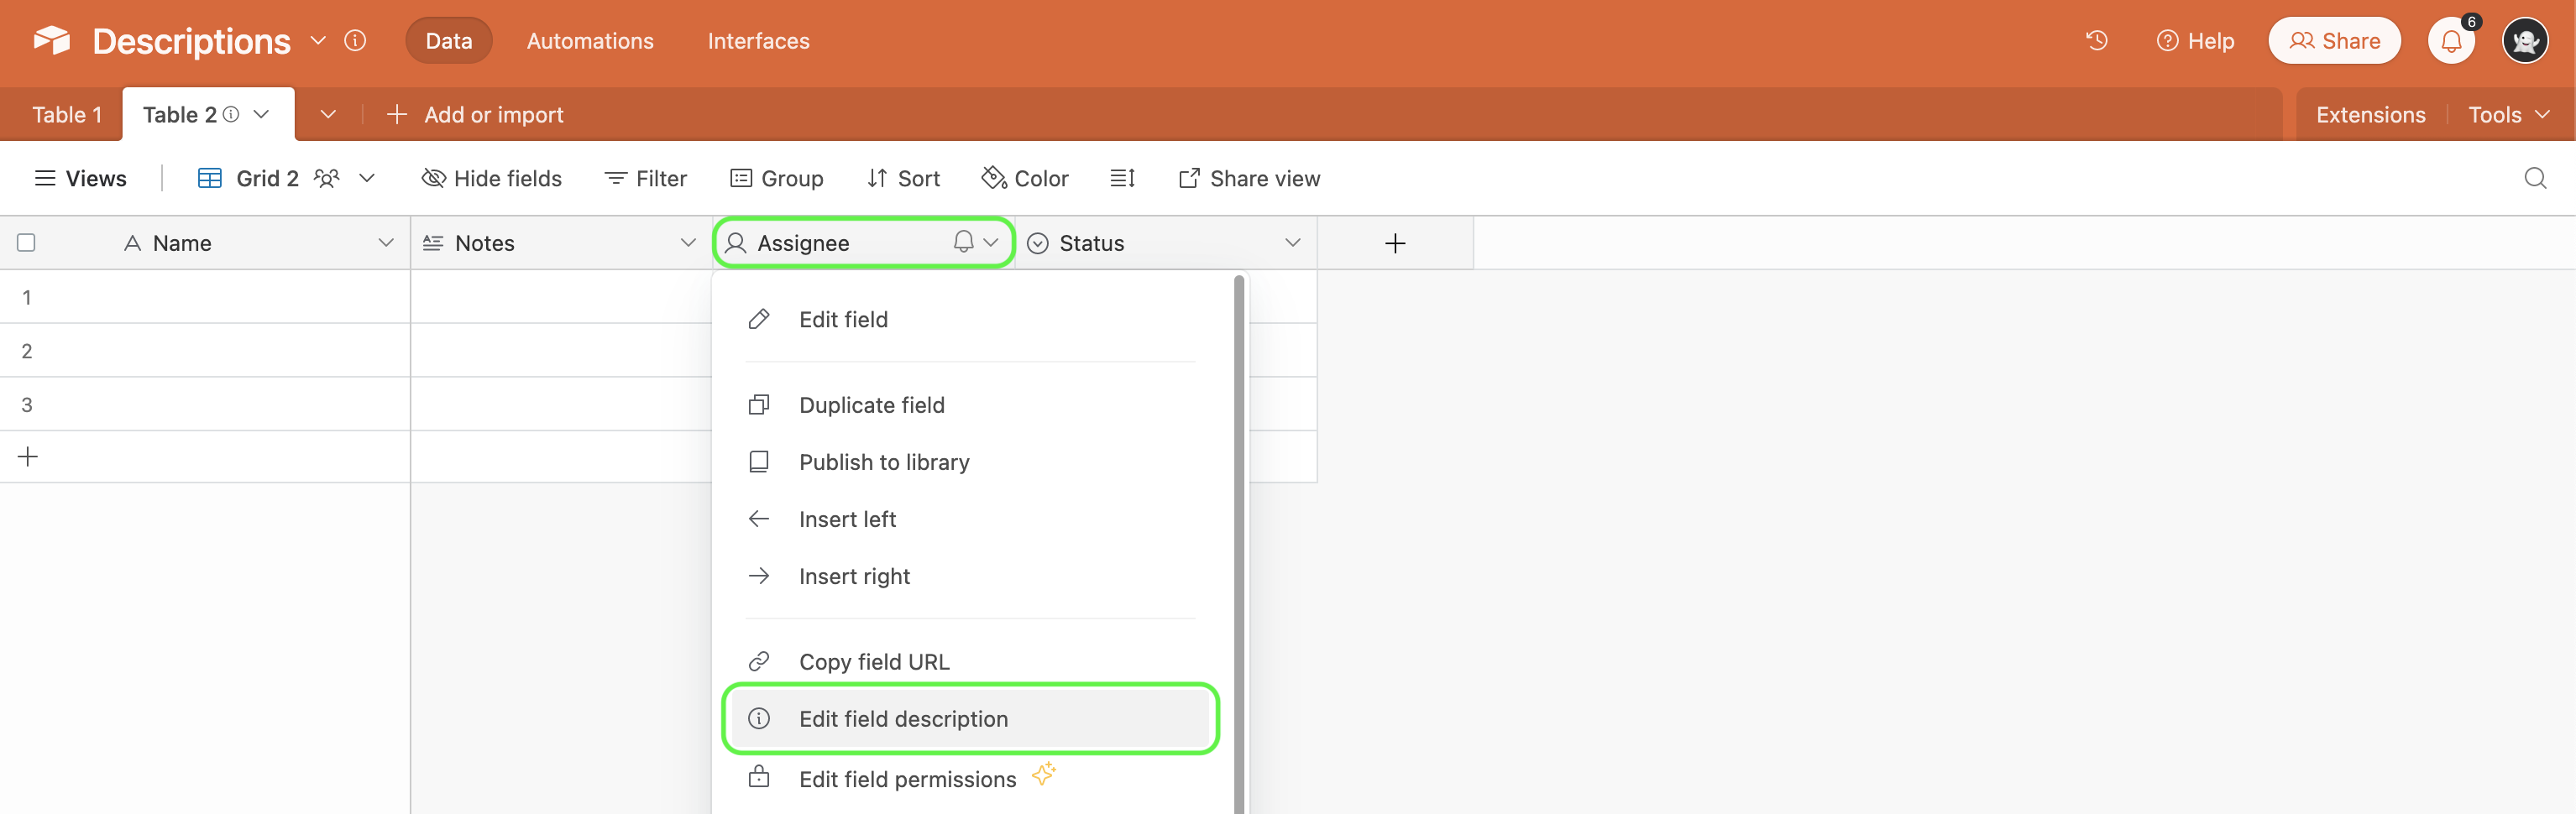
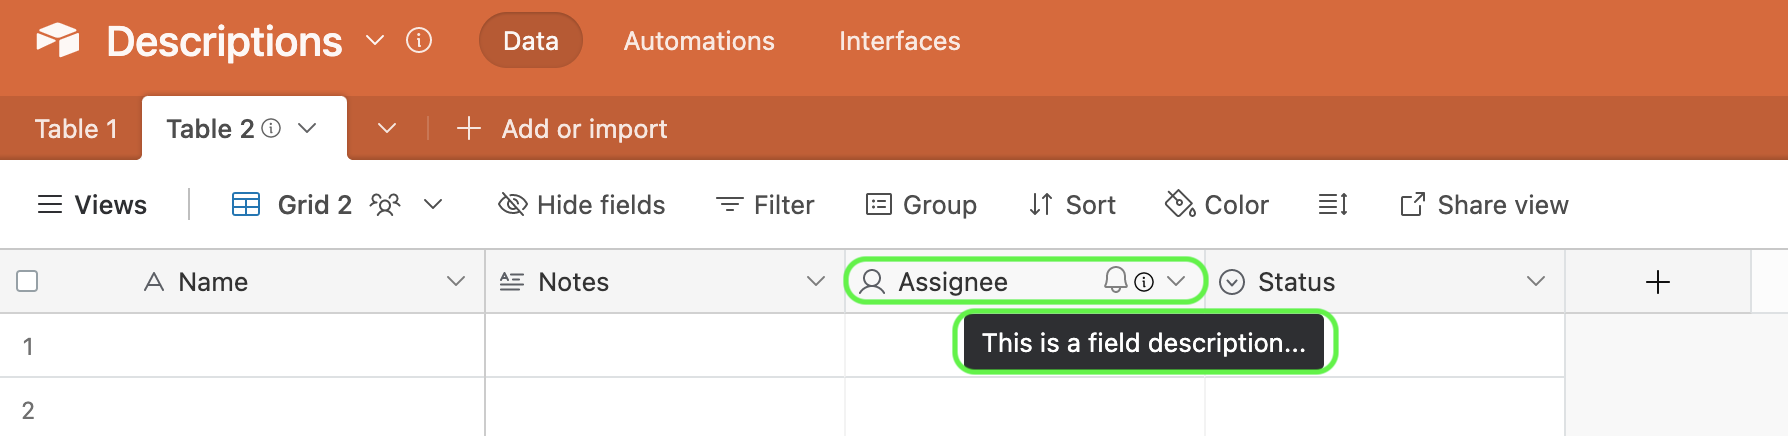
If the title of your field could use a longer explanation, you have the option of adding a more detailed field description to each of your fields. To add a field description, click on the dropdown arrow next to the name of the field to which you wish to add a description, then select Edit field description.
This will open the dialog box where you can fill in a brief description of the field:
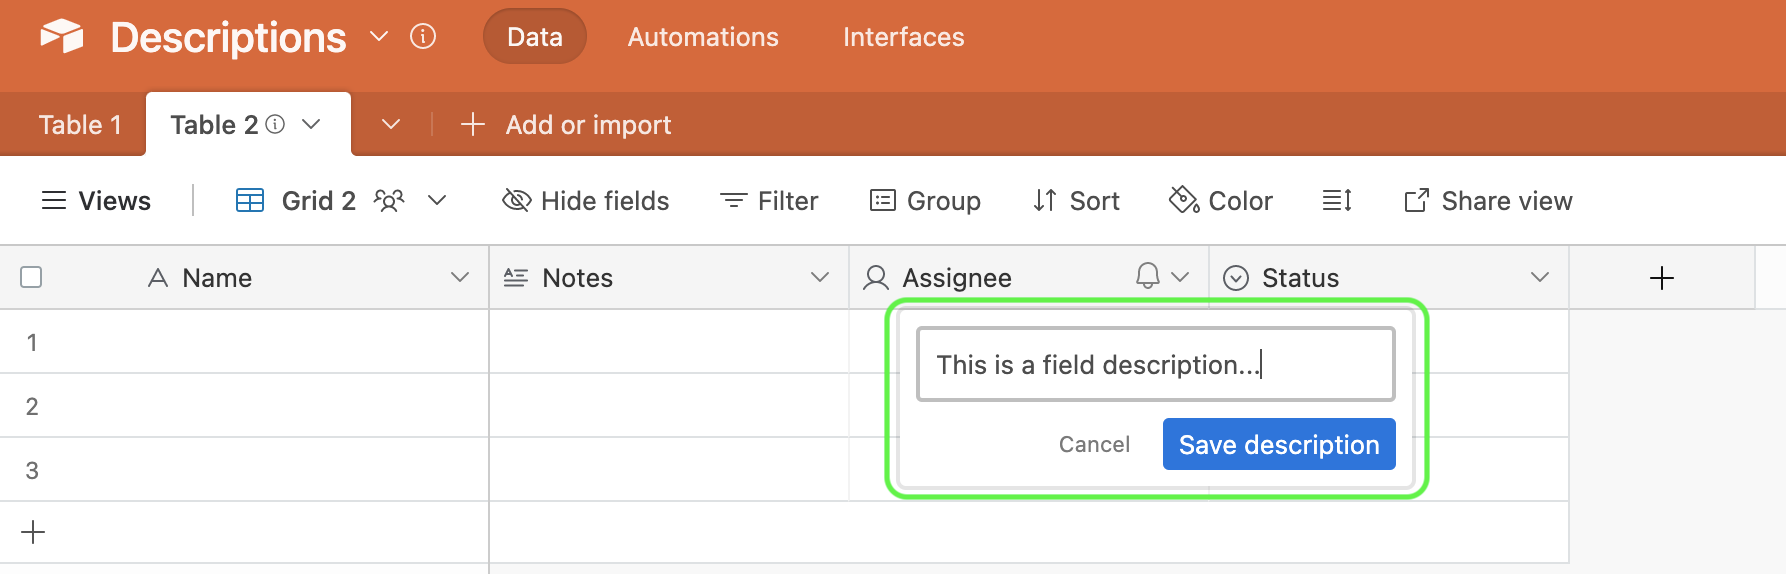
The field description will appear when hovering over the field's name:
Note
Field descriptions set up in a base will act as the default description/helper text for fields on interface record detail pages as well.
Automation descriptions
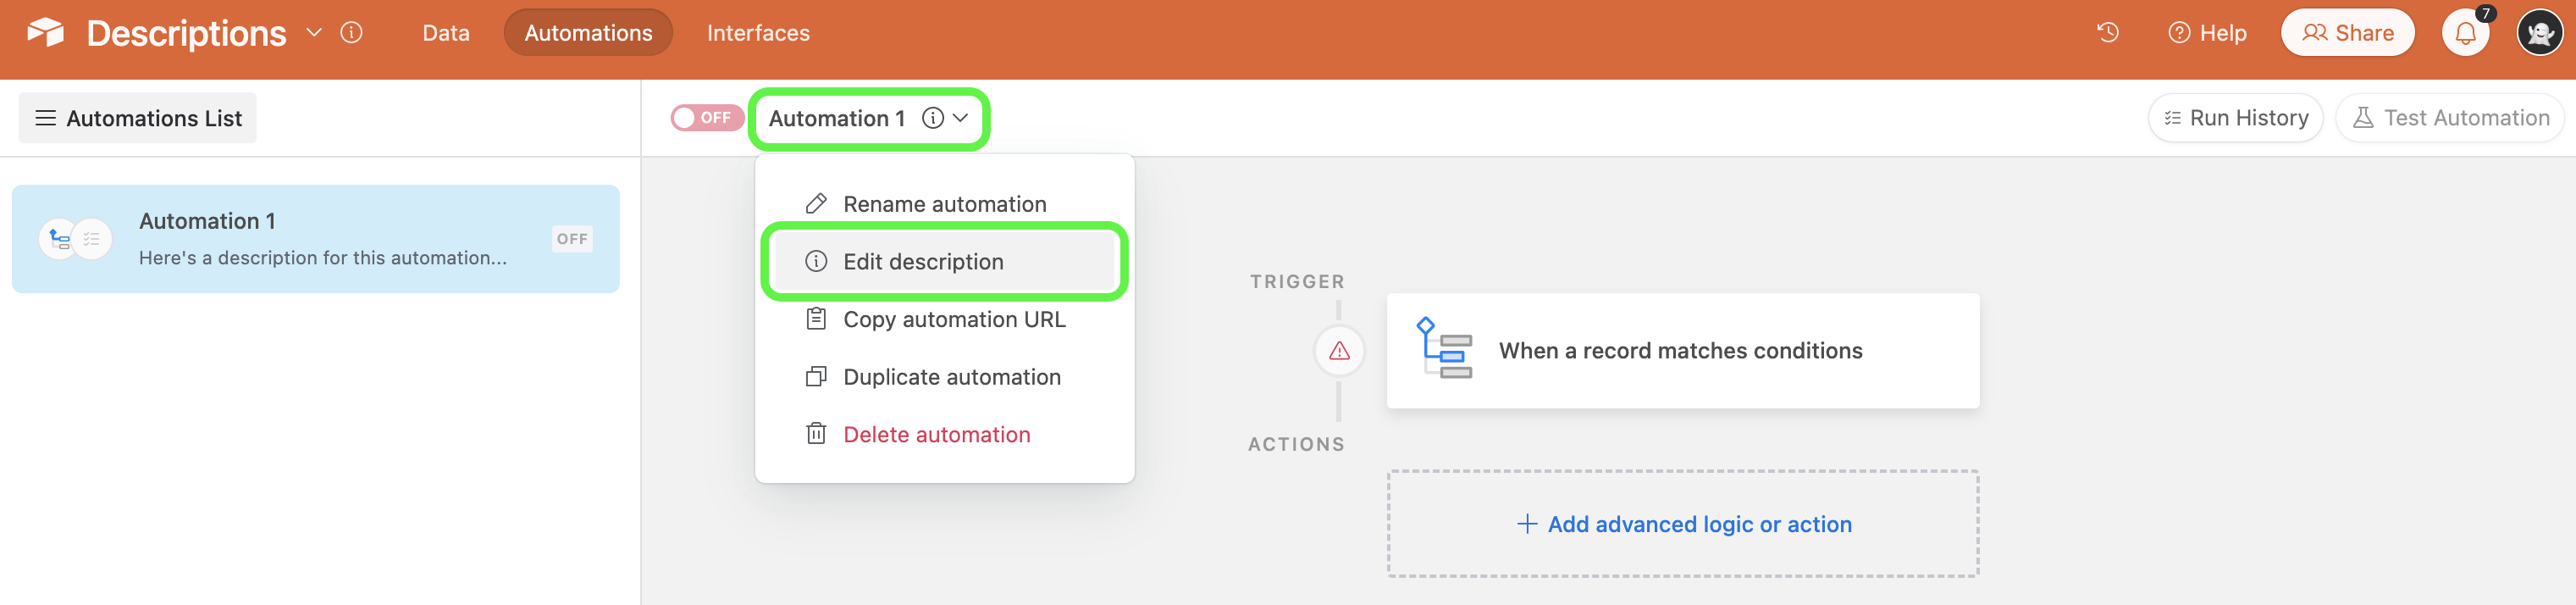
It's a best practice tip to add descriptions to every automation you create. Automations can have specific complexities that are more easily understood when a few details are provided in a description. To add an automation description, click on the dropdown arrow next to the name of the automation to which you wish to add a description, then select Edit description.
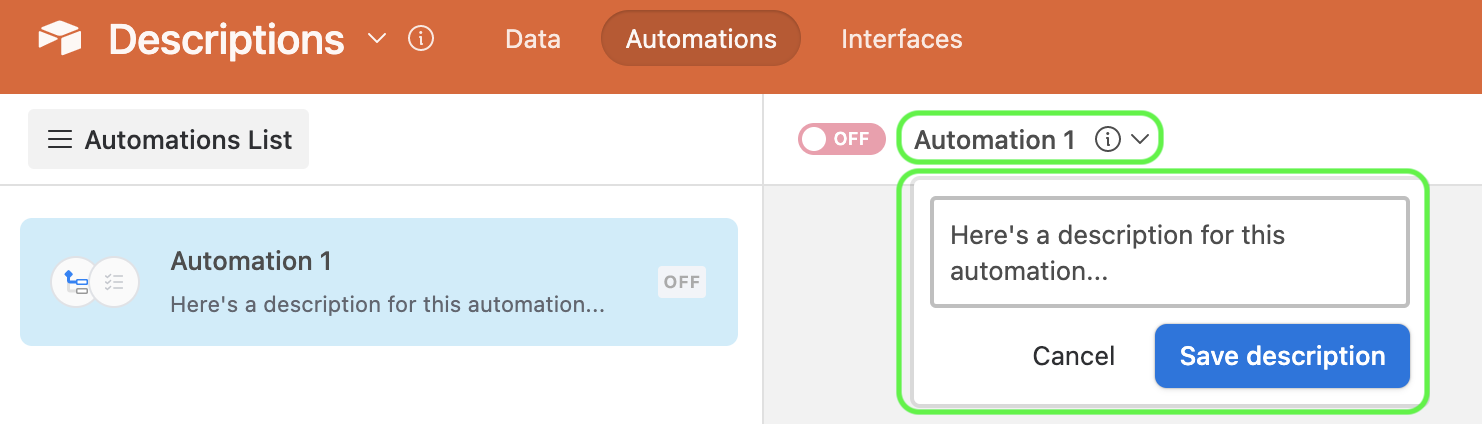
This will open the dialog box where you can fill in a brief description of the automation:
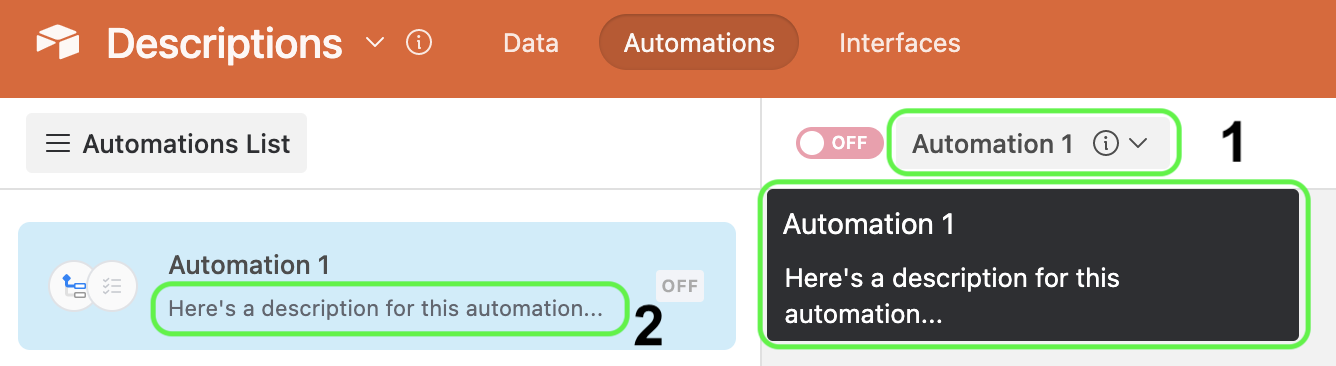
The automation description will appear in two places:
When hovering over the automation's name
In the automation list just below the automation's name
Extensions descriptions
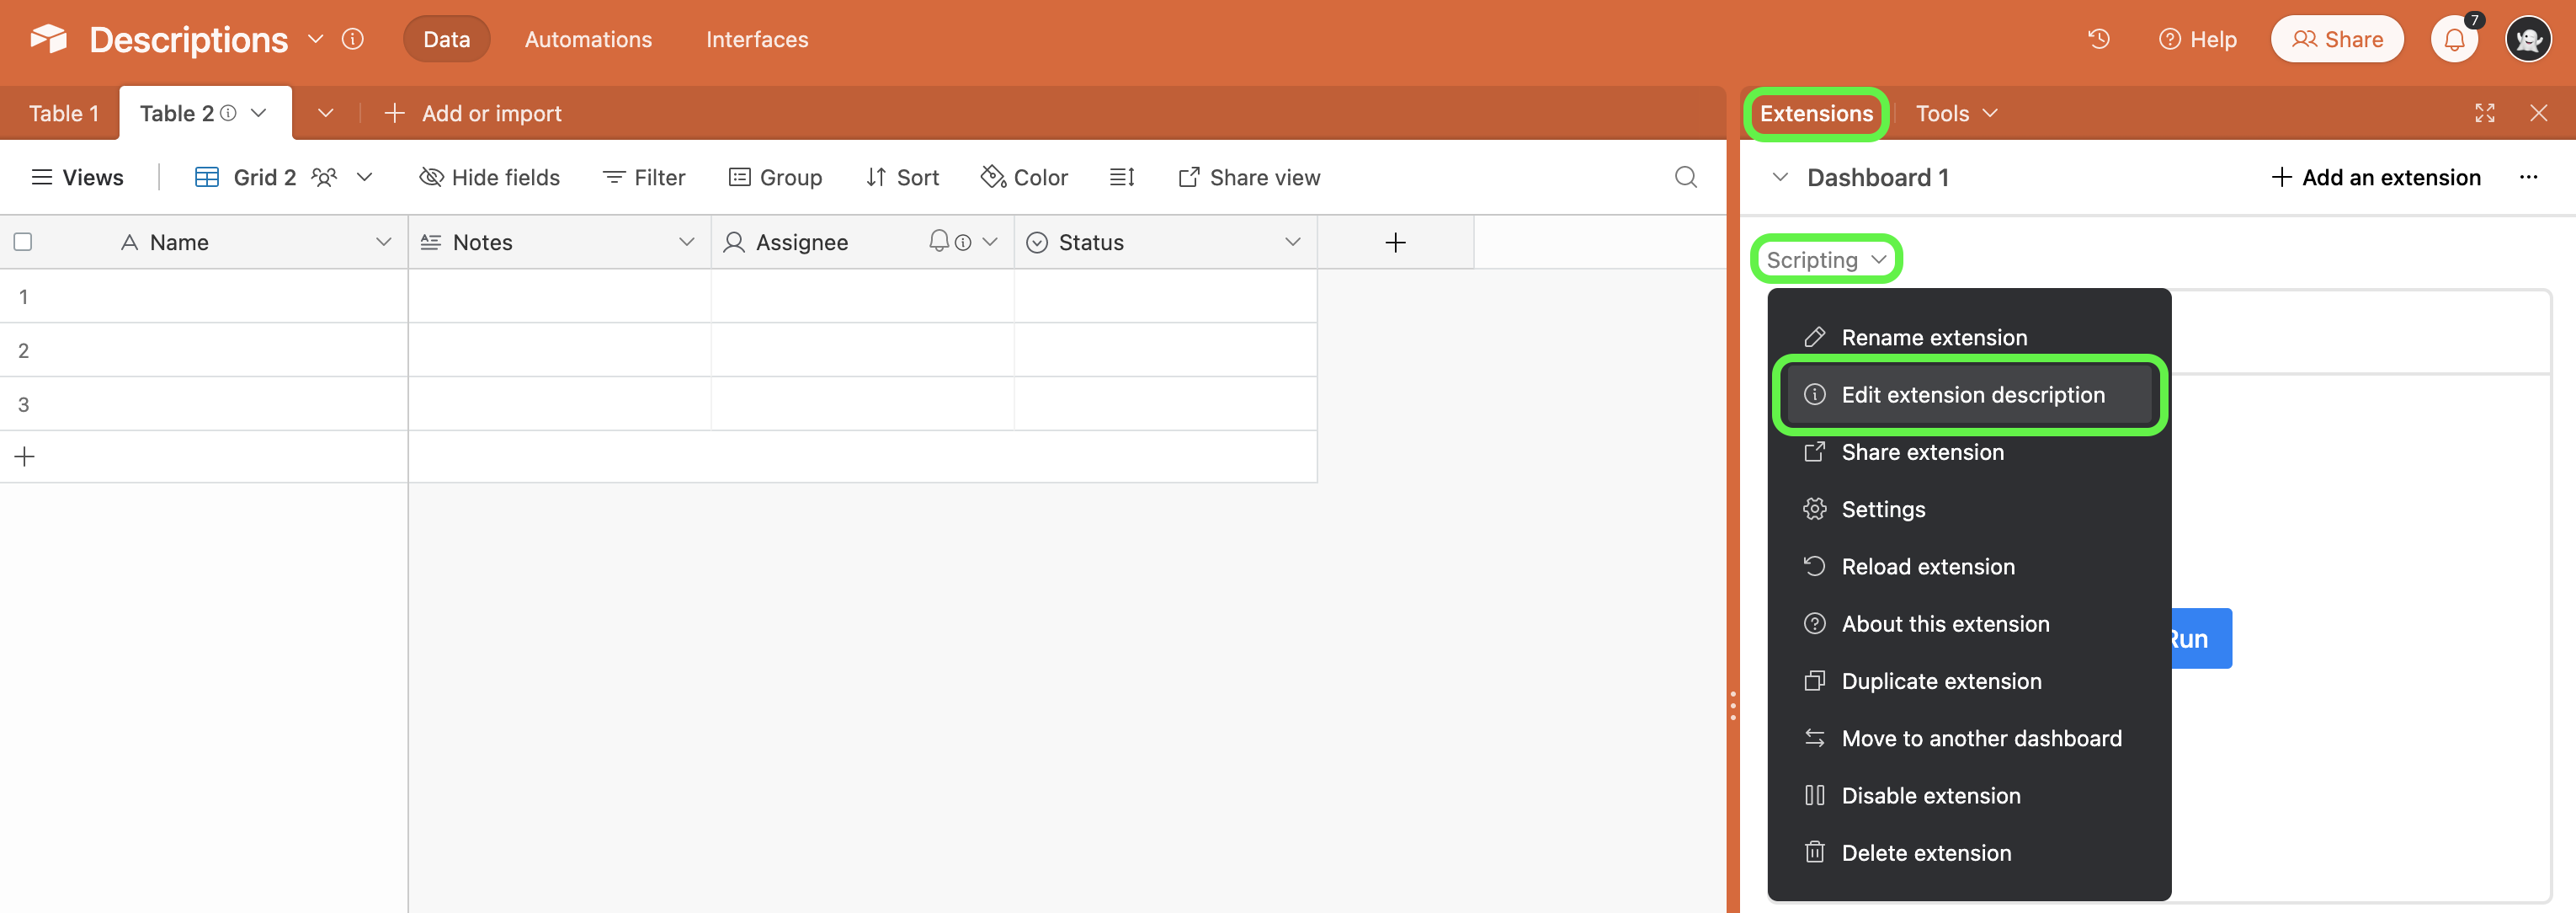
Click Extensions from an open base containing the extension that you would like to describe. Then find the extension you want to describe and click the dropdown ⌄ next to the name of that extension.
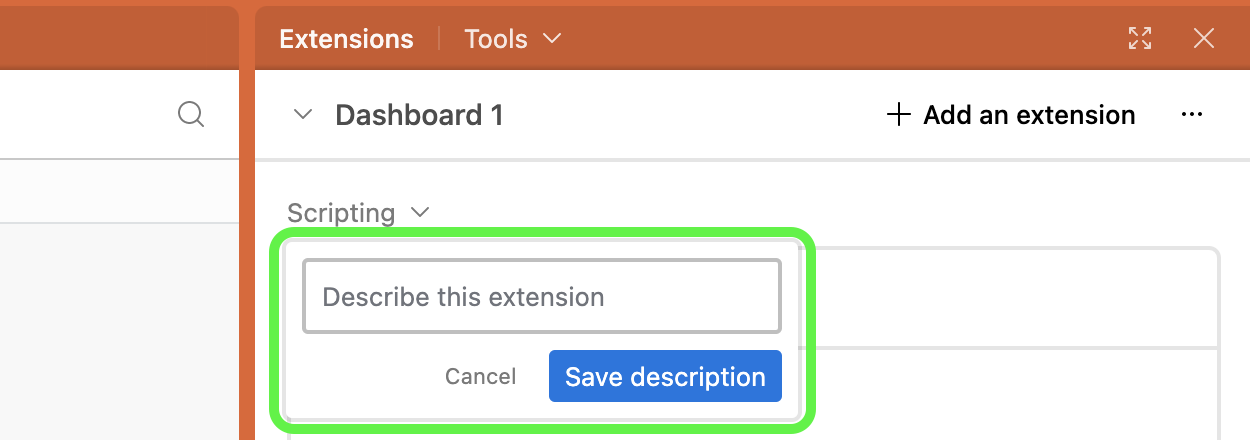
This will open the dialog box where you can fill in a brief description of the extension:
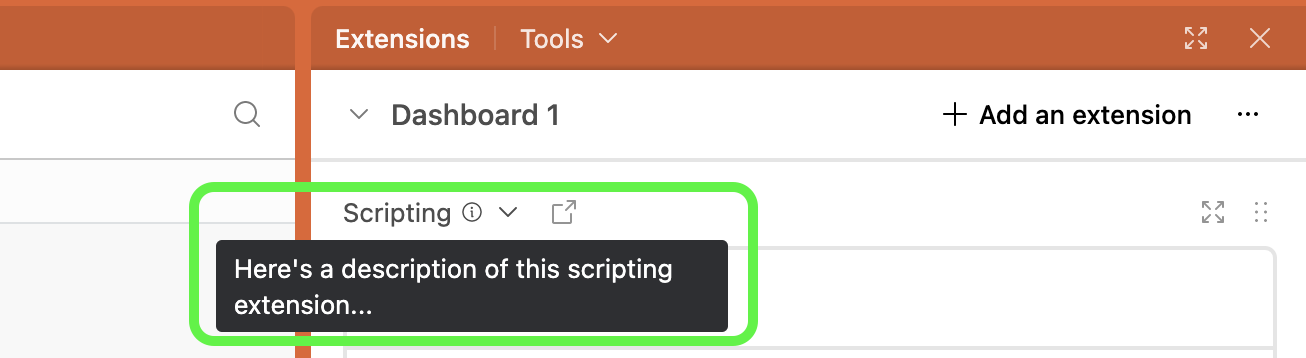
The automation description will appear when hovering over the extension's name:
Workspace descriptions
Depending on how your organization is using Airtable, users might have access to multiple workspaces. In these cases, it could be helpful to add a workspace description, especially when onboarding new employees to your organization's Airtable ecosystem.
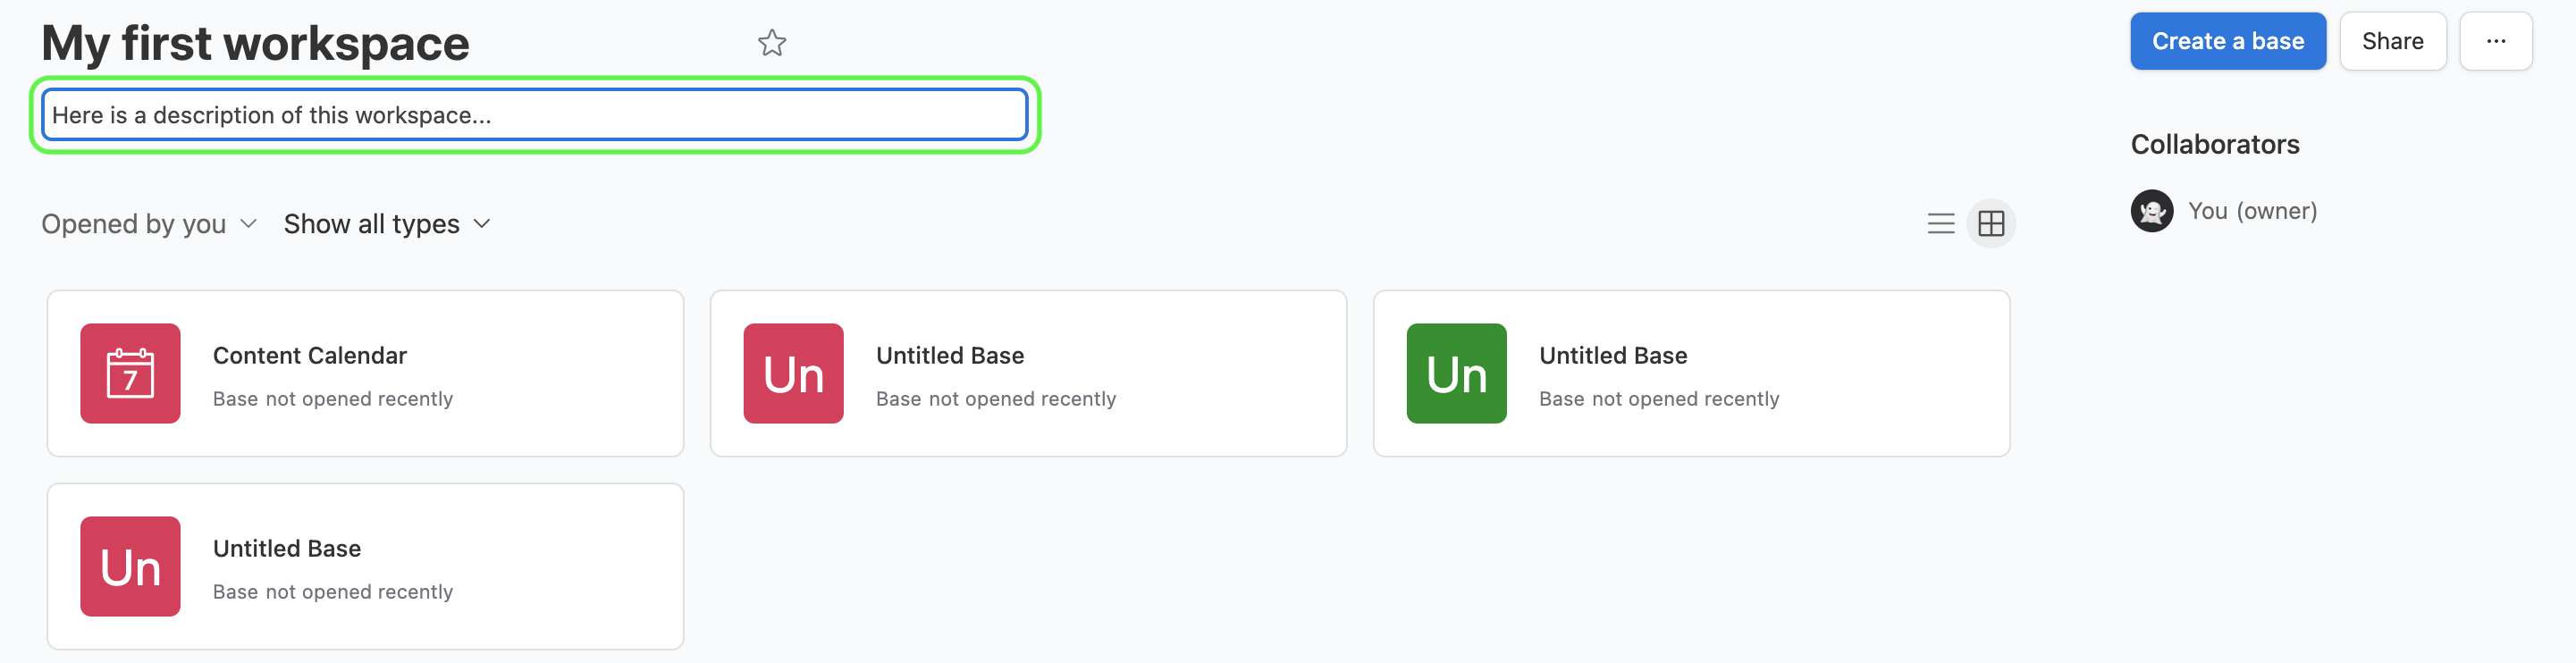
To add or edit a workspace description, first, navigate to a specific workspace from the Airtable home screen.
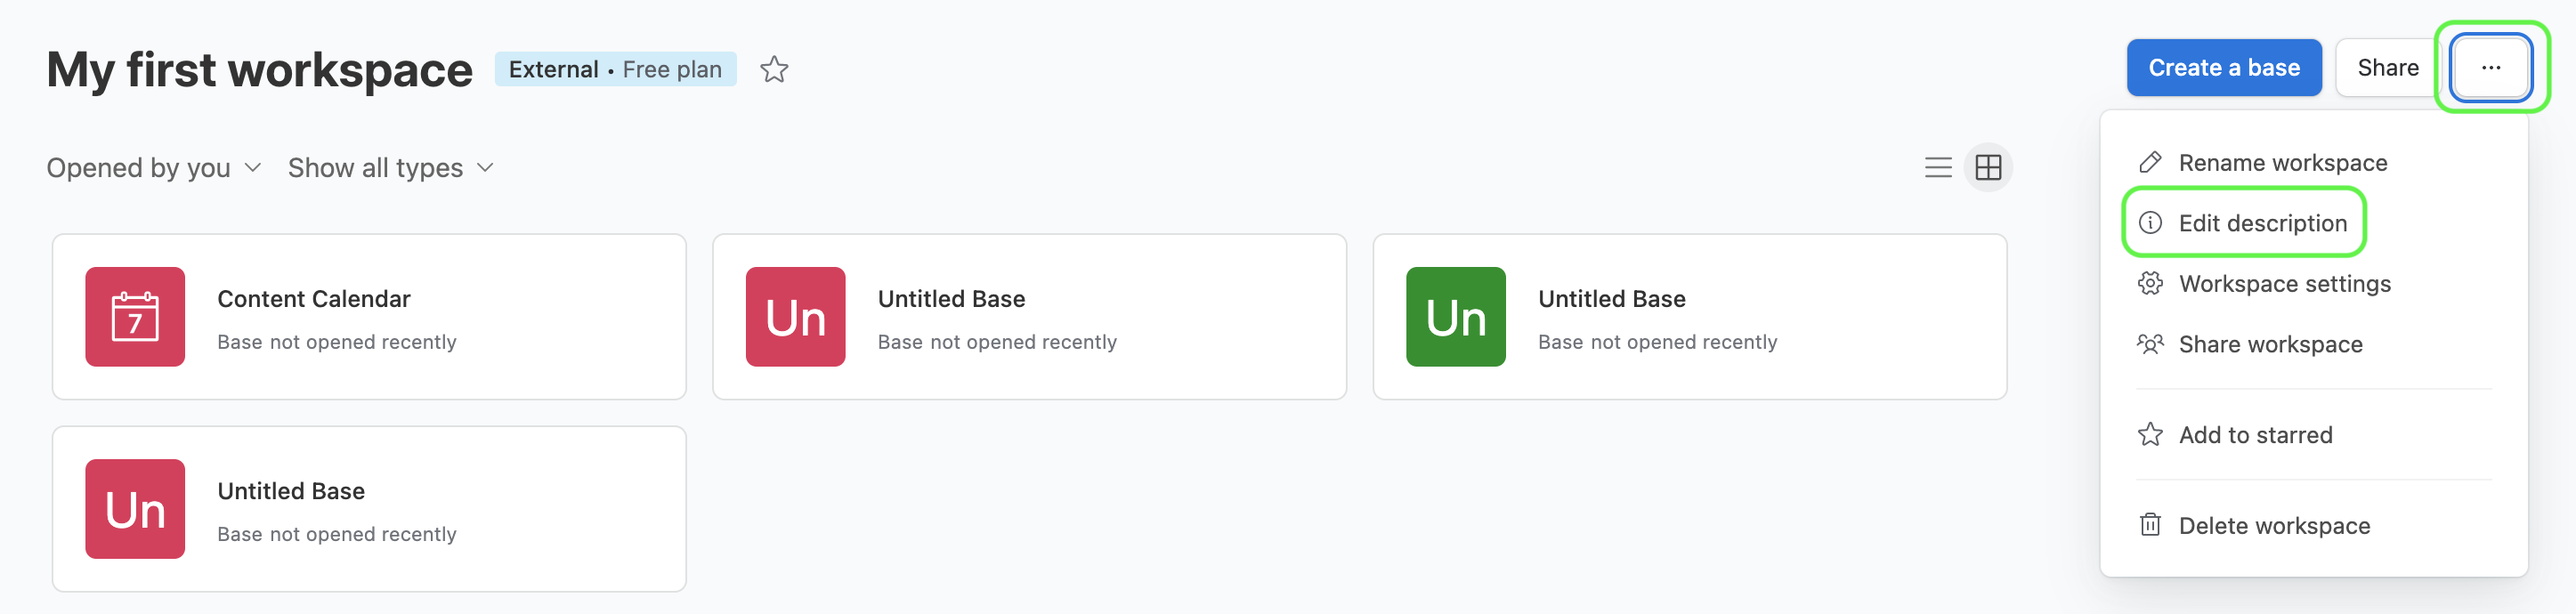
This will open a text box where you can fill in a brief description. This is also where the description will appear in the future.
Interface descriptions
There isn’t a dedicated way to describe an interface like a base guide. However, it’s a good idea to create an overview layout page when you need to give end-users a hub to access various resources in and outside of Airtable and orient them to their work in a meaningful way. Additionally, in certain interface layouts/pages, you can turn on field descriptions or enable helper text. This is helpful for both end-users and other creators who maintain apps at your organization.
Sync descriptions
Though syncs can be described at the table or view level, it may make sense to add more context in base guides as well.
Form descriptions
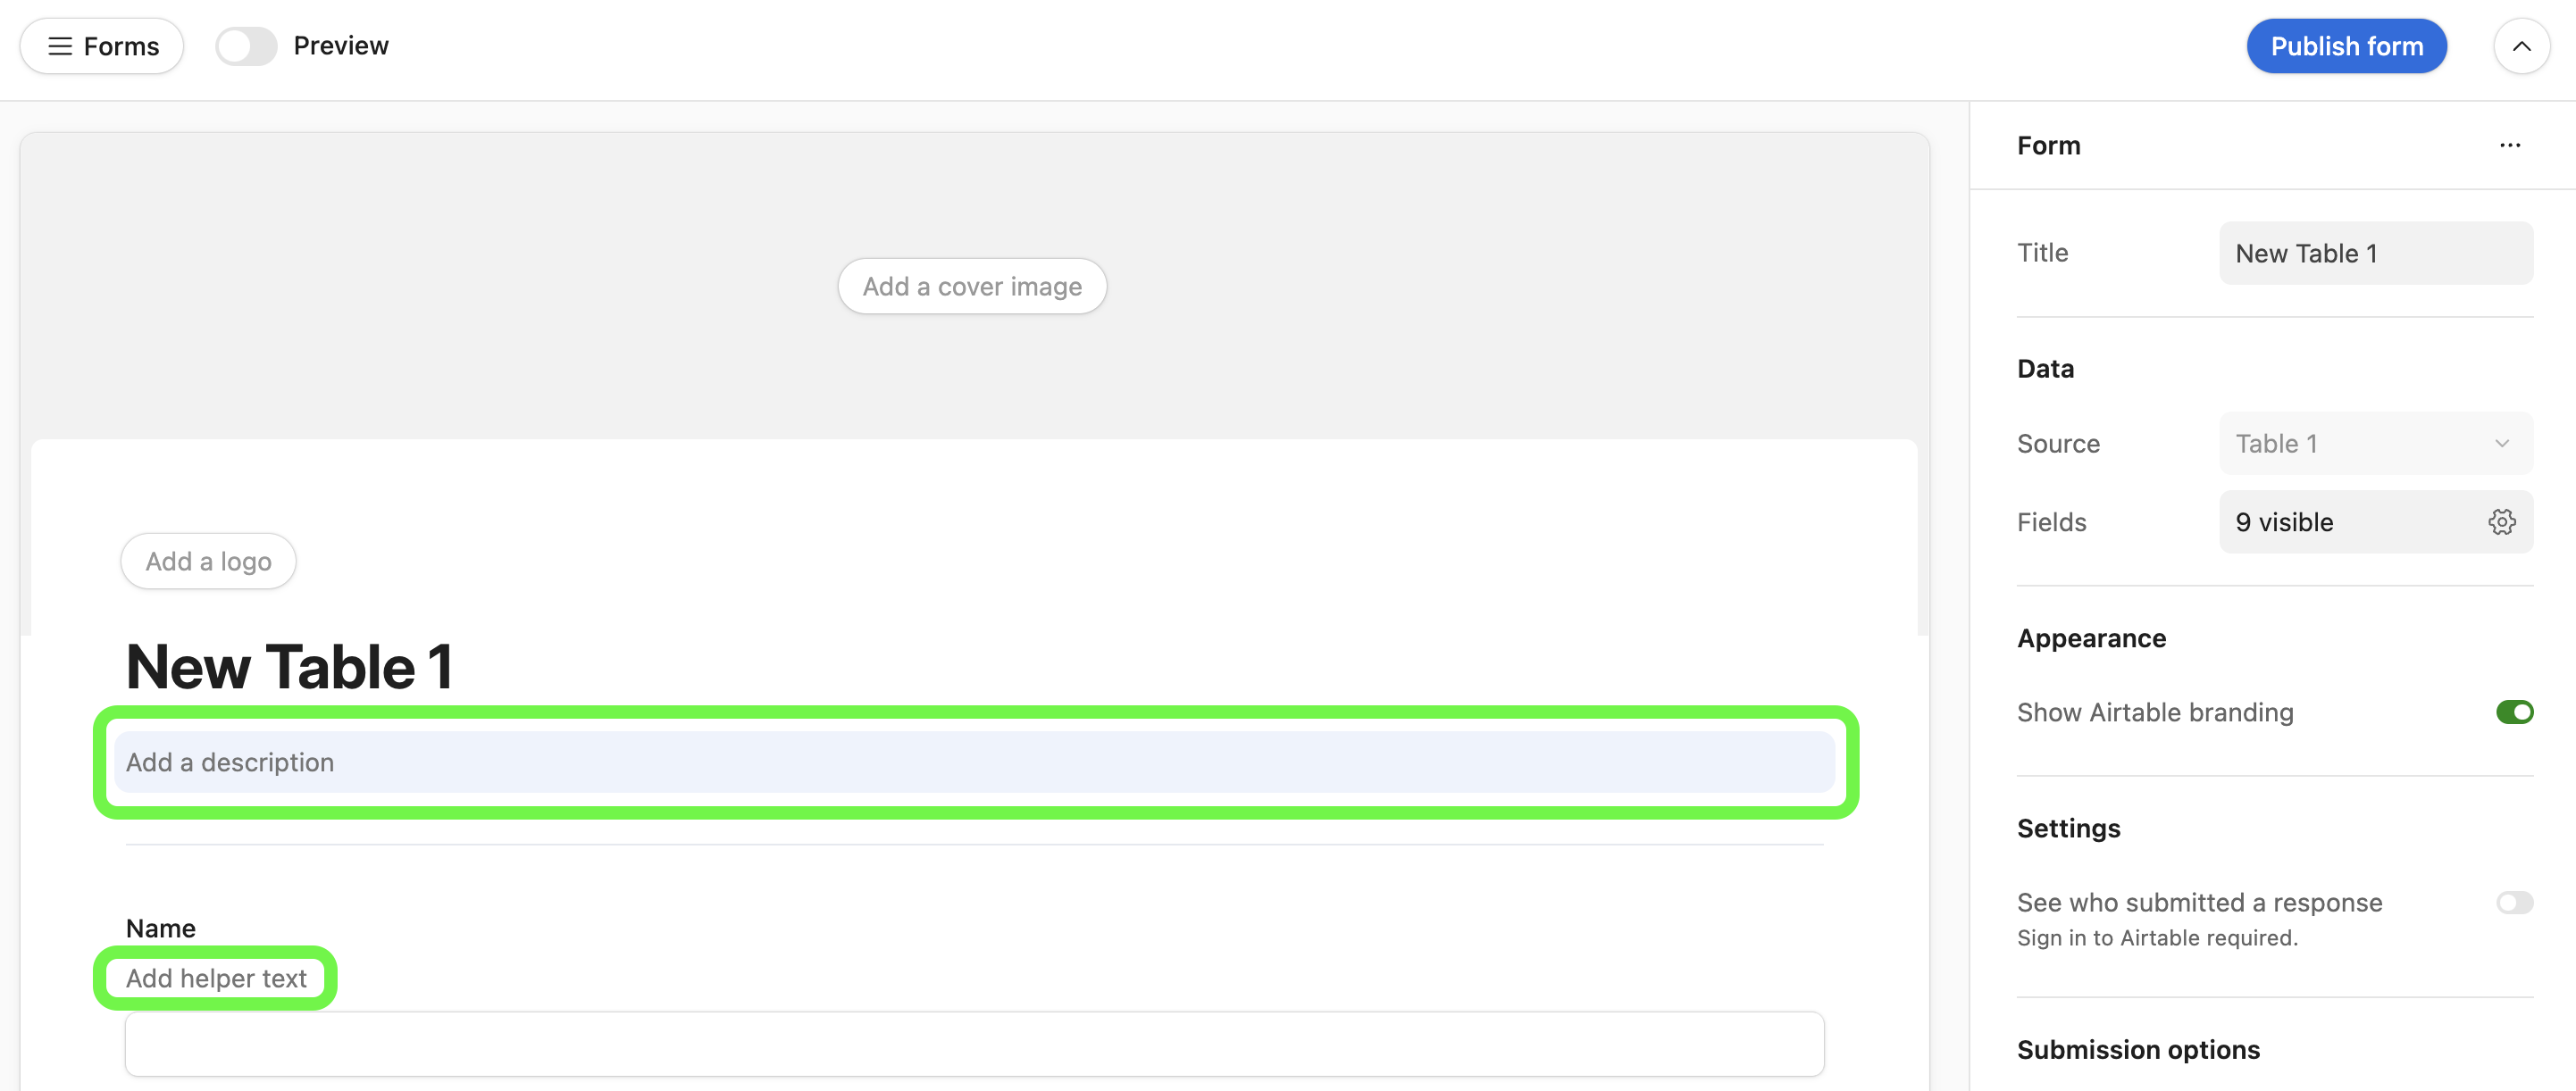
Giving more context for other creators can be helpful, however, the “Helper text” option for form fields is especially useful for potential form submitters. When configuring a form, creators can add a description below the title and add helper text below each field name.
FAQs
Why is it important to document the apps you build with Airtable?
As Airtable continues to lower the bar of software app creation, we are opening up the possibilities of relational databases, interfaces, automation, and AI to more people at all levels of expertise. The combination of flexibility and native features displays the true depth of Airtable. That depth, however, creates sophistication that may not always be intuitive to every user interacting with an app built within Airtable.
This means that the people who are building apps in Airtable should provide more detail about what they’ve built, how to interact with the app, or how certain parts of the app function on the backend.
There are two primary audiences to consider when documenting or describing in Airtable:
Other creators or admins across your organization or team
End users who have less or no access to the backend portion of the app you’ve built
Is there a character limit to descriptions?
Yes. Descriptions are limited to 20,000 characters.
Was this article helpful?