- 01 Feb 2023
- 10 Minutes to read
- Print
- Dark
- PDF
Using IFTTT to integrate Airtable with other services
- Updated on 01 Feb 2023
- 10 Minutes to read
- Print
- Dark
- PDF
- While these articles are meant to serve as helpful guides for our customers, 1:1 support for integrations with 3rd party tools is limited in support interactions
- If you are experiencing setup issues or need help troubleshooting this integration, we recommend you search threads in the Community first
- If your question doesn't appear to be asked in the Community, then post a new message on the Development & APIs board (Requires signing into the community)
IFTTT (which stands for "If this, then that") is a third-party service that can connect Airtable to hundreds of other apps, services, and devices. Using IFTTT, you can create an "applet," which is basically a set of instructions in the form of "If [x], then [y]" that will automate a particular task for you. You can use Airtable as either a trigger or an action in an IFTTT applet.
Please be aware that Airtable's integrations with IFTTT are rather fragile, as IFTTT cannot automatically retrieve the names of your tables and fields. This means that if you change the names of your tables and fields after setting up your recipe, your applet will break and no longer work as intended. Please be careful!
IFTTT basics
The basic structure of an IFTTT applet involves connecting two of IFTTT's 300+ services together. IFTTT supports many services, e.g. Airtable, iOS/Google Contacts, Dropbox, etc. Different services include different triggers (the "if" part of the recipe) and actions (the "then" part of the recipe).
Some examples of recipes might be:
- If the weather forecast predicts rain for tomorrow [the trigger], then send me a text message reminding me to bring an umbrella to work tomorrow [the action].
- If a new record is created in my Airtable base [the trigger], then send me an email letting me know [the action].
- If a new book appears on the New York Times Hardcover Fiction Best Sellers list [the trigger], then create a record in my Airtable base with the name and author of that book [the action].
When configuring an applet, you'll need to use ingredients, which is IFTTT's term for variable bits of information from the trigger. So if Airtable was the trigger, this would include things like the time at which the record was created, the name of the record (i.e. the contents of the primary field), or the URL of the record.
Note that the relationship between a trigger and an action in an IFTTT applet is one-way and a trigger will fire only once in response to an expected event—there is no permanent connection between the two channels. For example:
- Suppose your IFTTT applet is: If I pin a new image on Pinterest, thencreate a new record in my Airtable base.
- If you unpin the image, it will not delete, alter, or otherwise change the record in Airtable.
- If you change/update the record in Airtable, this will not affect the pin on your Pinterest board.
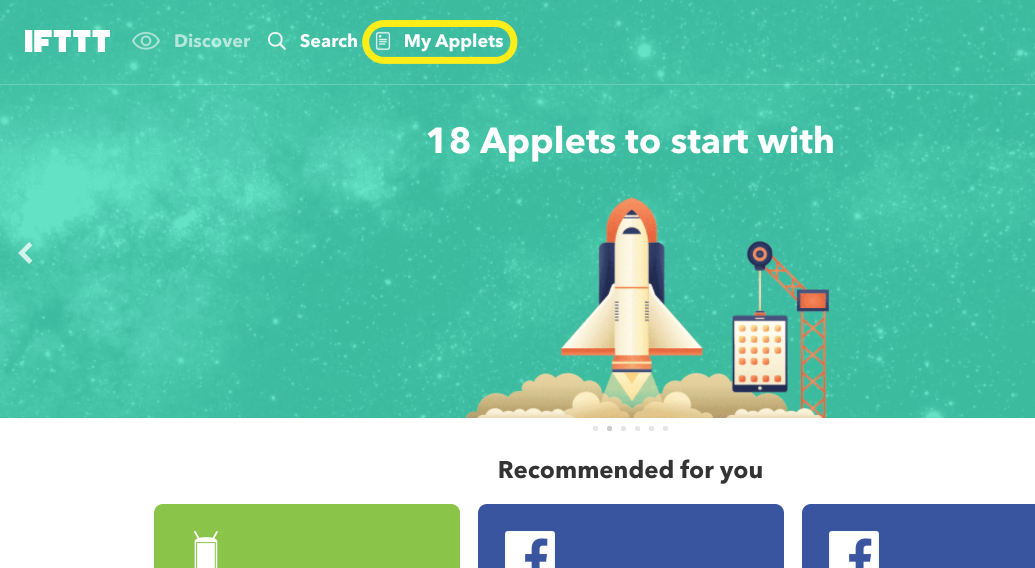
To make an IFTTT applet, you'll first need to login (or create ) an IFTTT account. From the IFTTT home page, click on the My Applets link at the top of the page:
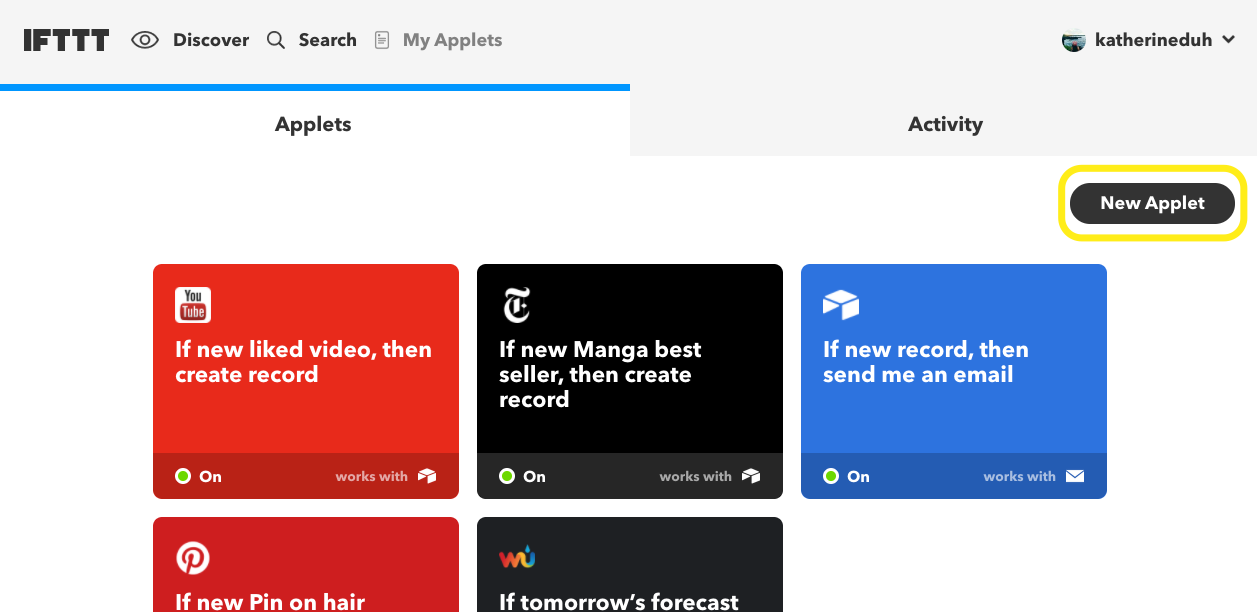
From the My Applets page, click the New Applet button:
Making an IFTTT applet with Airtable as the trigger
Suppose you're running a survey using Airtable forms, and you'd like to be notified whenever someone submits a response. Let's set up an example IFTTT applet in which Airtable is the trigger channel:
If a new record is created in my Airtable base, then send me an email.
Step 1: Set up the trigger service (Airtable) and trigger
After clicking the New Applet button, click the big blue "this" to get started. This will bring up a list of trigger services—click Airtable to select it as the trigger service. (You may be asked to connect Airtable to your IFTTT account at this point if you haven't done so already.)
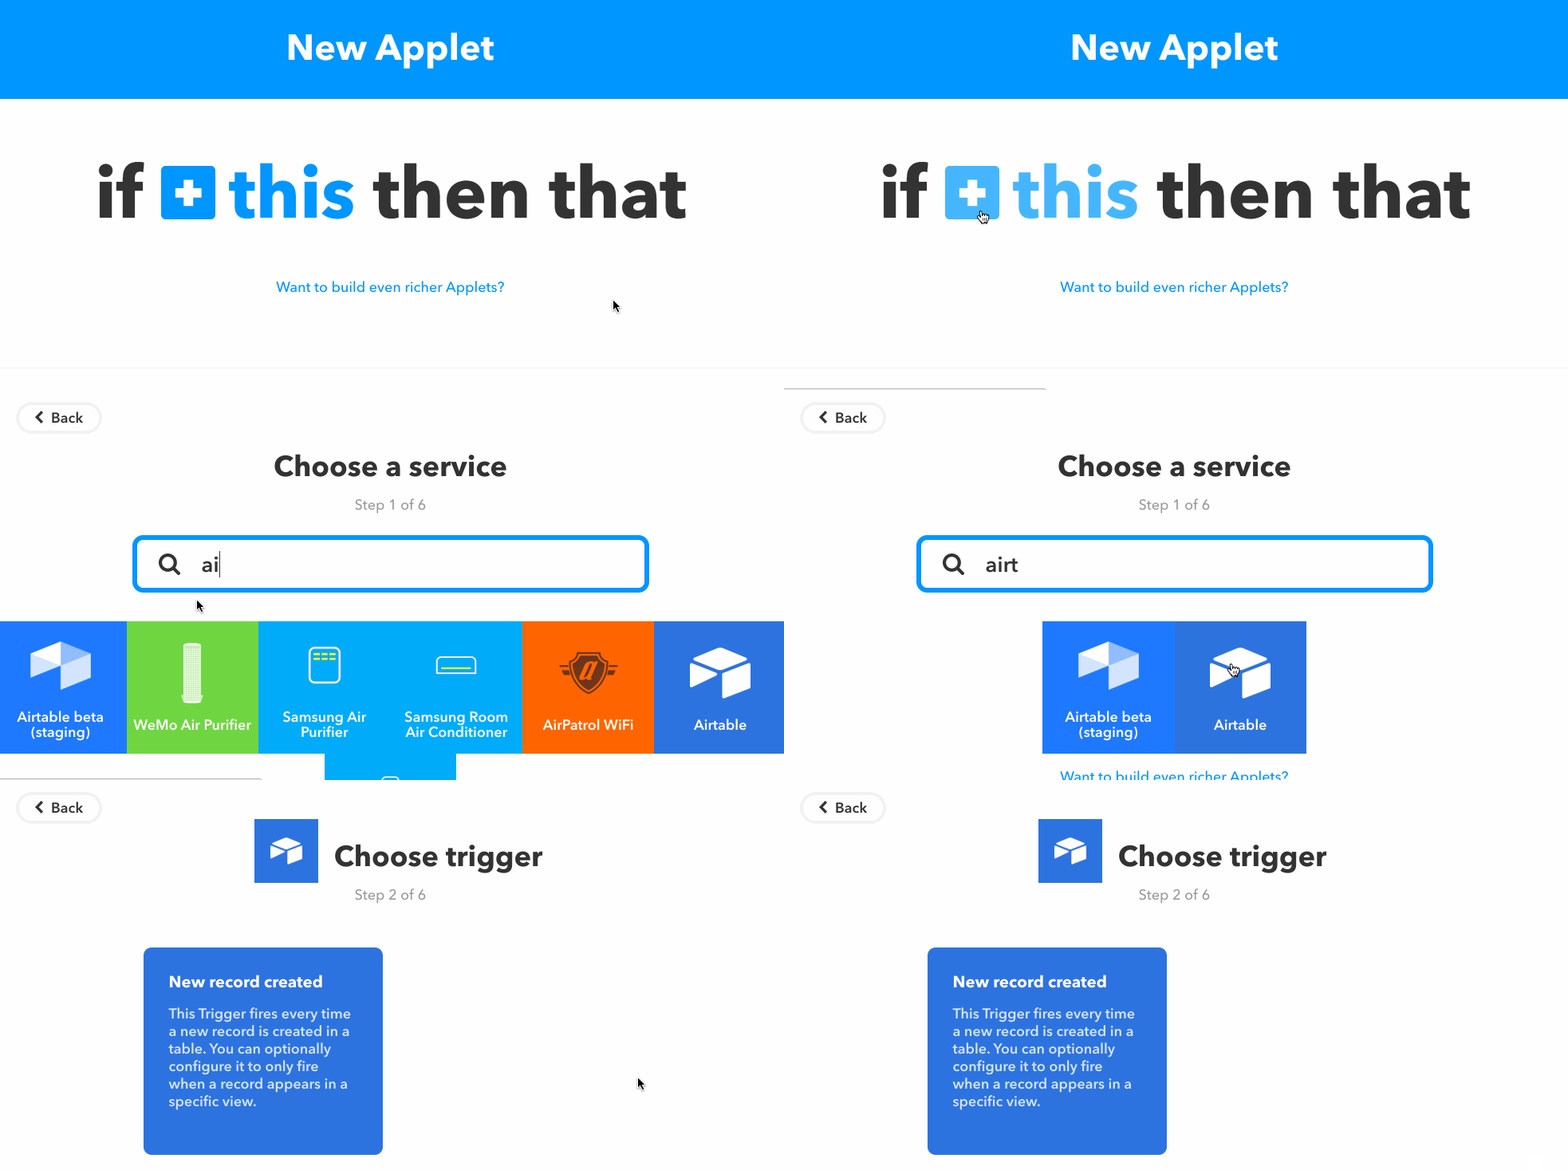
The next step is to choose a specific trigger. At the moment, the only Airtable trigger is New record created, which means the trigger will fire every time a new record is created in a specified Airtable base. Click the New record created option to proceed.
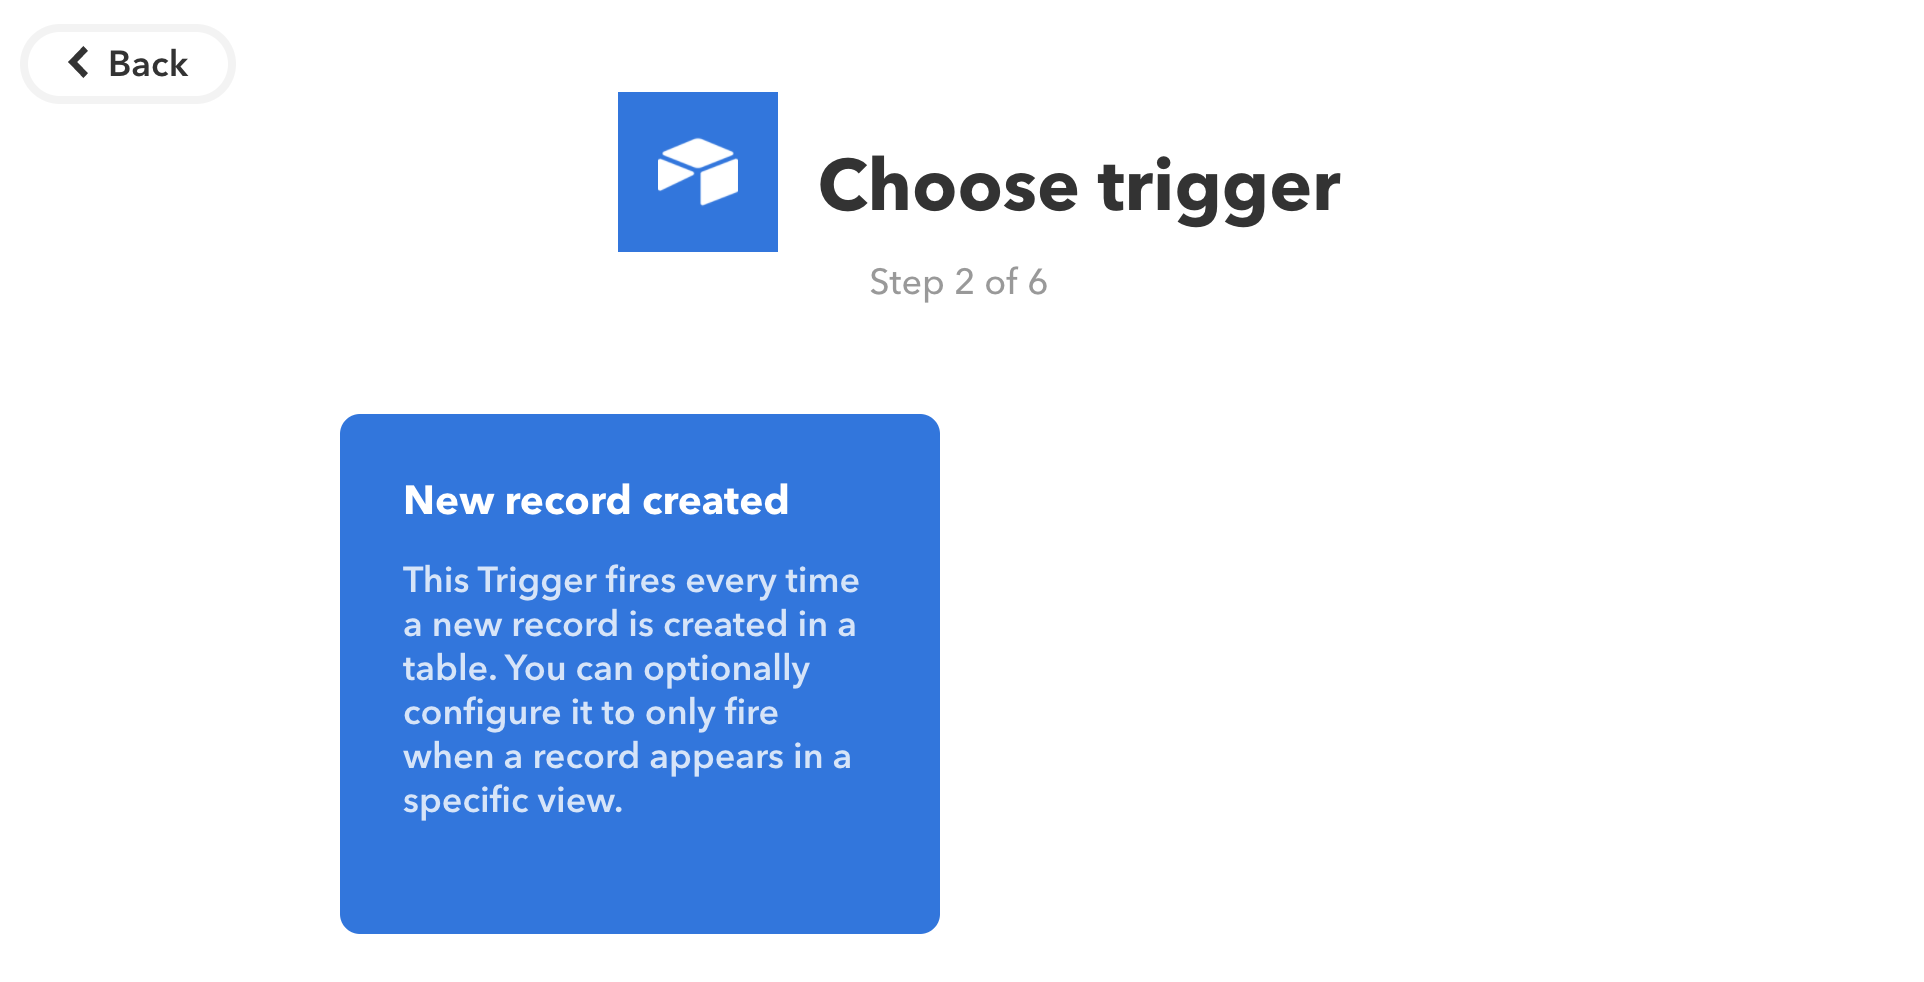
Next, you'll be asked to complete the trigger fields. This means that you'll be telling IFTTT the specific base, table, and/or view which you would like to trigger changes in your action service.
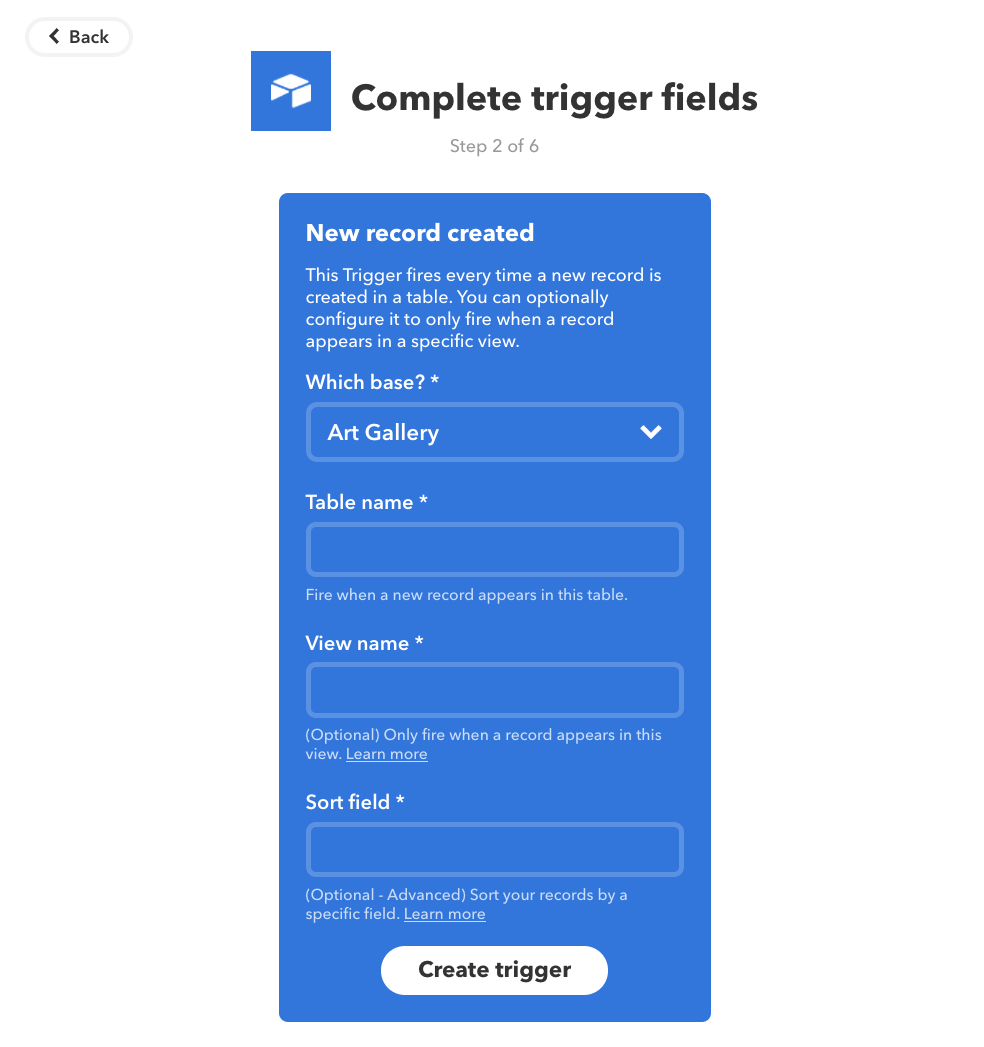
Select the desired base from the dropdown menu. In the table name field, you will then need to manually type in the name of the table in which new records being created will trigger your action. So, if your base looked like this in Airtable:
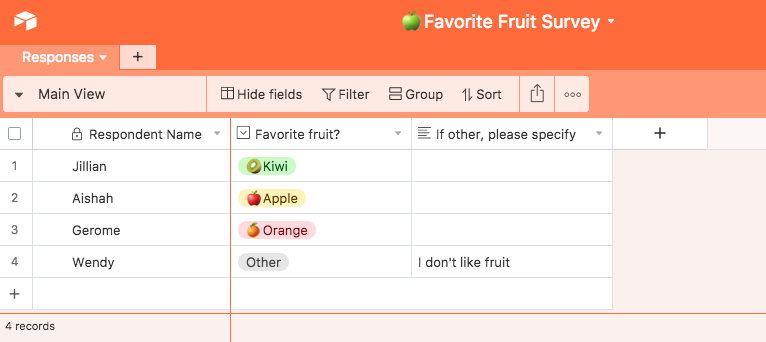
Then you would fill out the trigger fields in IFTTT like this:
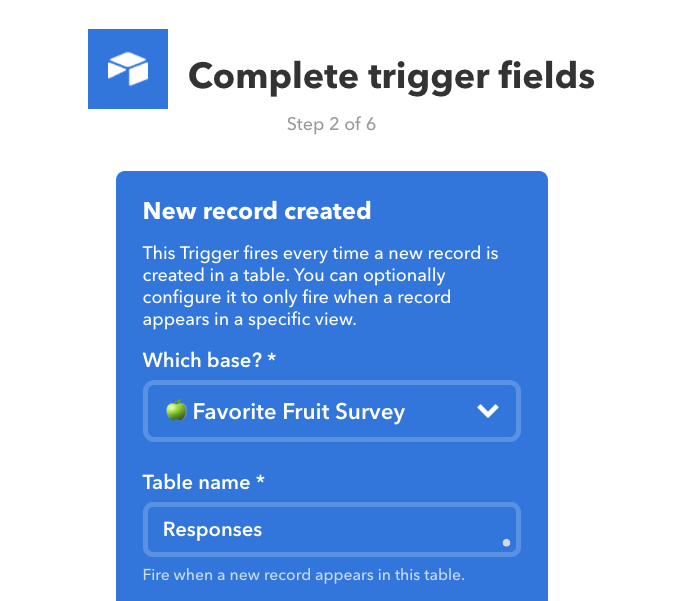
Additionally, you have the option of manually typing in the name of a view in the view name field. If you do this, only new records that show up in that particular view will fire the trigger. If you leave it blank, all new records in the specified table will fire the trigger.
You also have the option of configuring how IFTTT will retrieve the most recent records by putting in the name of a field in the sort field option. IFTTT will sort records in descending order of the specified field. If you leave sort field blank, IFTTT will default to sorting by the created time of the record in descending order.
IMPORTANT NOTE 1: The names of the table, view, or field specified in the recipe are case-sensitive. For example, if the name of the table is “Responses”, typing “responses” into IFTTT means the applet will not work.
IMPORTANT NOTE 2: If you change the names of the table, view, or field specified in the recipe while in Airtable, your IFTTT recipe will no longer work because the names will not be automatically updated in IFTTT . For example, if you change the name of the table from "Responses" to "Survey Responses", the applet will break.
Once you're done configuring the trigger fields, click the create trigger button to progress.
Step 2: Set up the action service and action
When you're done creating the "if this" portion of your conditional statement (the trigger), IFTTT will then prompt you to create the "then that" portion of your conditional statement (the action).
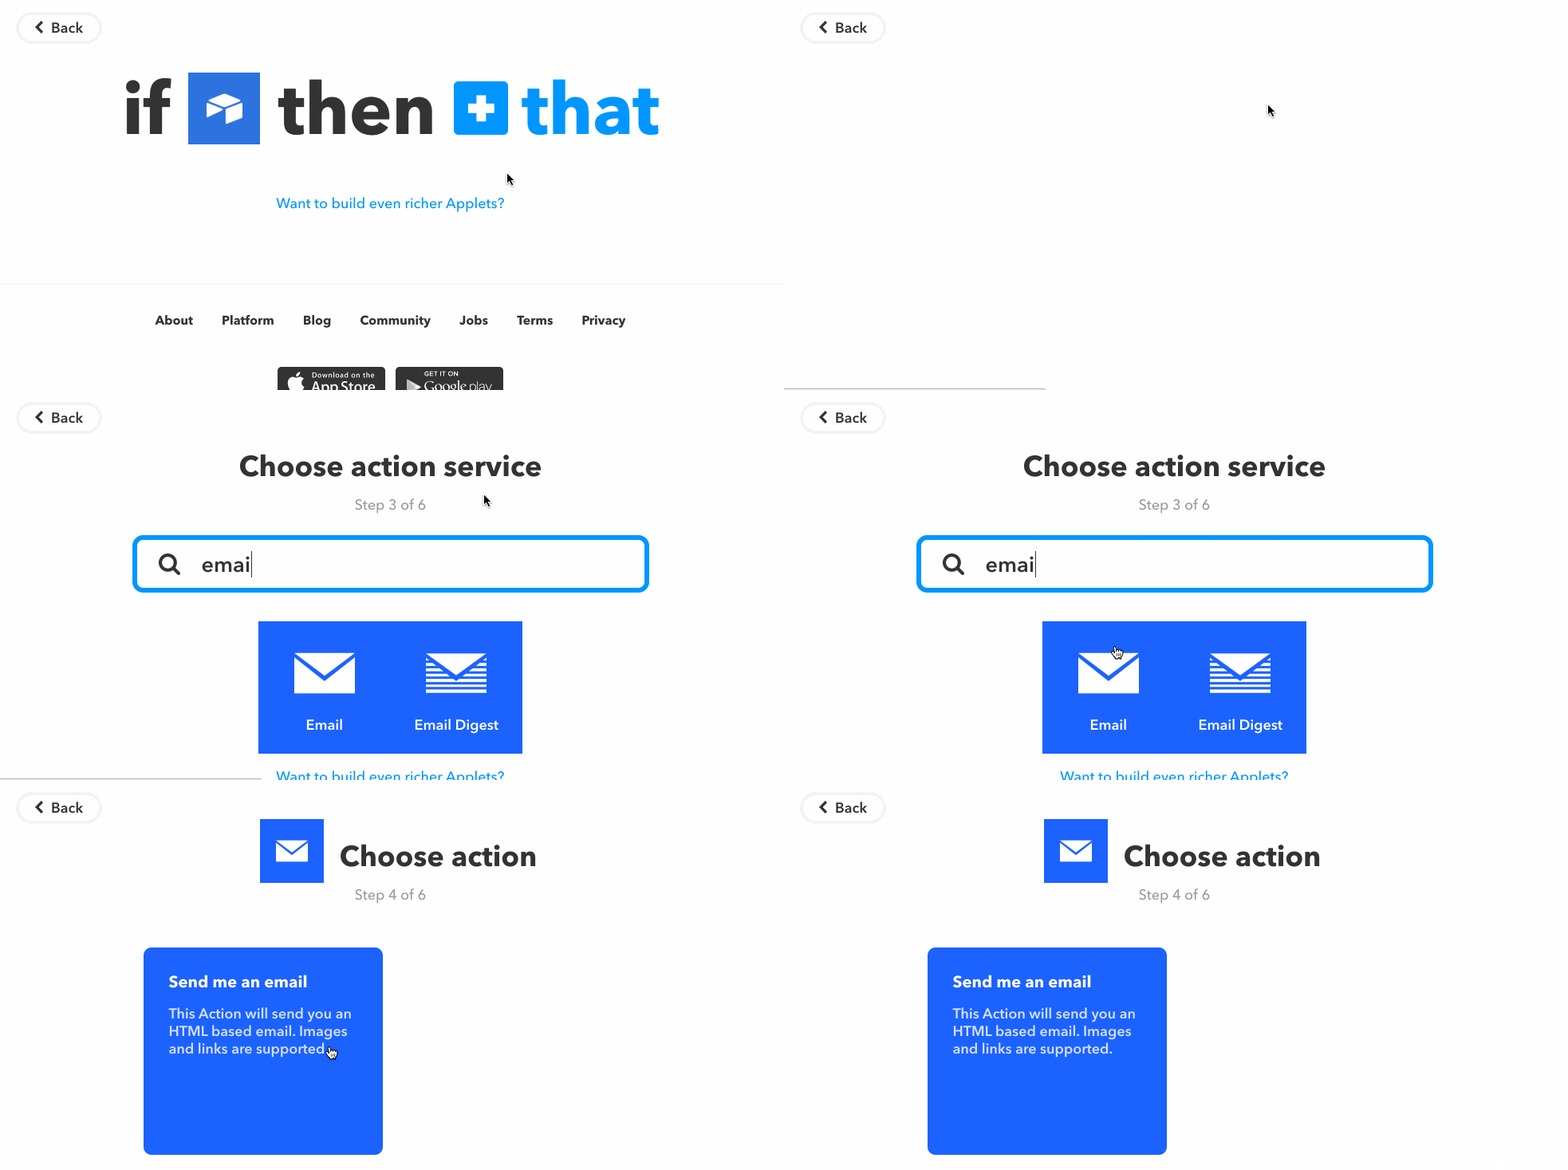
Choose whichever service you'd like for the action step—for our example, we'll select Email. (You may be asked to connect your action app to your IFTTT account at this point if you haven't done so already.)
The next step is to choose a specific action to be taken. For our example, let's select Send me an email.
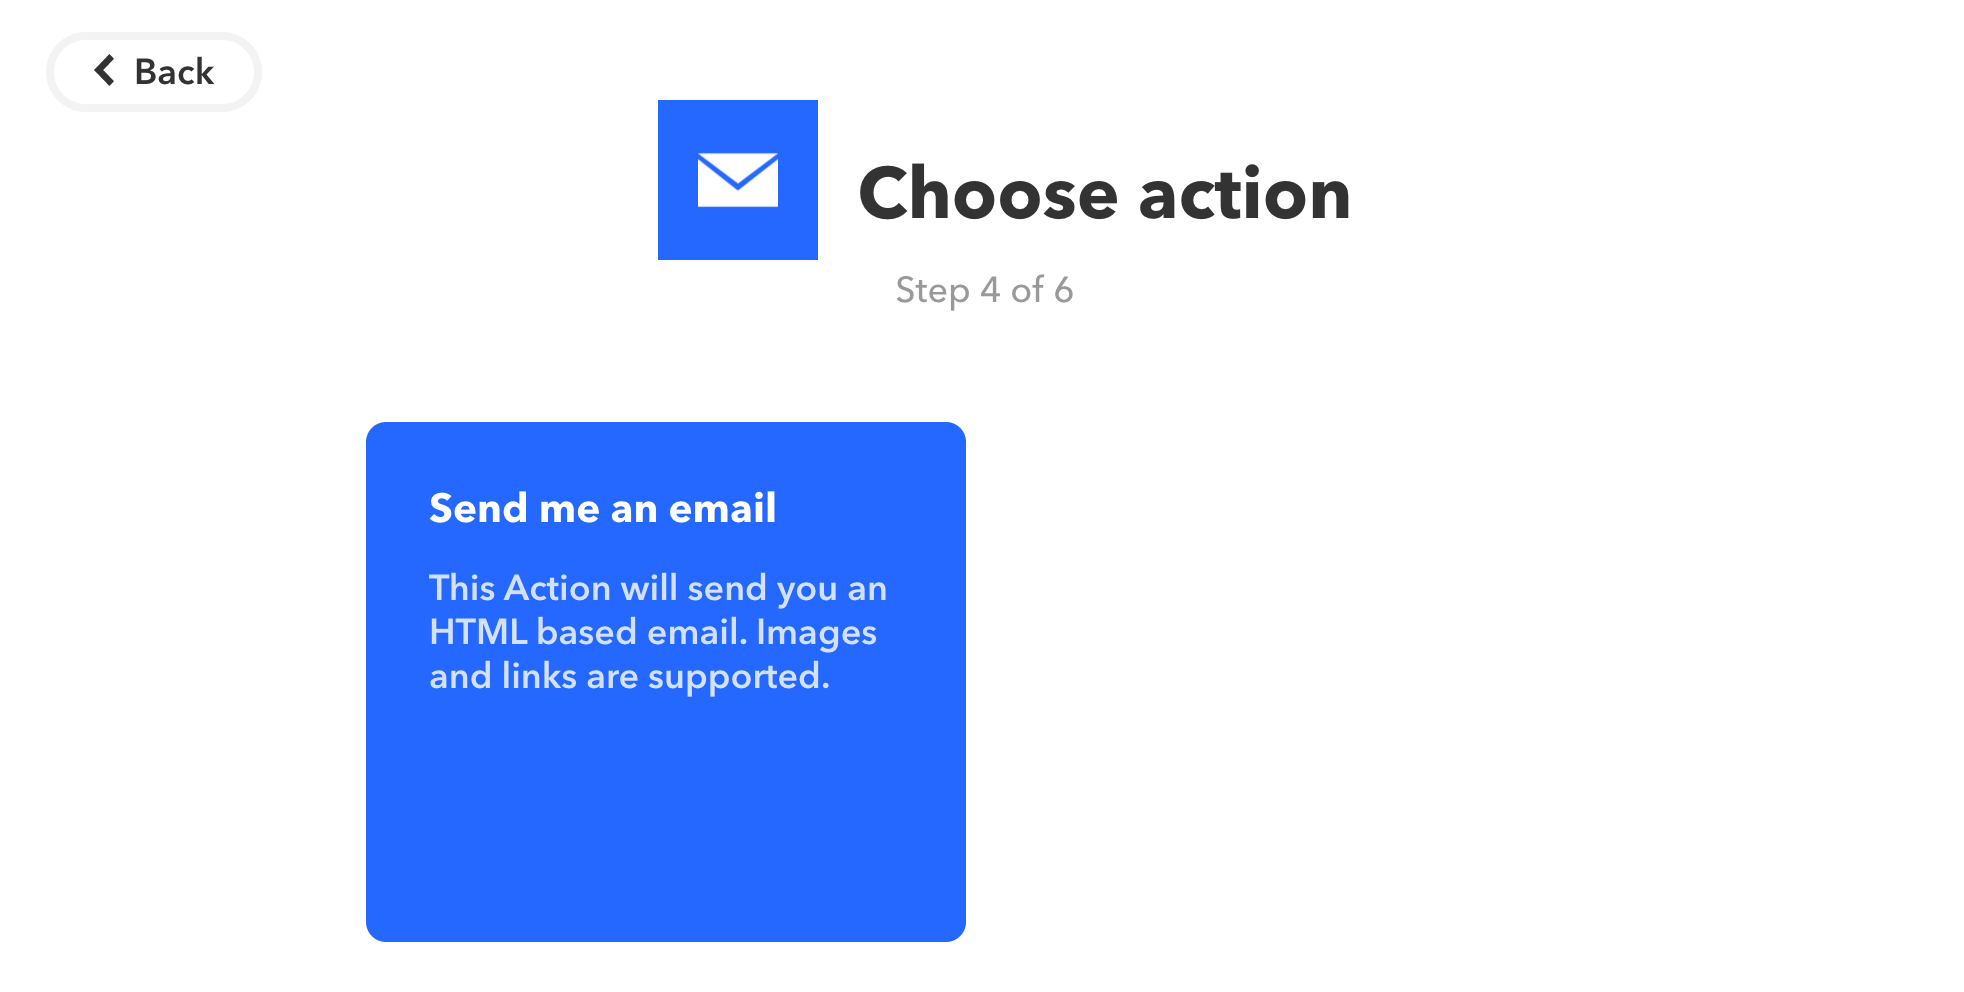
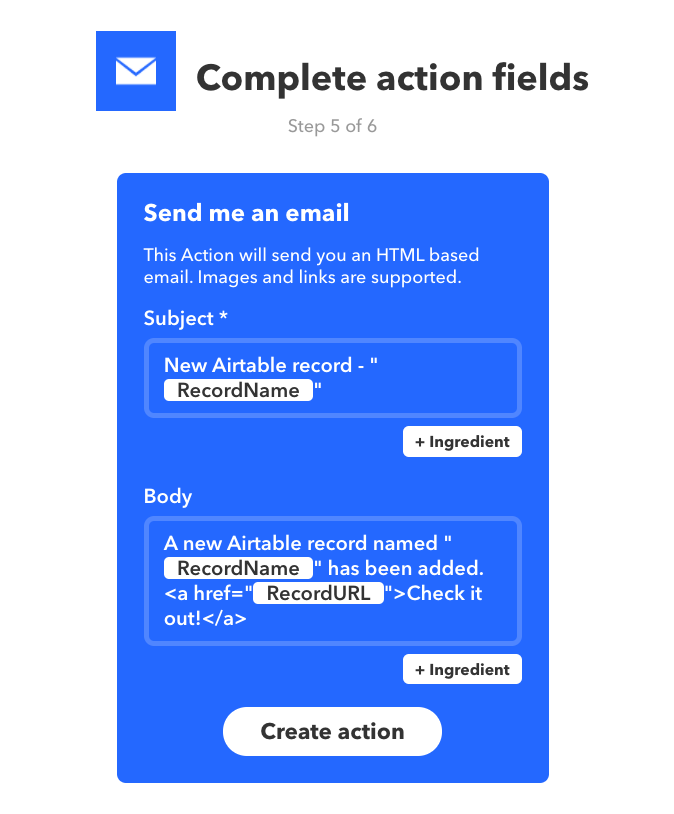
From here, we can customize the email that IFTTT will send us. (The default email template looks like the one in the following image.)
Notice that each field has a button below it that says + Ingredient. Clicking on this button will allow you to add ingredients from the triggering Airtable record into your email.
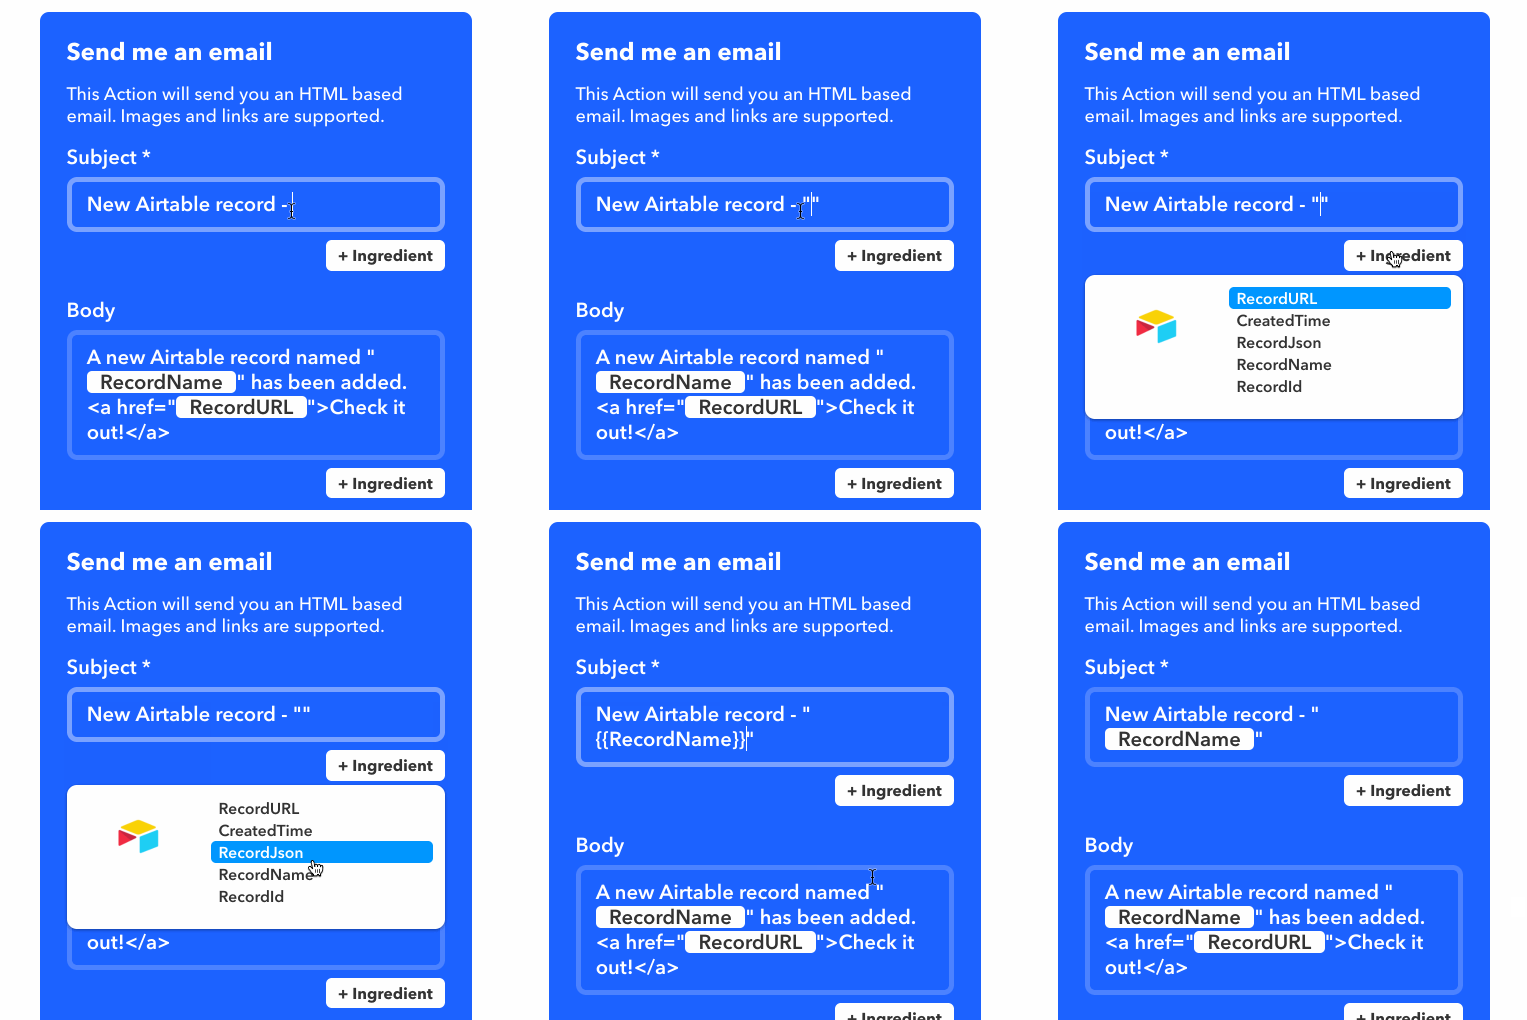
The available Airtable ingredients include the time at which the record was created, the name of the record (i.e. the contents of the primary field), the URL of the record, etc.
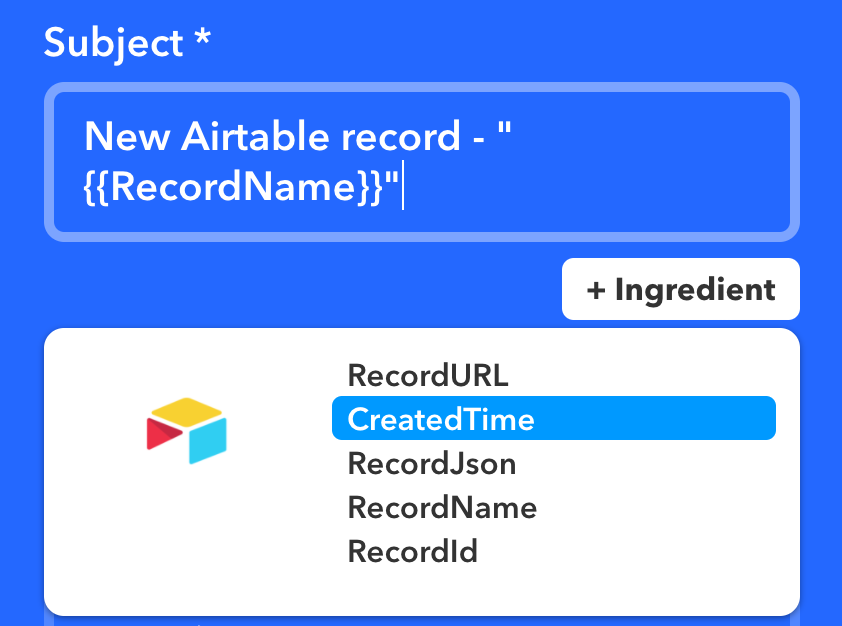
Using these ingredients, we can specify the format of the email we'll receive when someone fills out our form.
IMPORTANT NOTE 3: For the name of the record to appear properly in the action step, you'll need to wrap the ingredient in double quotation marks.
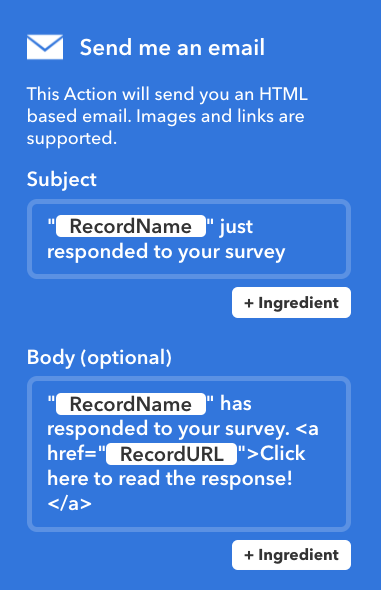
Click the create action button once you're done configuring the action. Finally, you'll get a chance to name your recipe and double-check that everything's correct. If everything looks good, click the Finish button!
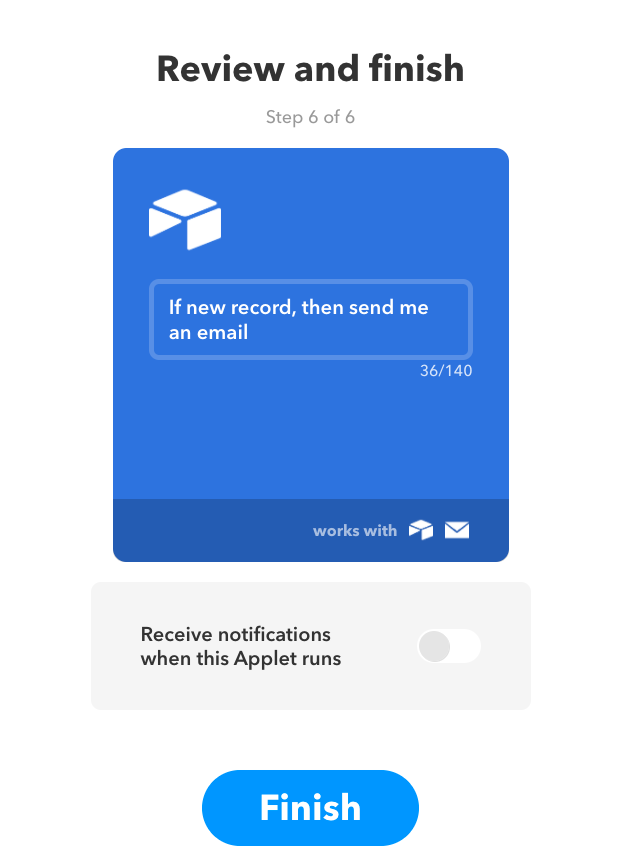
We've now set up a recipe so that whenever a new record is created in the specified base and table...
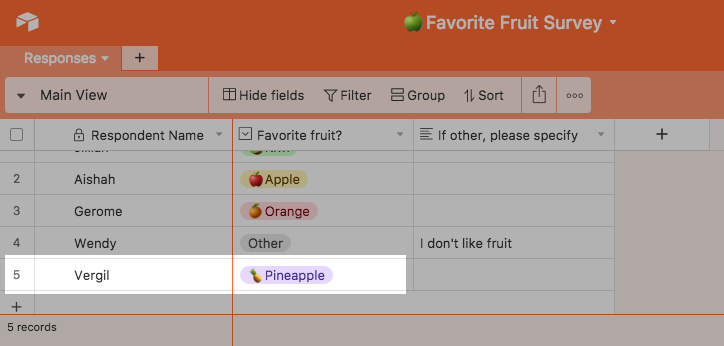
...an email will get sent to you that looks like this.

Making an IFTTT applet with Airtable as the action
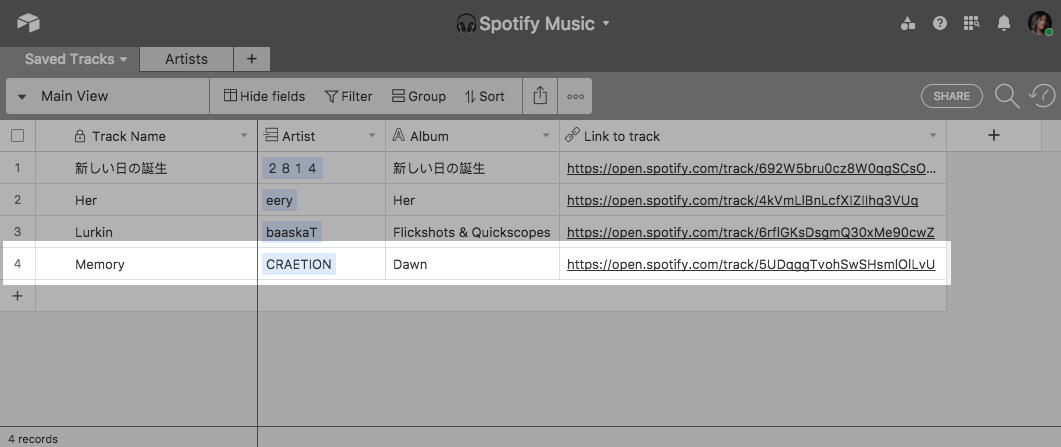
Suppose you'd like to create an Airtable base which catalogs the tracks you save to a Spotify playlist. Let's set up an example IFTTT recipe in which Airtable is the action channel:
If I save a new track to this Spotify playlist, then create a record for that track in Airtable.
Step 1: Set up the trigger service and trigger
On the My Applets page, click the New Applet button, then click the big blue "this" to get started. This will bring up a list of trigger services. In this example, let's select Spotify as our trigger service. (You may be asked to connect your trigger channel to your IFTTT account at this point, if you haven't done so already.)
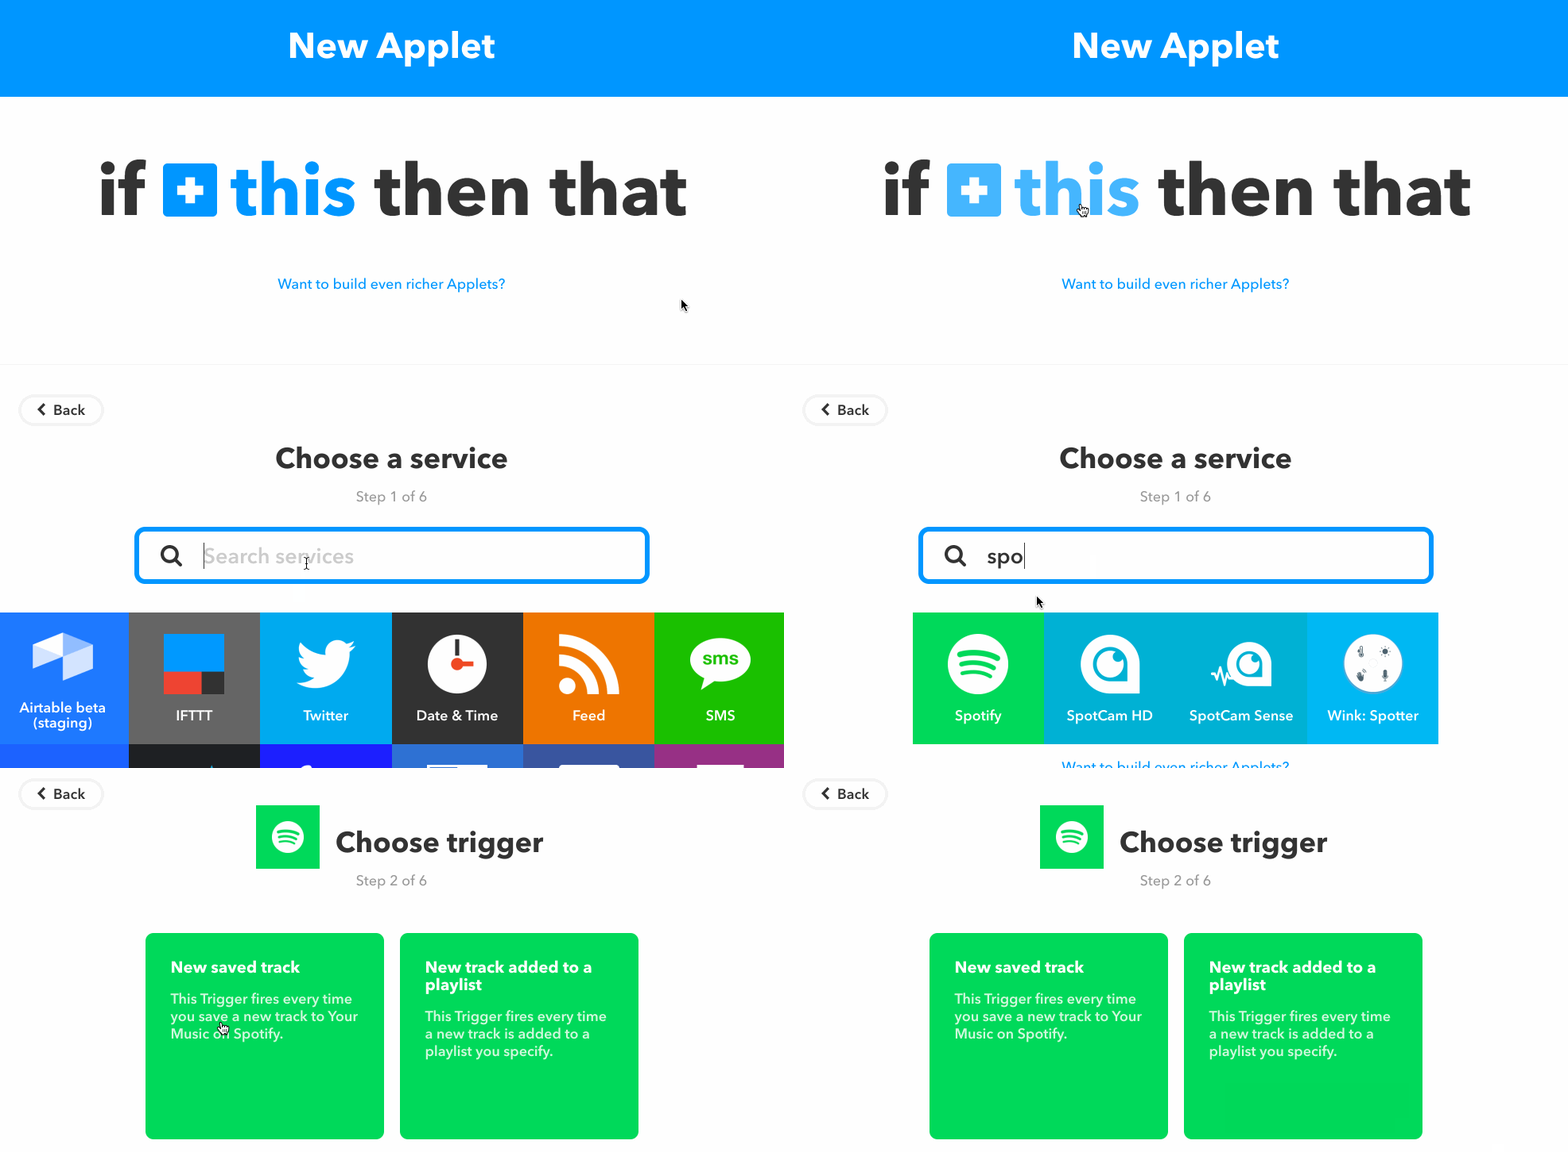
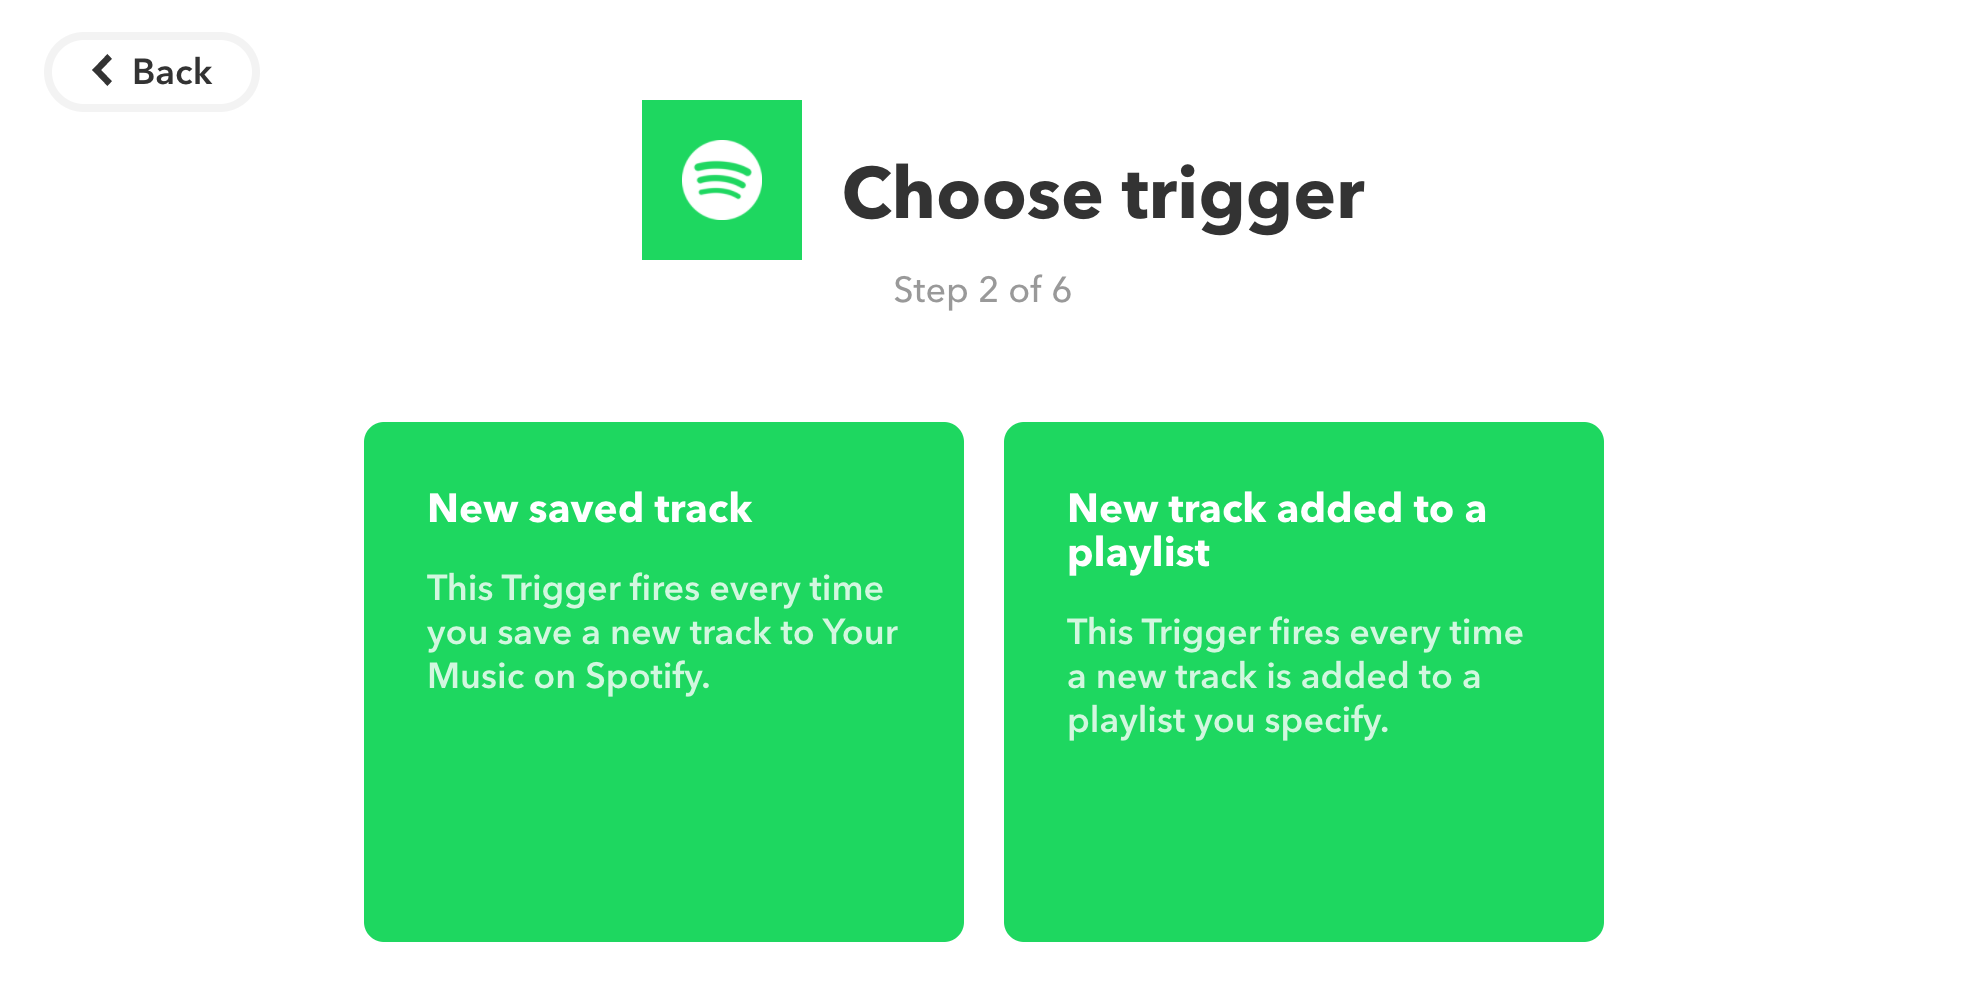
The next step is to choose a specific trigger. For Spotify, there are two possible triggers from which you can pick—let's select New track added to a playlist, which means the trigger will fire every time you save a track to a specific playlist on Spotify.
For some triggers, you'll be required to complete trigger fields, meaning that you'll need to specify further how you'd like the trigger to function. For this trigger, we need to specify the playlist for which we want the trigger to fire. When you're done configuring the trigger fields, click the Create trigger button.
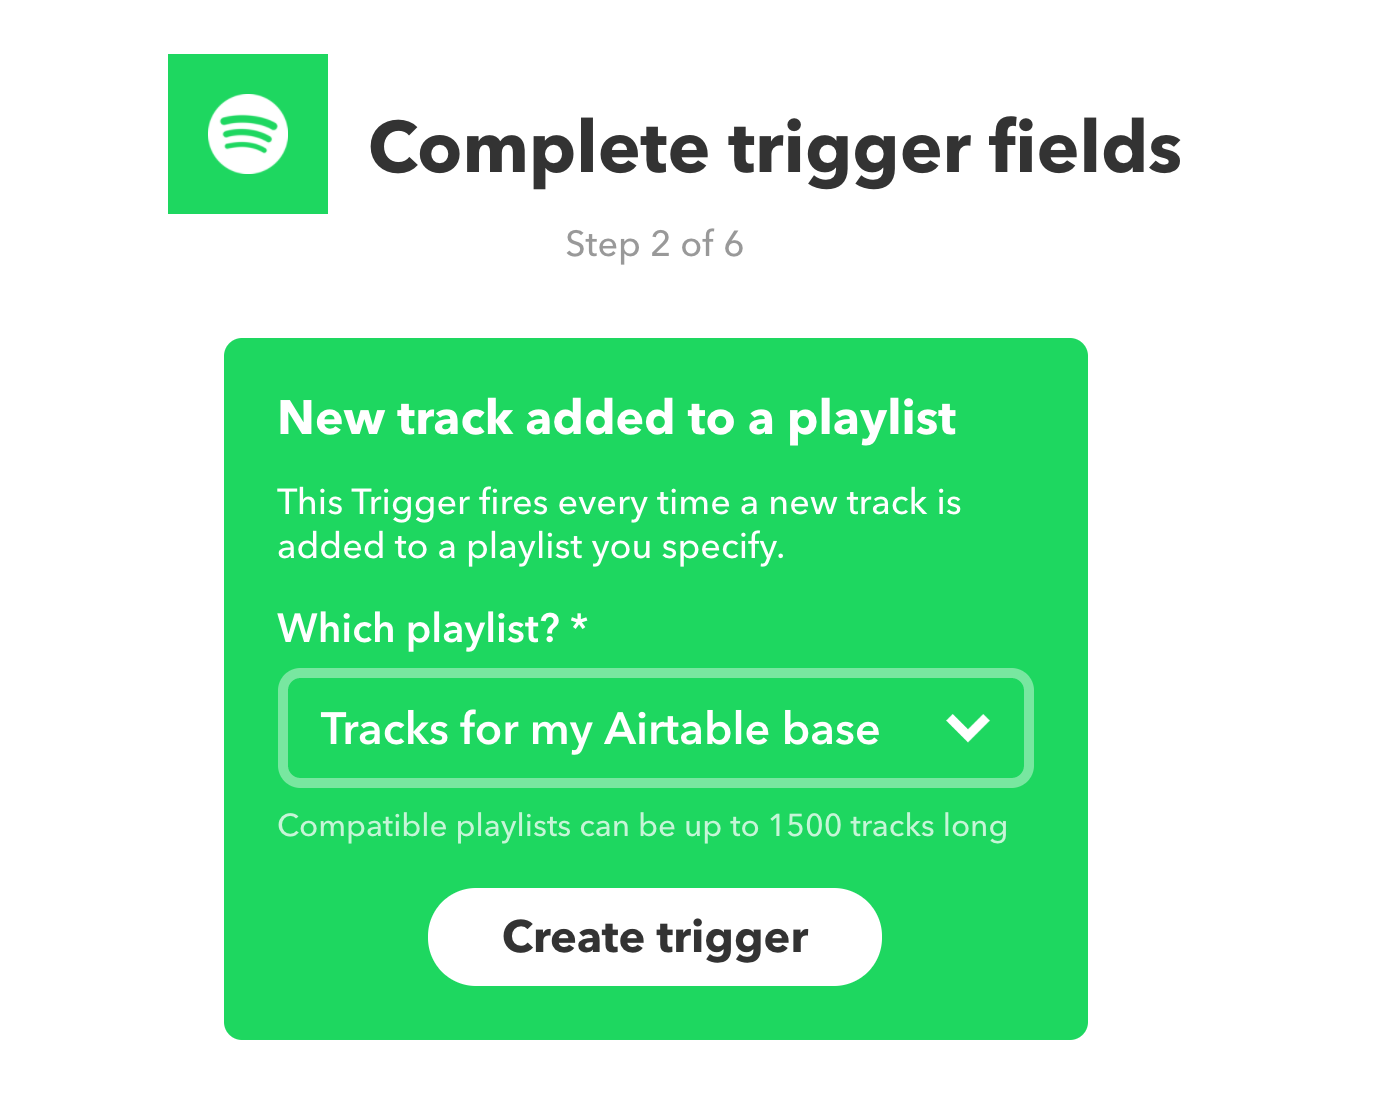
(Note that some types of triggers require no further specifications on the trigger fields. If you had picked the New saved track trigger instead of the New track added to a playlist trigger, for example, there wouldn't have been any additional fields to complete.)
Step 2: Set up the action service and action
When you're done creating the "if this" portion of your conditional statement (the trigger), IFTTT will then prompt you to create the "then that" portion of your conditional statement (the action).
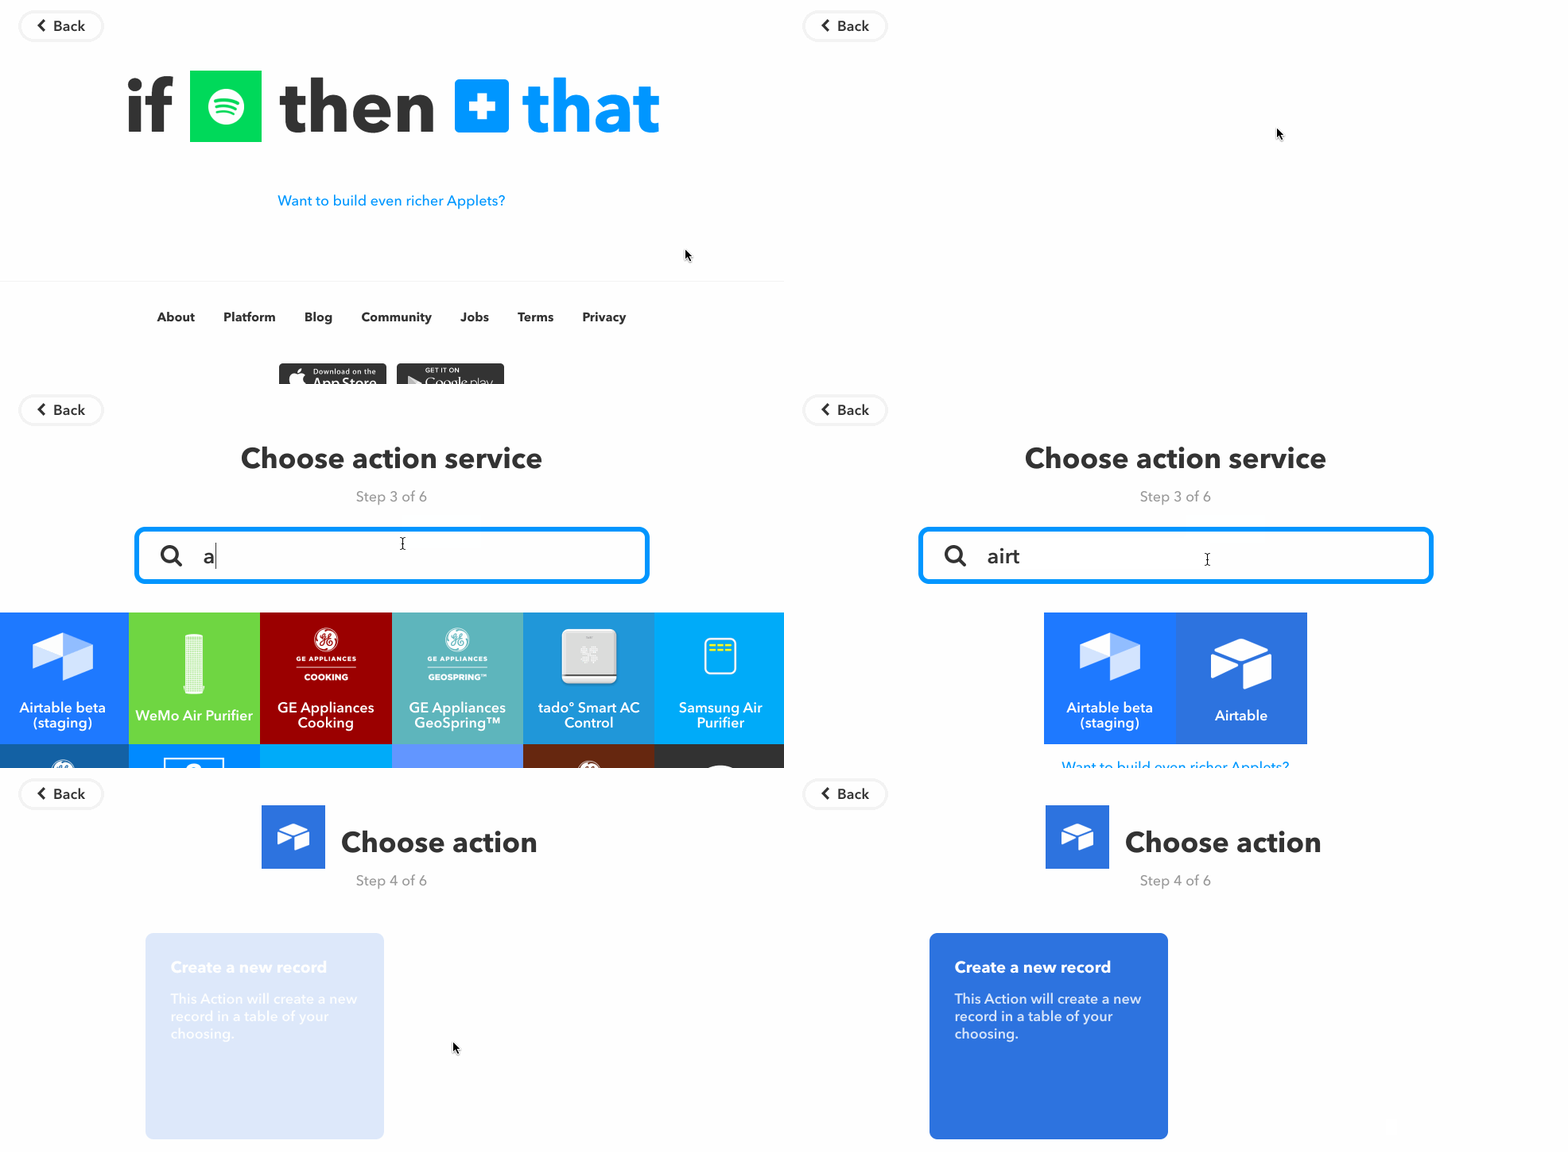
For this example, choose Airtable as the action channel. (You may be asked to connect Airtable to your IFTTT account at this point, if you haven't done so already.)
The next step is to choose a specific action to be taken. At the moment, the only Airtable action is Create a new record, which means that every time the trigger fires, IFTTT will create a new record in a specified table within a specified Airtable base.
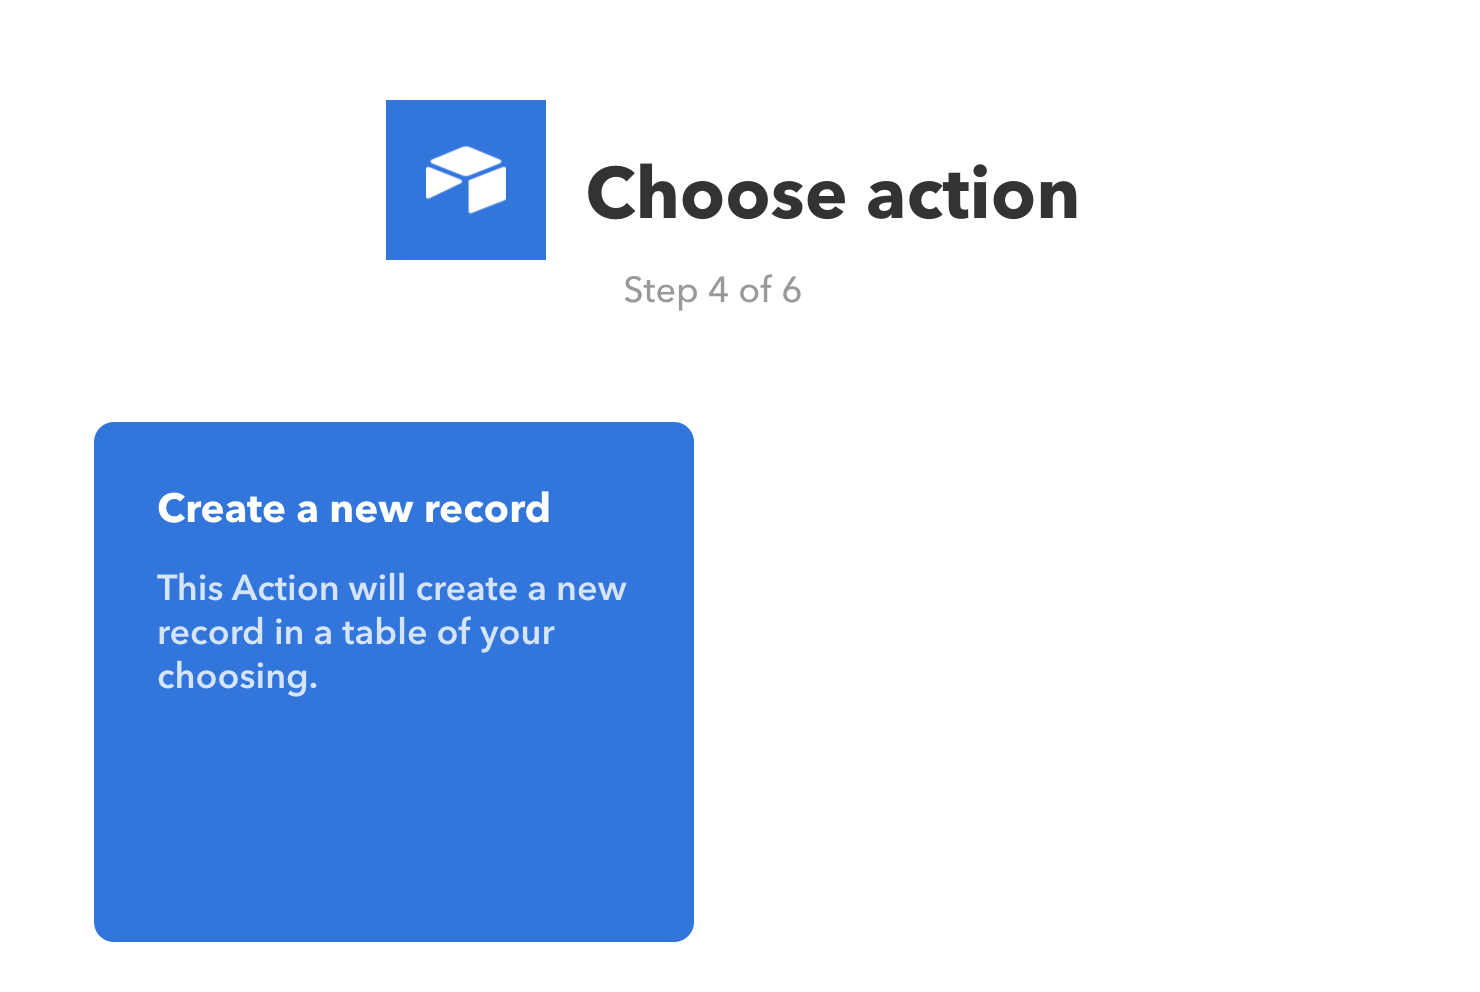
Next, you'll be asked to complete the action fields. This means that you'll be telling IFTTT how you want the ingredients from each saved Spotify track to be incorporated into the new Airtable records IFTTT will create.
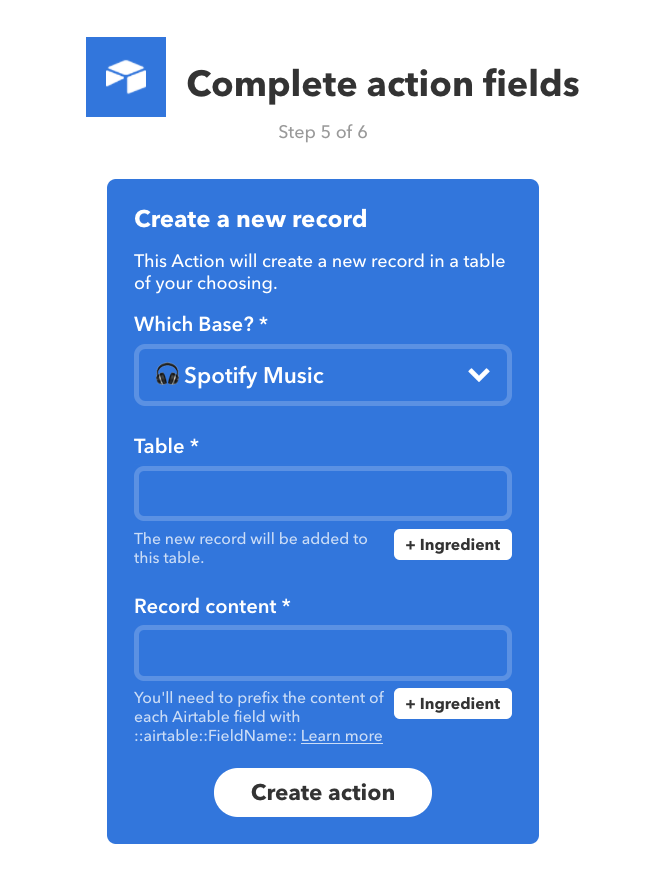
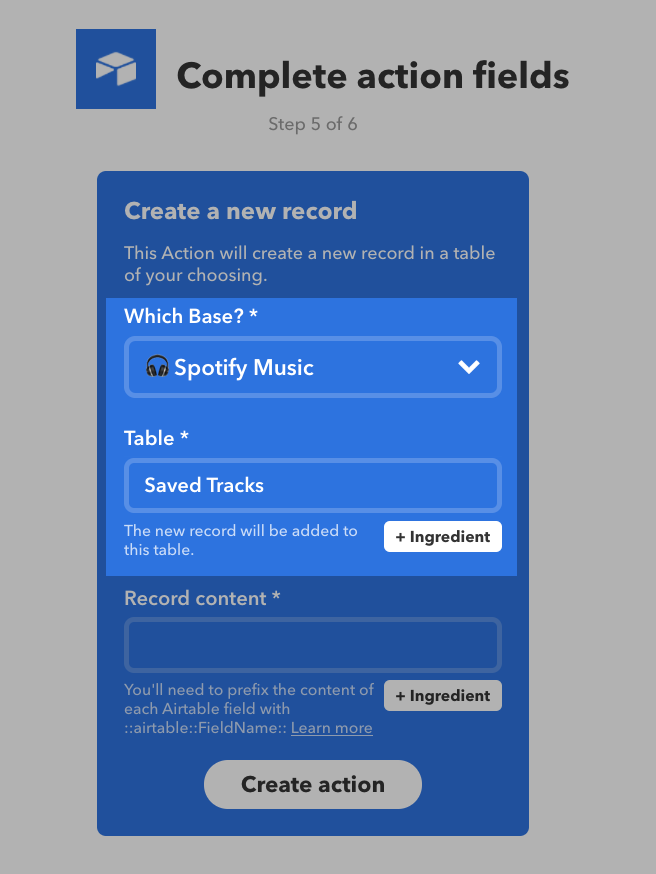
Select the desired base from the dropdown menu. In the table field, you will then need to manually type in the name of the table in which you would like new records to be created.
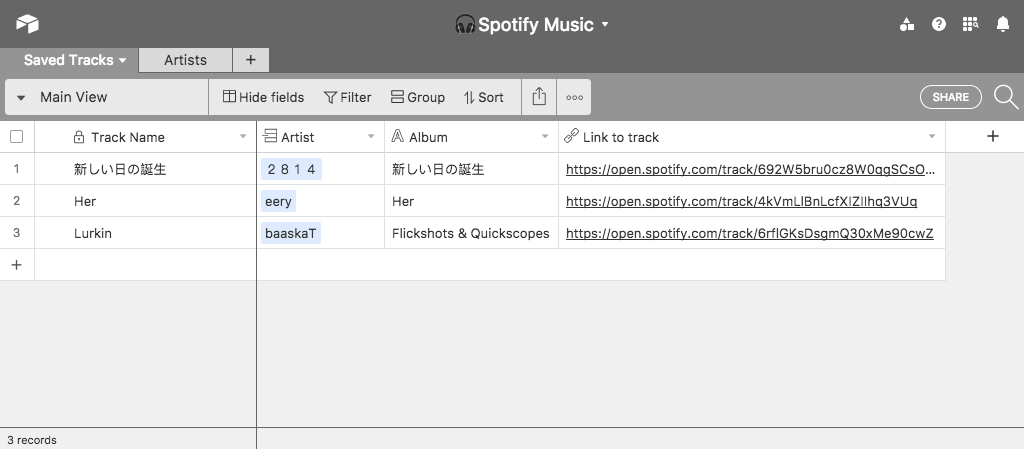
So if your base looked like this, for example:
You would fill out the base and table fields like this:
The record content field allows you to specify exactly which ingredients from the trigger you would like to incorporate into your new record. Notice the + Ingredient button below the field. Clicking on this button will add an ingredient from the trigger into your new record.
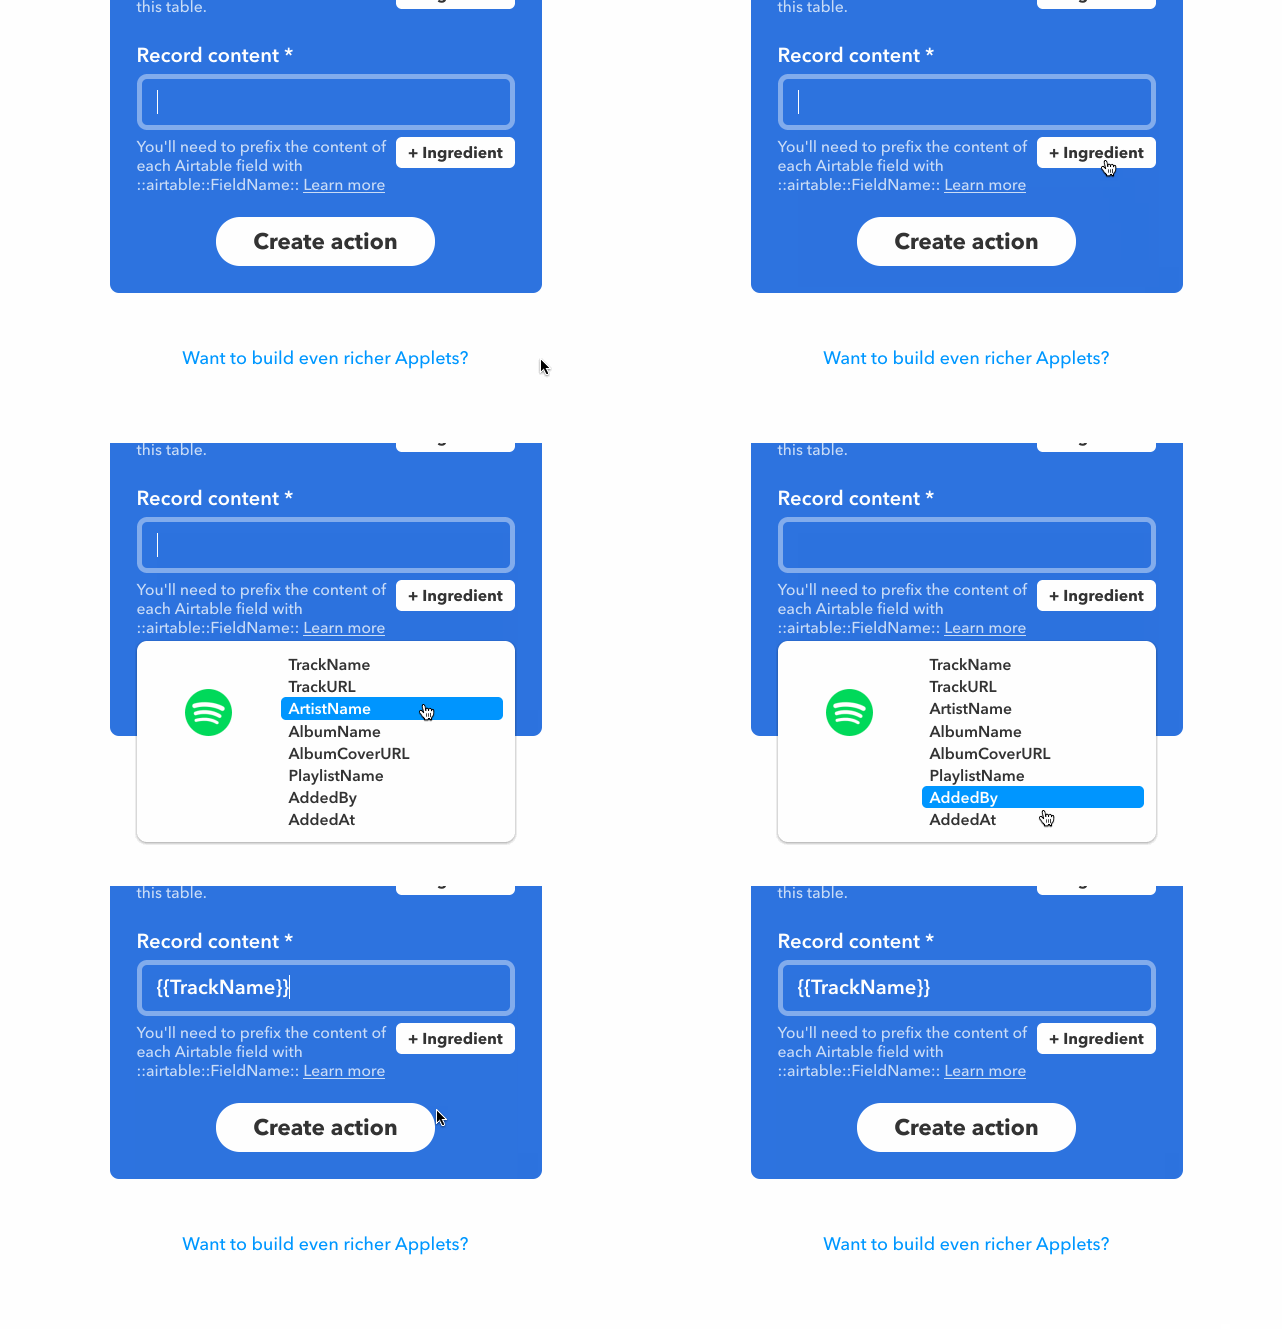
For every ingredient you wish to put in a field, you need to preface that ingredient with:
in which "FieldName" is the name of the field into which you would like the ingredient to go.
For our example, let's say we'd like to put the title of the track in our table's "Track Name" field, the name of the artist in the "Artist" field, the name of the track's album in the "Album" field, and a link to the track in the "Link to track" field. This would be written in the record content field as
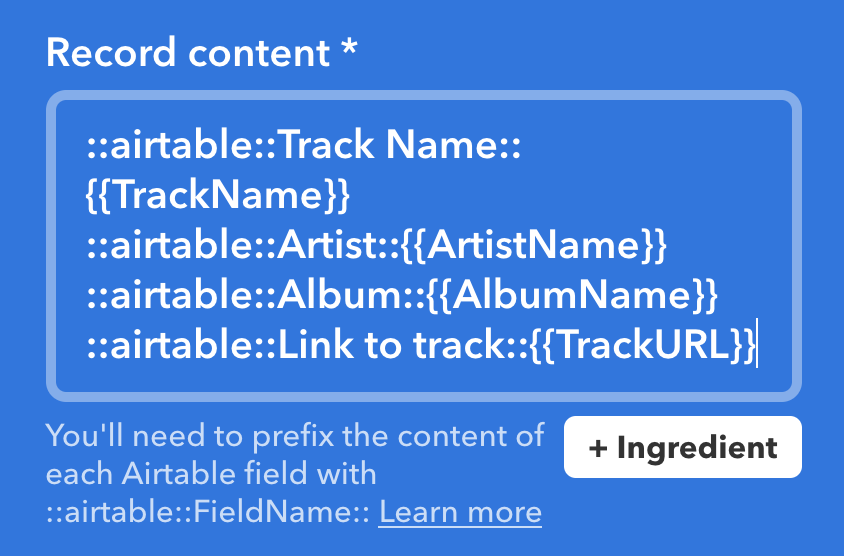
IMPORTANT NOTE 1: The names of the table and fields specified in the applet are case-sensitive. For example, if the name of the field is "Link" (with a capital "L"), typing ::airtable::link:: (with a lowercase "l") into the record content field will break the applet.
IMPORTANT NOTE 2: If you change the names of the table or fields specified in the applet while in Airtable, your IFTTT recipe will no longer work, because the names will not be automatically updated in IFTTT. For example, if you changed the name of the table from "Saved Tracks" to "My Favorite Tracks," the applet would break; similarly, if you changed the name of one of the fields from "Track Name" to "Title of Track," the applet would also break. Use caution.
Click the create action button once you're done configuring the action.
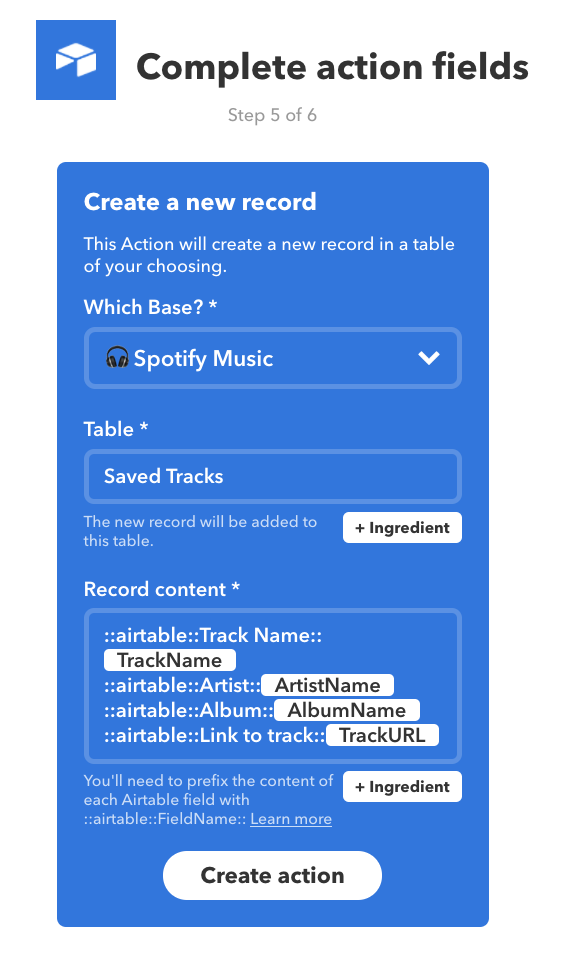
Finally, you'll get a chance to name your applet and double-check that everything's correct. If everything looks good, click the Finish button!
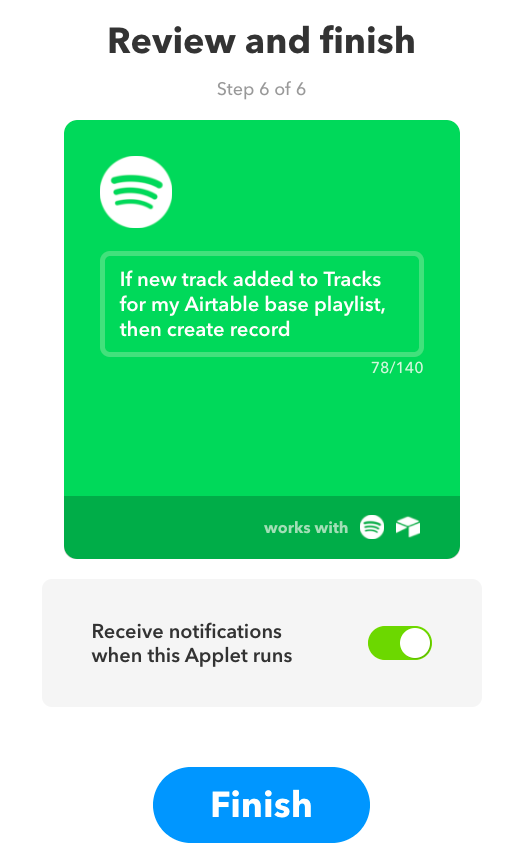
We've now set up an applet so that whenever you add a track to a specific playlist on Spotify...
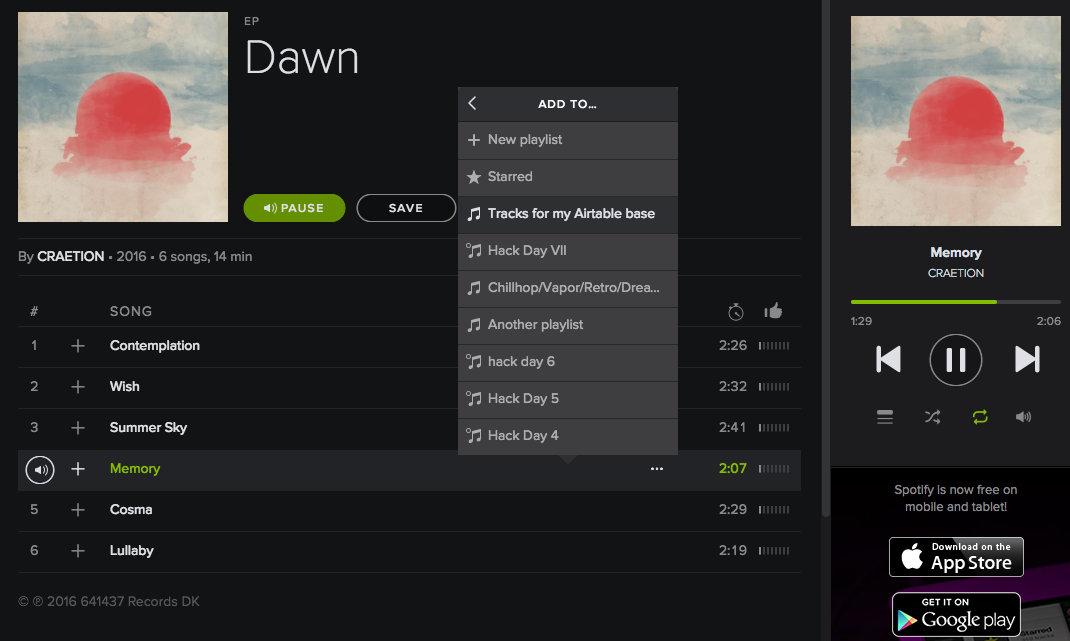
...IFTTT will create a new record in your Airtable base accordingly.
