Enterprise Scale only | |
Platform(s) | Web/Browser, Mac app, and Windows app |
Related reading |
Components are standardized building blocks for apps in your organization. The admin panel’s “Components” page allows admins to view high-level information about their organization or org unit’s (Enterprise Hub only) component usage. It also provides a portal to create or manage development bases, transfer component ownership, and unpublish components from the org’s component library.
Note
A setting in admin panel can prevent creation or publication of managed apps and components.
When toggled on, anyone who has not been added to the allowlist will not be able to create or publish managed apps & components in this organization. Additionally, admins won't be able to select a base in the components feature dropdown menu in admin panel, unless they are added to the allowlist.
Additionally, note that if your organization uses the Enterprise Hub feature, then a super admin may have toggled off the ability for org unit admins to modify this setting at the org unit level.
If you don’t have admin/super admin permissions, then you’ll need to ask someone at your organization to adjust the setting or put you on the allowlist.
To adjust this setting, click Settings in the left sidebar of your admin panel. Next, click the Org resources tab. Scroll to the “Apps & Components” section. Here, you will find the “Restrict managed app & component creation in this organization” setting.
To add a user to the allowlist, click the “User allowlist” dropdown, enter the email address associated with the user’s Airtable account, and click Allow.
Accessing the components page in admin panel
Open your admin panel.
Click Components.
Navigating the components page
When you access the “Components” page you’ll see a layout similar to the image shown below:
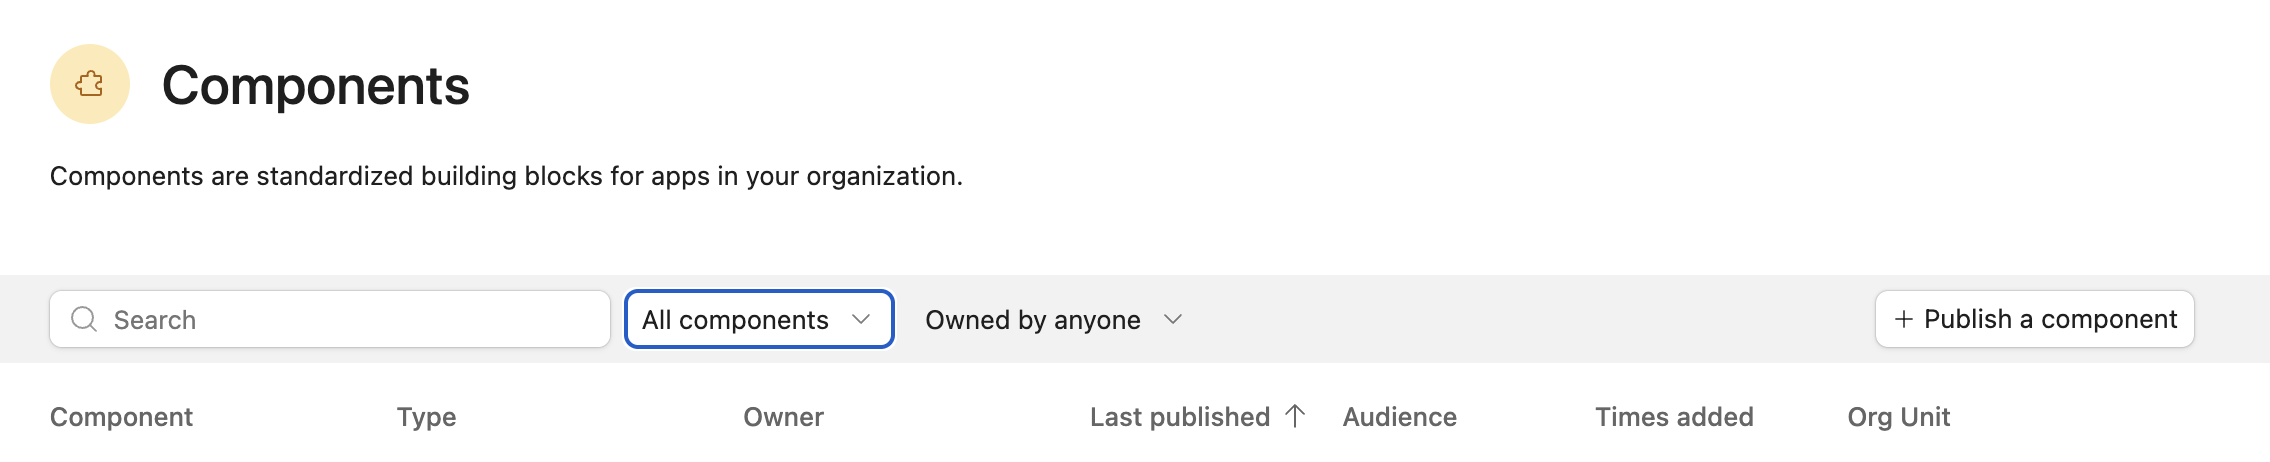
You’ll be able to:
Search for a component by it’s name
Filter to show All components, only Field components, or only Table components.
Click the + Publish a component button to create and publish a new component in the builder hub
Below these options you’ll see a list of all of the components associated with your org or org unit. Most of the column headers can be clicked to sort the list of components in ascending or descending order by the column of your choice.
Component - The name of the component
Type - The type of component created (“Field” or fields, “Table” or tables, or “Table and more” with more typically representing automations or interfaces)
Owner - The org user who currently owns the component
Last published - The last time the component was published (i.e. new updates were added in the development base)
Audience - The audience that is able to use / add the component (Learn more here)
Times added - The number of times the component has been added
Org unit - (Enterprise Hub only) The org unit where the component can be used
Clicking the … icon to the right of a component that is listed on the page will open a menu where you can:
Go to development base - Navigate to the builder hub location containing the development base where this component is managed
View details - Navigate to a more detailed view of information related to a specific component
Transfer ownership - Covered in the “Transferring ownership of components” accordion below
Unpublish from library - CAUTION Unpublishing will delete the component / development base. Any connected components will continue to exist, but the configuration of any managed fields, tables, automations, and interfaces that make up the component will continue to be locked unless they are converted to unmanaged. This action cannot be undone.
Transferring ownership of components from admin panel
Navigate to the admin panel for your organization.
Next, click on Components from the left side of the page.
Browse or search for the component that you want to transfer. You’ll see some helpful information listed so that you can identify the name, type, current owner, and other usage metadata related to the component.
Click the … icon to the right of the component that you want to transfer.
Click Transfer ownership in the menu that appears.
From the dropdown menu, choose the appropriate user to transfer ownership of the component.
Finally, click Transfer.
A few notes:
Only members of the same org unit are eligible to become the new owner.
The new owner will be added as a collaborator to the development base.
The original owner will not be removed as a collaborator from the development base.
FAQs
What admin panel pages can I access based on my admin role type?
Note
Super admins and org unit admins can access all of the category pages listed below.
All other roles’ access is individually noted below.
Page | Permissions (Enterprise Scale plans only) |
|---|---|
Super admin (Enterprise Hub only) | |
Super admin, Org unit admin, User admin | |
Super admin, Org unit admin | |
Super admin, Org unit admin, User admin | |
Super admin, Org unit admin | |
Super admin, Org unit admin, User admin | |
Super admin, Org unit admin, User admin | |
Super admin, Org unit admin, User admin | |
Super admin, Org unit admin | |
Super admin, Org unit admin, Integration admin | |
Super admin, Org unit admin | |
Super admin, Org unit admin | |
Super admin, Org unit admin | |
|