Plan Availability | All paid plans |
Permissions |
|
Platform(s) | Web/Browser, Mac app, and Windows app |
Adding a 3D space extension
The 3D space extension takes 3D model files in an attachment field and renders them in a 3D world of your own making. Provide X, Y, and Z position fields (and optionally, rotation and scale fields) to place your objects in space, then navigate the space with the WASD or arrow keys. While in the 3D space, you can move, rotate, and scale your objects with your mouse.
Open your Airtable homepage.
Create or open the base where you want to install the 3D Space extension.
Click Tools in the upper-right corner.
Click the Extensions option.
Click Add an extension.
Search for and locate the 3D Space extension.
Click Add, then Add extension.
Setting up a 3D space extension
When you install a new 3D space extension, you'll need to select the appropriate table and view containing the 3D models you want to render, as well as the 3D model and three position fields. Optionally, you can define the three rotation and scale fields.
To get started with the 3D space extension you will need:
An attachment field containing 3D model files. If you don't happen to have any of your own 3D models lying around, we recommend downloading some of the open-source 3D model files from poly.google.com. (All the models depicted on this page are from Poly by Google.) You can also find 3D models at Sketchfab and Clara.io. Currently, the supported 3D file types are:
COLLADA
gLTF
OBJ/MTL (in this case, please include both the OBJ file and the MTL file in the same record, in the same attachment field)
NOTE
The 3D space extension also supports 2D image files, including GIF, PNG, and JPG files. These files will render as flat images in the 3D space.
You'll also need three number fields (or numeric computed fields) to serve as the X, Y, and Z coordinates for each model.

Optionally, you can provide three other number fields (alpha α, beta β, and gamma γ) to determine the rotation of each object, and/or a number or a percent field to determine the scale for each object.

Navigating a 3D space
Once you've set up your 3D space, you can navigate it with your mouse and keyboard. Click and drag with the mouse to look around.
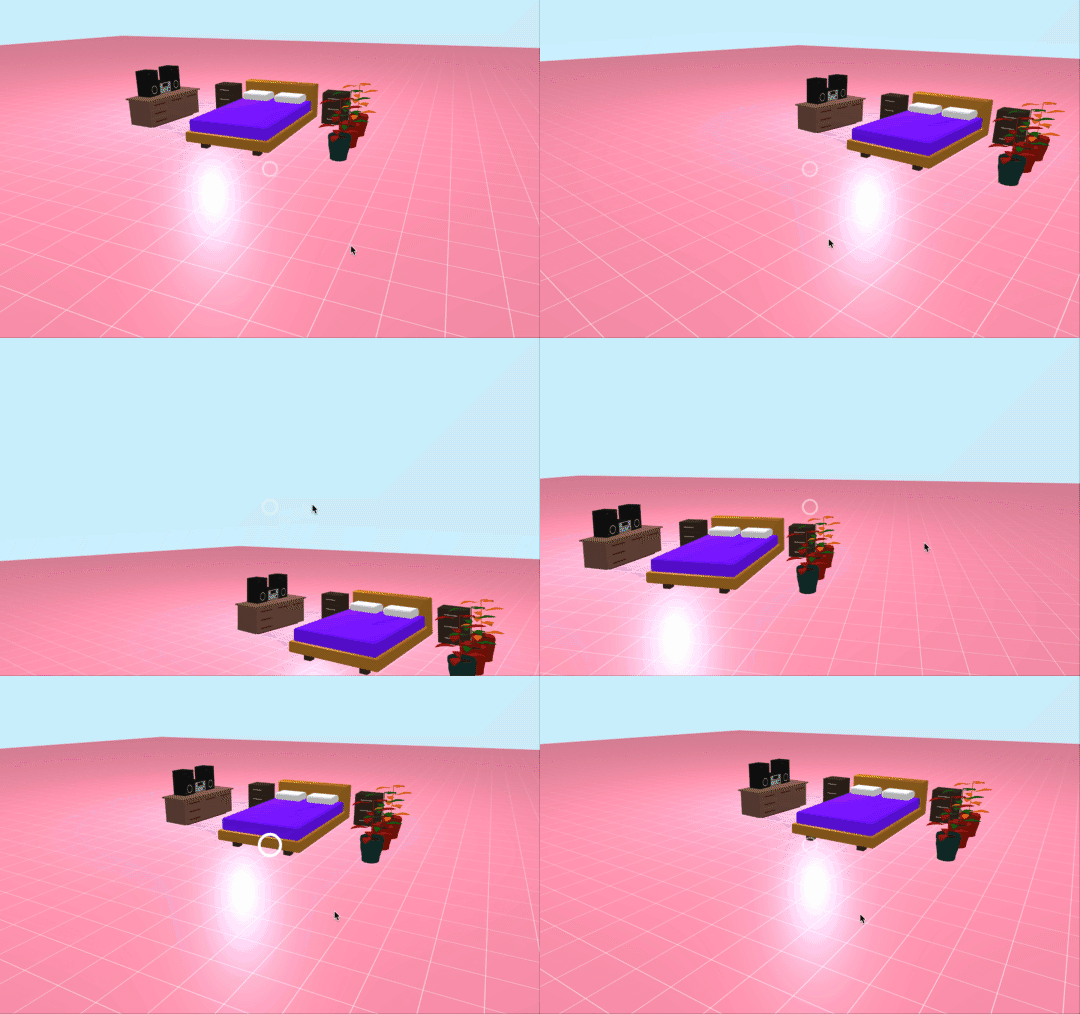
You can move the camera either by using the arrow keys, or by using the WASD keys.
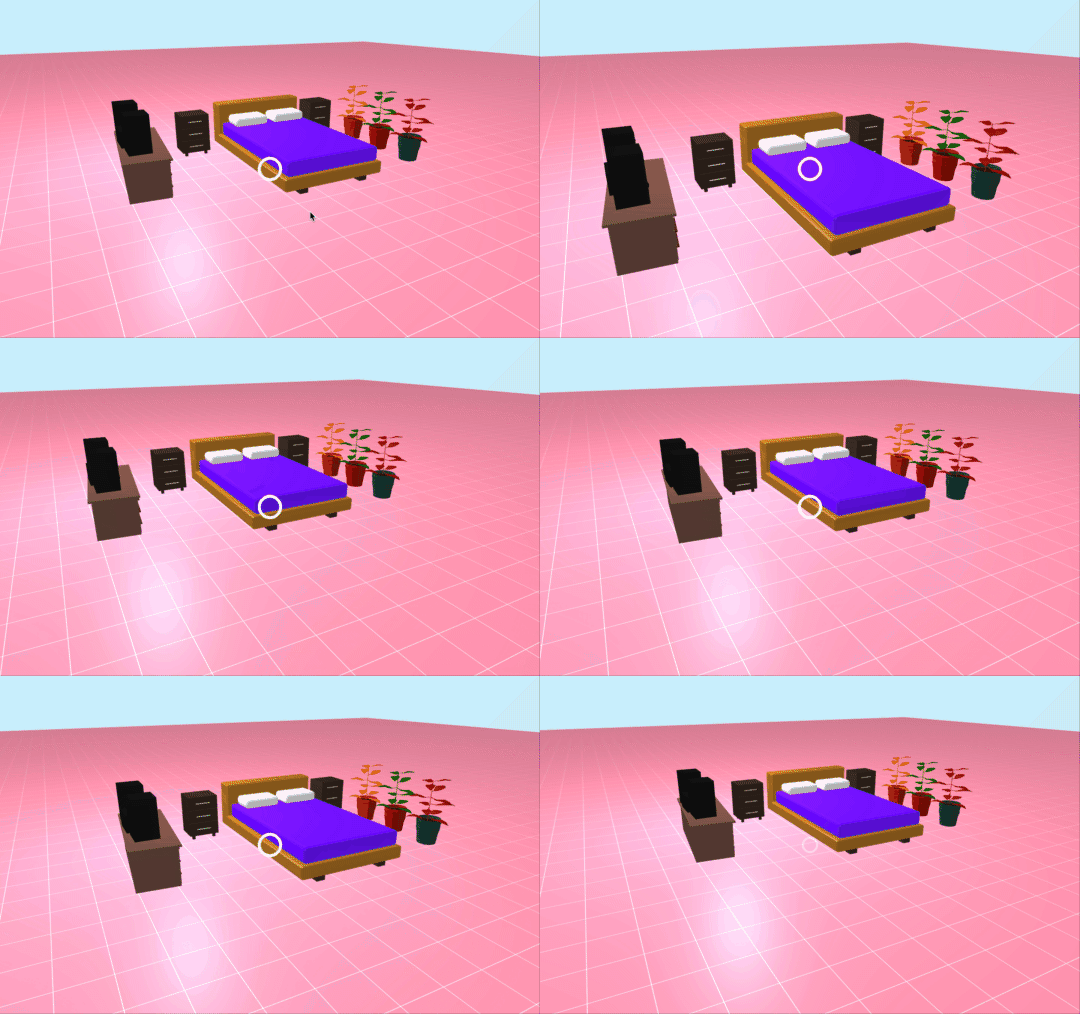
You can interact with the objects by moving, rotating, or scaling them. To move an object, click and drag with the left mouse button. To rotate an object, click and drag with the right mouse button. To scale an object, grab the object and scroll up or down with the mouse wheel.
Clicking the Reset position button will bring the camera back to the starting point.
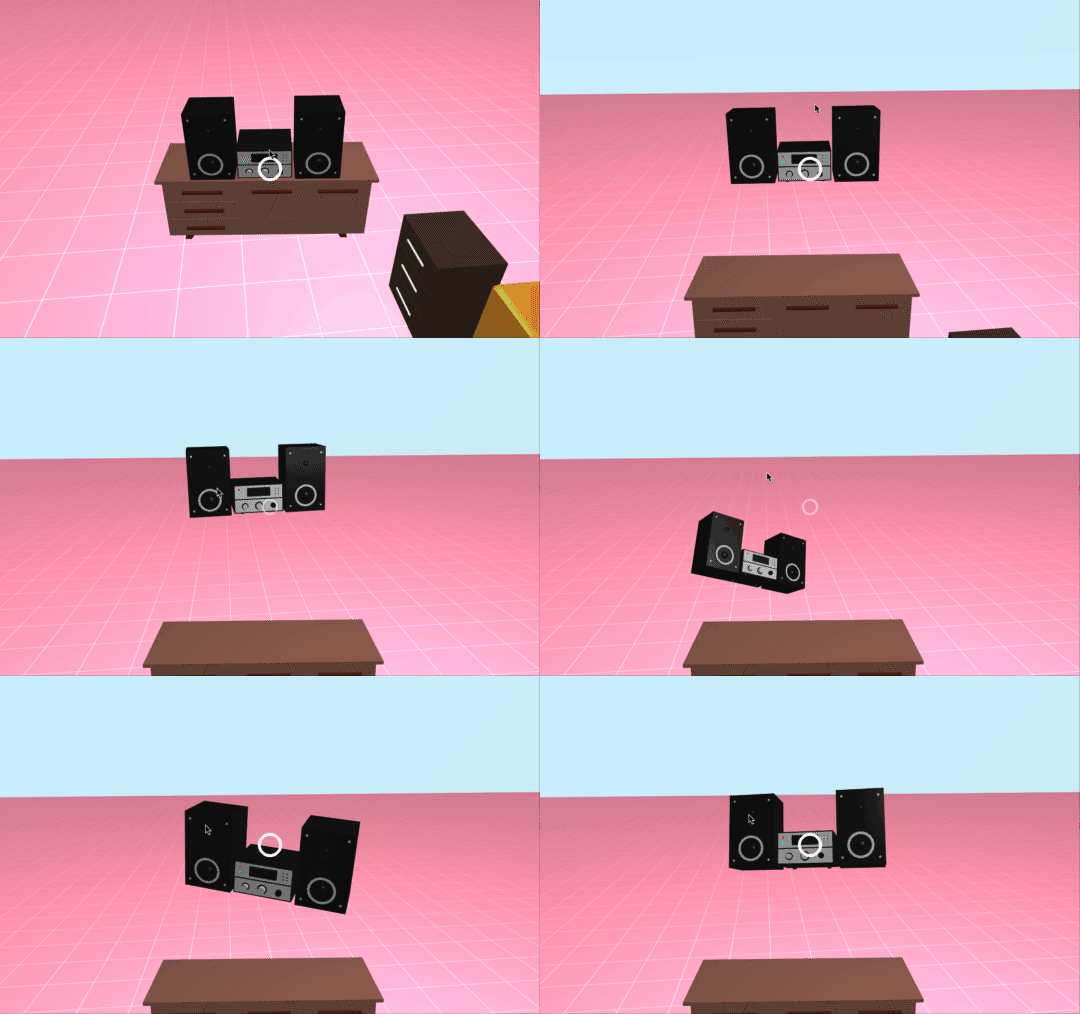
For more precise placement of the objects in your 3D space, you can directly edit the values in your position, rotation, and scale fields.
VR mode (Experimental)
Please note that at this time, the VR mode for 3D space extension is highly experimental.
To activate VR mode, click the goggles icon in the bottom right corner of the 3D space extension.

3D space extension can be viewed in VR using the following combinations of headsets/browsers/operating systems.
HTC Vive
Firefox (Windows or Mac)
Google Chrome 65 (Windows only)
Oculus Rift
Firefox (Windows only)
For the most up-to-date list of possible combinations, please reference the WebVR site.
Troubleshooting 3D space extensions
If you're having difficulty finding your model in the 3D space extension, it might be for one of the following reasons:
The model file in the attachment field is not of a type currently supported by the 3D space extension.
The model might be too big or small to appear in the frame. In this case, try adjusting the value in the scale field to a more extreme small or large number/percentage.
The model may have an initial rotation value that is causing it to render underneath the floor of the 3D space. In this case, check the values in the rotation fields and adjust them as needed.