All plan types | |
Collaborators with “Owner” or “Creator” permissions can create or update synced table or automation configurations. | |
Platform(s) | Web/Browser, Mac app, and Windows app |
Connecting new accounts with Airtable
Whether you are setting up a sync integration or using an integrated automation trigger or action, you'll need to allow the external service to connect and integrate with Airtable. In this article, we cover the basics of connecting and managing integrated accounts with Airtable.
Connecting a new external account in automations
Under the “Configuration” section of the integrated automation step where you want to connect a new account, find and click the account dropdown.
If you are connecting an account to a previously configured automation, then you’ll want to navigate to the base containing the automation and then click the Automations option at the top left portion of the screen.
Then, find the automation containing the integrated automation step and click it to edit the automation.
Now find the integrated automation step and click that to edit the step’s configuration.
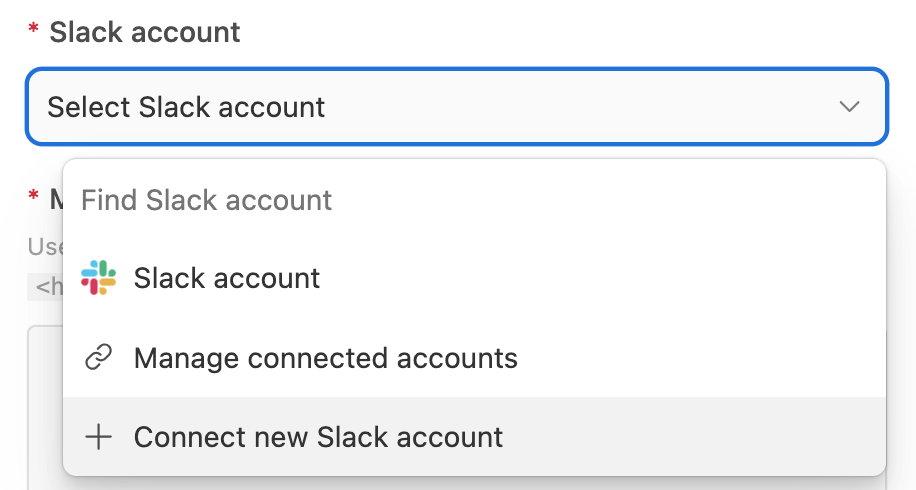
Click the option to + Connect new x account:

Once you click this option a new window will open where you can enter your credentials and confirm authorization for the account you'd like to connect.
After your account has been successfully linked, you'll be able to choose that account from the dropdown menu for this automation and other automations that you create when logged into your Airtable account in the future.
Connecting a new external account in Airtable sync integrations
In the sync integration configuration, click the account dropdown.
If you are connecting a new account to a previously connected synced table, then navigate to the base containing the sync and click the dropdown next to the name of the table.
Next, click Update sync configuration.
To the right of the connected account you wish to change, click the … menu option.
Then, click Change source. Now you will find the account dropdown menu.
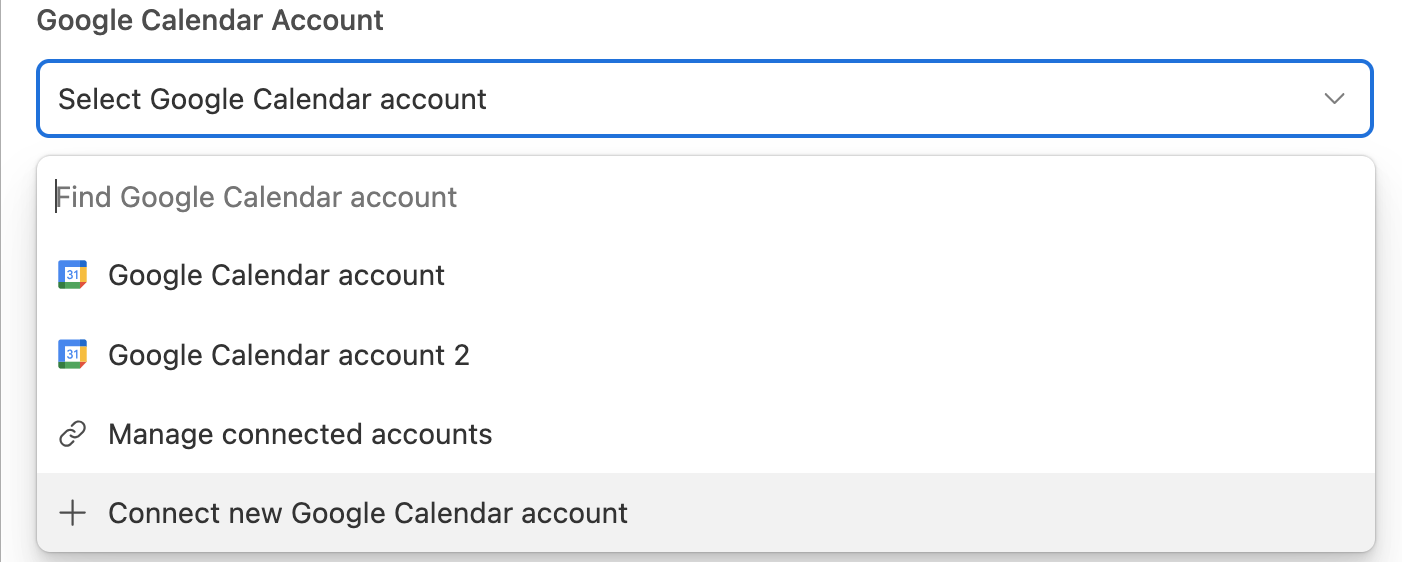
Click the + Connect new x account option:

Once you click this option a new window will open where you can enter your credentials and confirm authorization for the account you'd like to connect.
After your account has been successfully linked, you'll be able to choose that account from the dropdown menu for this sync and other syncs that you create when logged into your Airtable account in the future.
Managing previously connected integrations
To manage integrations at your account level:
Click on the account menu (which is located either in
The upper-right corner of your home screen
Or the lower-left corner of an open base
This will reveal a dropdown menu with more options. Click the Integrations option.
Here, you can see all the accounts currently connected to your Airtable account under two different tabs: Connected accounts and Third-party integrations:
Connected accounts - By clicking the … menu option next to each account, you will have the ability be able to rename, reconnect, or delete any of your individually linked accounts.
Renaming your separate accounts can be helpful if you have multiple linked accounts for the same external source (e.x. if you have multiple emails).
If your external account is encountering authentication problems within Airtable—we recommend reconnecting that account to make sure everything is working smoothly.
Third-party integrations - Click the Third-party integrations tab from the open window. Then, scroll through the list and click on any third-party integration that you want to update. From here you can:
Access Policy and Terms of Service information about the developer and also contact the developer directly.
Change access rules by adding more bases that are allowed to utilize this third-party connection or modify full workspace access.
Revoke access, which will remove the third-party’s access to any bases/workspace previously connected.