Paid plans only | |
Owners/Creators - Can install the web clipper extension and use it to clip information as new records in Airtable. | |
Platform(s) | Web/Browser, Mac app, and Windows app |
The web clipper extension allows you and other Airtable creators to quickly gather information from webpages and "clip" that information as new records in Airtable. To start adding content from the web to one of your Airtable bases, you need to:
Install the Airtable web clipper browser extension.
Add at least one clip action from a web clipper extension to your browser extension, either: a clip action that you’ve configured yourself, or a clip action configured by another collaborator in a base you have edit access to.
We'll cover this and more in the article below.
Understanding web clipper basics
Installing the Airtable web clipper browser extension
The Airtable web clipper browser extension lets you select a clip action to create a new record in an Airtable base, using content from whatever web page you’re currently looking at. It appears as an Airtable logo button to the right of your address bar.
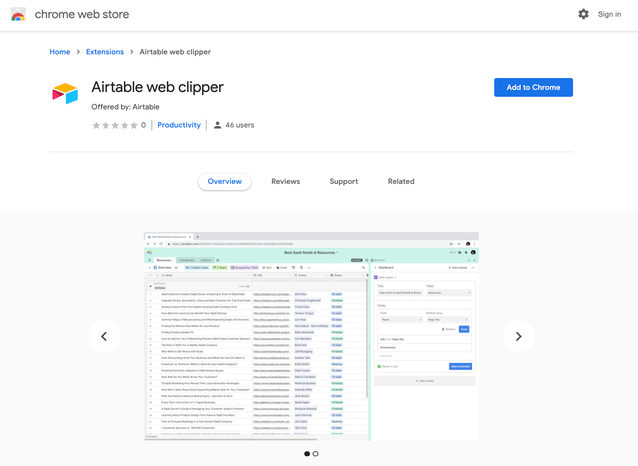
To get started, open Chrome and go to the Airtable Chrome extension, then click the blue Add to Chrome button to install the Airtable web clipper browser extension. Web clipper is only available on Google Chrome.

Creating a new clip action
To create a new clip action, go to the base into which you’d like to add new clipped records and add a new web clipper extension.

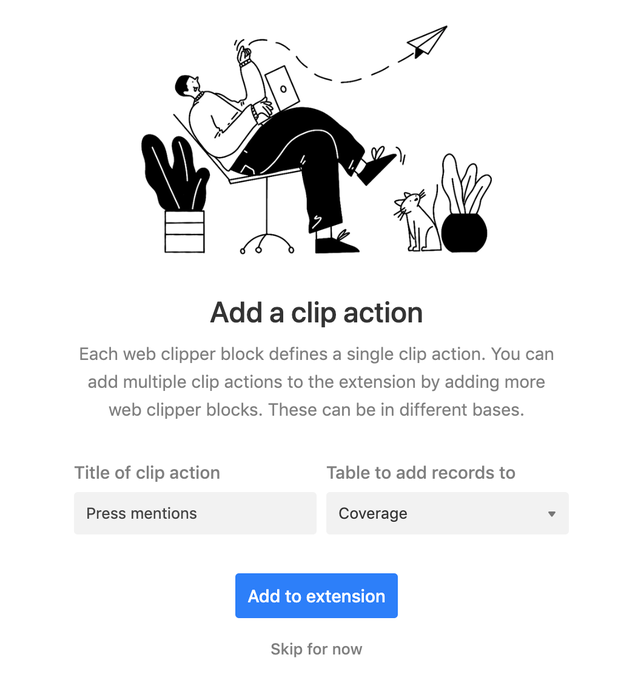
After giving your new clip action a name and picking a table to add records to, you can click the "Add to extension" button to add your newly created clip action to your browser extension, or click "Skip for now" to jump to customizing your clip action.
Customizing a clip action
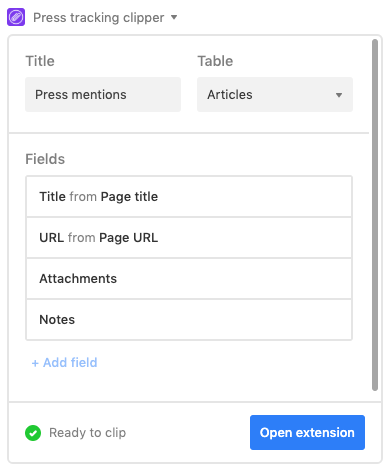
Customizing your clip action lets you choose what kind of content goes into different fields when you create a new record with the browser extension.

You can either set a default value for a field (which will prefill the new record with information from the web page) or select None for the default value. If you don’t select a default value for a field, you can fill in that field with your own content (like freeform text or a screenshot of the web page) before creating the new record.
Once you’ve set up all the fields you’d like, click the Add to extension button (if you didn’t already do so in the previous screen). You’re ready to start clipping! Note that the Web Clipper extension currently only supports adding a single new record every time a clip action is used on a web page.
Configuring web clipper field types and default values
The web clipper currently supports several field types and different default values can be configured depending on what those field types are.
Note that many websites have terms of service restricting you from capturing information from their sites. Please always review and adhere to the terms of service of those sites before using the Airtable web clipper on any page you visit.
Text-based fields
Single line text, long text, phone numbers, email and URL fields are all supported field types. When configuring the default values for these field types, you have the following choices:
None (no initial value)
Page title (e.g. “Airtable Universe”)
Page URL (e.g. https://airtable.com/universe)
Selected text (text highlighted on the page at the time that the web clipper button was clicked)
CSS selector (e.g.
.inline.t-24.t-black.t-normal.break-words)
In the web clipper browser extension, any configured default value will be automatically populated as soon as you open the clip action. You can choose to override the default value by typing your own values.

Select fields
Both single select fields and multiple select field types are supported. When configuring the default values for these field types, you have the following choices:
None (no initial value)
Within the web clipper browser extension, the select field options will have the same colors that you defined in the field configuration.
Number-based fields
Number, currency, and percent fields are all supported field types. When configuring the default values for these field types, you have the following choices:
None (no initial value)
Selected text (text highlighted on the page at the time that the web clipper button was clicked)
CSS selector (e.g. .inline.t-24.t-black.t-normal.break-words)
In the web clipper browser extension, any configured default value will be automatically populated as soon as you open the clip action. You can choose to override the default value by typing your own values.
As you type a number in the web clipper extension, any formatting (decimal places, percent signs, currency symbols) will be applied when you move to another field.
Collaborator fields
Adding a collaborator field to your clip action allows you to select one of the collaborators in your base for the record. When configuring the default values for this field type, you have the following choices:
None (no initial value)
Your selections in the web clipper browser extension have the collaborator name and image just like they appear in the Airtable UI.
Attachment fields
You can use an attachment field to capture one or multiple images from a web page. When configuring the default values for this field types, you have the following choices:
None (no initial value)
Social media image (first image on the page)
CSS selector (e.g. .inline.t-24.t-black.t-normal.break-words)
In the web clipper browser extension, the image will be automatically added if you have a default value configured. You can override the default value or add new images on the extension using one of three image field inputs.
The currently supported attachment field inputs are:
Add screenshot, which will allow you to capture a selected portion of your screen by clicking and dragging your cursor to highlight a rectangular section of the web page
Add page screenshot, which will capture a full-page screenshot of the web page you’re currently on.
Add image from page, which will capture an image by clicking on it. As you mouse over images, the image will be highlighted in blue if it can be selected.