Note
If your organization uses Microsoft Exchange email servers, only the cloud-based version of that service will work with our Automations feature. On-prem Microsoft Exchange servers are currently not able to integrate with Airtable.
Plan availability | All plan types with varying limitations |
Permissions |
|
Platform(s) | Web/Browser, Mac app, and Windows app |
Note
Consider having Omni create an automation for you. With Omni's AI capabilities, you can use plain text requests to build, update, and query data in your Airtable base.
In this article, we will be setting up an automation that creates an Airtable record for any newly created Outlook events that are created. We also have Automation actions for Outlook which you can read more about in this article.
Outlook account authorization
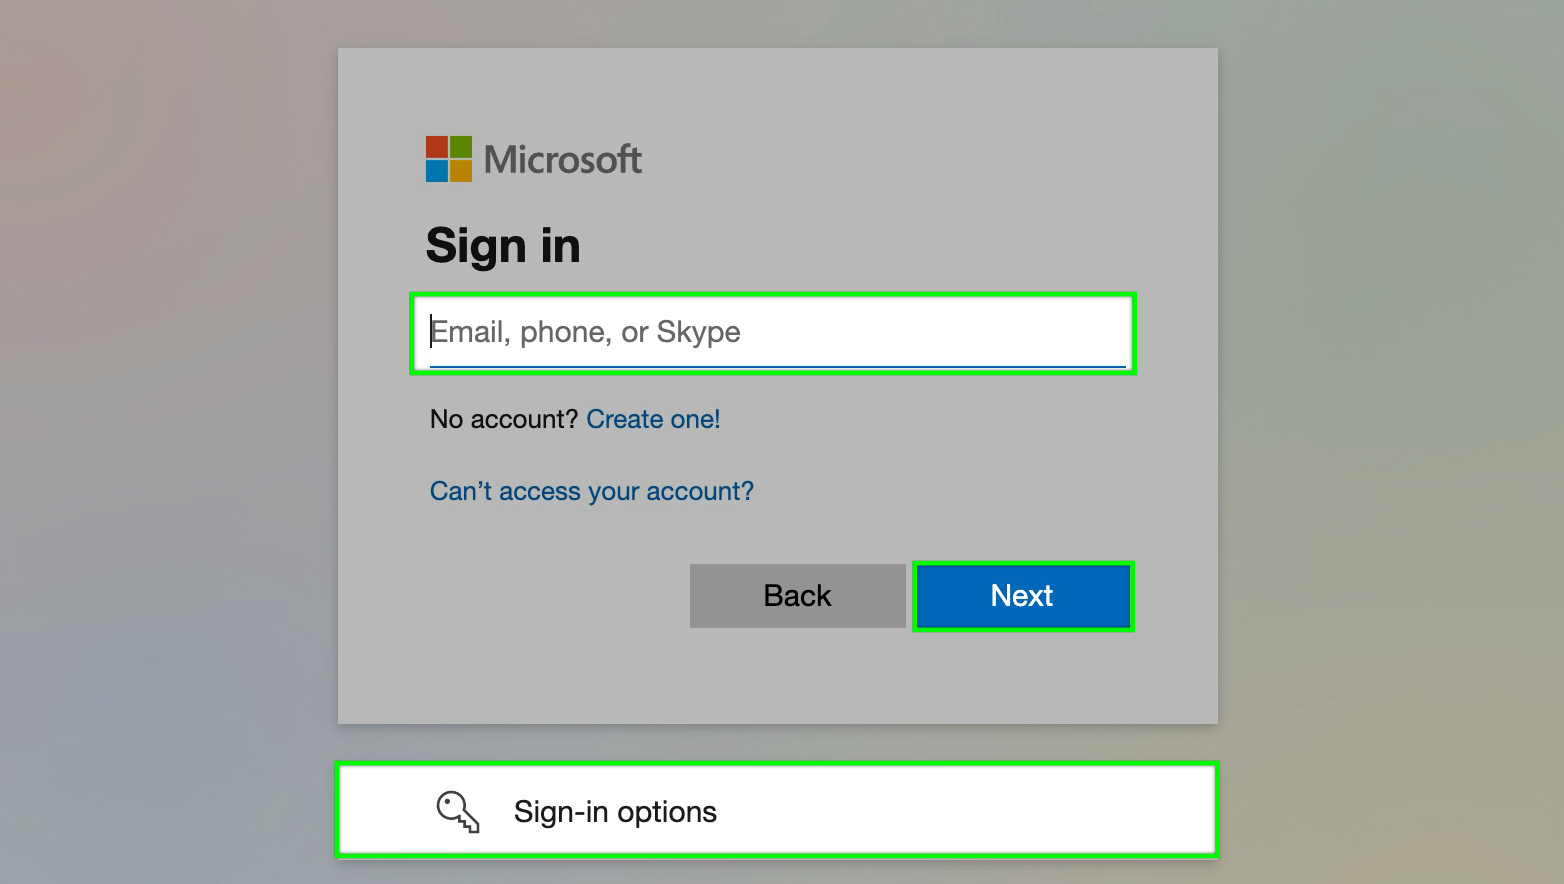
As a prerequisite, you will need to already have a Microsoft account. This account will need to be connected to the Airtable base that you are working in. After choosing which trigger you would like to set up, you will have the option to Manage connected accounts or Connect new account. This authorization process is scoped to each Outlook service, so you will need to perform this process multiple times, at least once for each Outlook trigger, and also for reauthorizations in the future as needed. Jump down to the section below for more information on security and OAuth scopes.
Understanding Outlook triggers in automations
When building an Automation we offer several triggers that can be used with Outlook including:
When a new email is received in Outlook Email - This trigger fires whenever a new email is received in an Outlook Email account’s inbox.
Basic details about the email such as its ID, sender, to/cc/bcc recipients, reply to addresses, message body, received date, importance, and its permalink are included in the output of the trigger. Attachments are not included in the output.
Please note that this trigger will only work for brand-new emails received in your account after the automation is turned on. This trigger will not work retroactively on emails transferred to the selected folder that were received before the automation was enabled. As a workaround to get the automation to trigger, you could forward the existing emails to yourself. This would then trigger the automation since those emails would be considered new emails received after turning the automation on.
Additionally, the automation logic looks to the “Received Date” of the email to determine if the email is "new" or not. Customers using email rules to automatically route emails into the desired folder shouldn't run into an issue with this automation triggering, however, those who are manually moving or copying emails into the folder may. If the “Received Date” of the email that they're manually moving is before the date of the last email in that folder chronologically, then the automation will not trigger. For example, if the most recent received date of an email in the desired folder is April 23rd and the user attempts to move an email with the received date of April 22nd, the automation will not trigger.
As a best practice, we recommend setting up rules in Outlook to automatically move emails into your desired folder. If you need to manually move emails into the folder, please make sure that the Date Received of the email you're moving is after the most recent email.
When an event is created in Outlook Calendar - The trigger fires whenever an event is created in a specified Outlook Calendar.
The trigger’s output includes information about the created event such as its ID, title, description, start time, end time, location, creator, importance, when it was created, when it was last updated, the email addresses of its attendees, its video conferencing link if it has one, and it’s permalink.
A reference to an Outlook Calendar's Event ID is necessary for the “Update event” Outlook Calendar action. If you plan to create an automation to update Outlook Calendar events at any point in the future we strongly recommend creating and storing a separate field on your table to keep track of the Outlook Calendar Event ID for any events you intend to update from Airtable.
When an event is changed in Outlook Calendar - This trigger fires whenever an Outlook Calendar event has any saved changes to the event details.
For this trigger to find and match an Outlook Calendar event in your table, you’ll need to include the Outlook Event ID in your Airtable record (or in whatever source you’re using to store calendar events).
Using Outlook triggers in automations
Open your Airtable home screen.
Open the base where you want to create an automation.
Click Automations.
Click + Create new.
Click + Create automation.
Click + Add trigger.
Once clicked, the available triggers will be displayed for you to choose from. Choose the best trigger for your use case. The When email is received trigger can be found when hovering over the “Outlook Email” option. The other two Outlook calendar triggers can be found when hovering over the “Outlook Calendar” option.
Under “Configuration,” you’ll need to connect your Outlook account. From here, either select a previously connected account or connect a new account.
Depending upon the trigger type you’ve selected, there will be different setup options to configure before testing:
When a new email is received in Outlook Email
Folder - Choose the Folder in Outlook Email that you want this automation trigger to watch.
Format as HTML - Check this option to format the email in HTML rather than plain text. We only recommend this for users who are comfortable reading and using HTML, otherwise, plain text is the preferred format to use in Airtable.
Outlook Calendar triggers
Under “Calendar” select the calendar that you would like this trigger to watch.
Consider configuring a new calendar made specifically for use in Airtable automations.
It’s important to test the trigger at this point so that you can utilize dynamic tokens in the automation action steps. We recommend that you choose a specific event or email so that you have a familiarity with what information the triggering calendar event or email should contain.
Again, be sure to test all of the steps in the automation that you are building. Once every part of the automation has tested successfully, you’ll likely be ready to turn the automation on. Find the red colored “OFF” toggle and click it so the automation now appears as “ON” in green.
Security and OAuth scopes
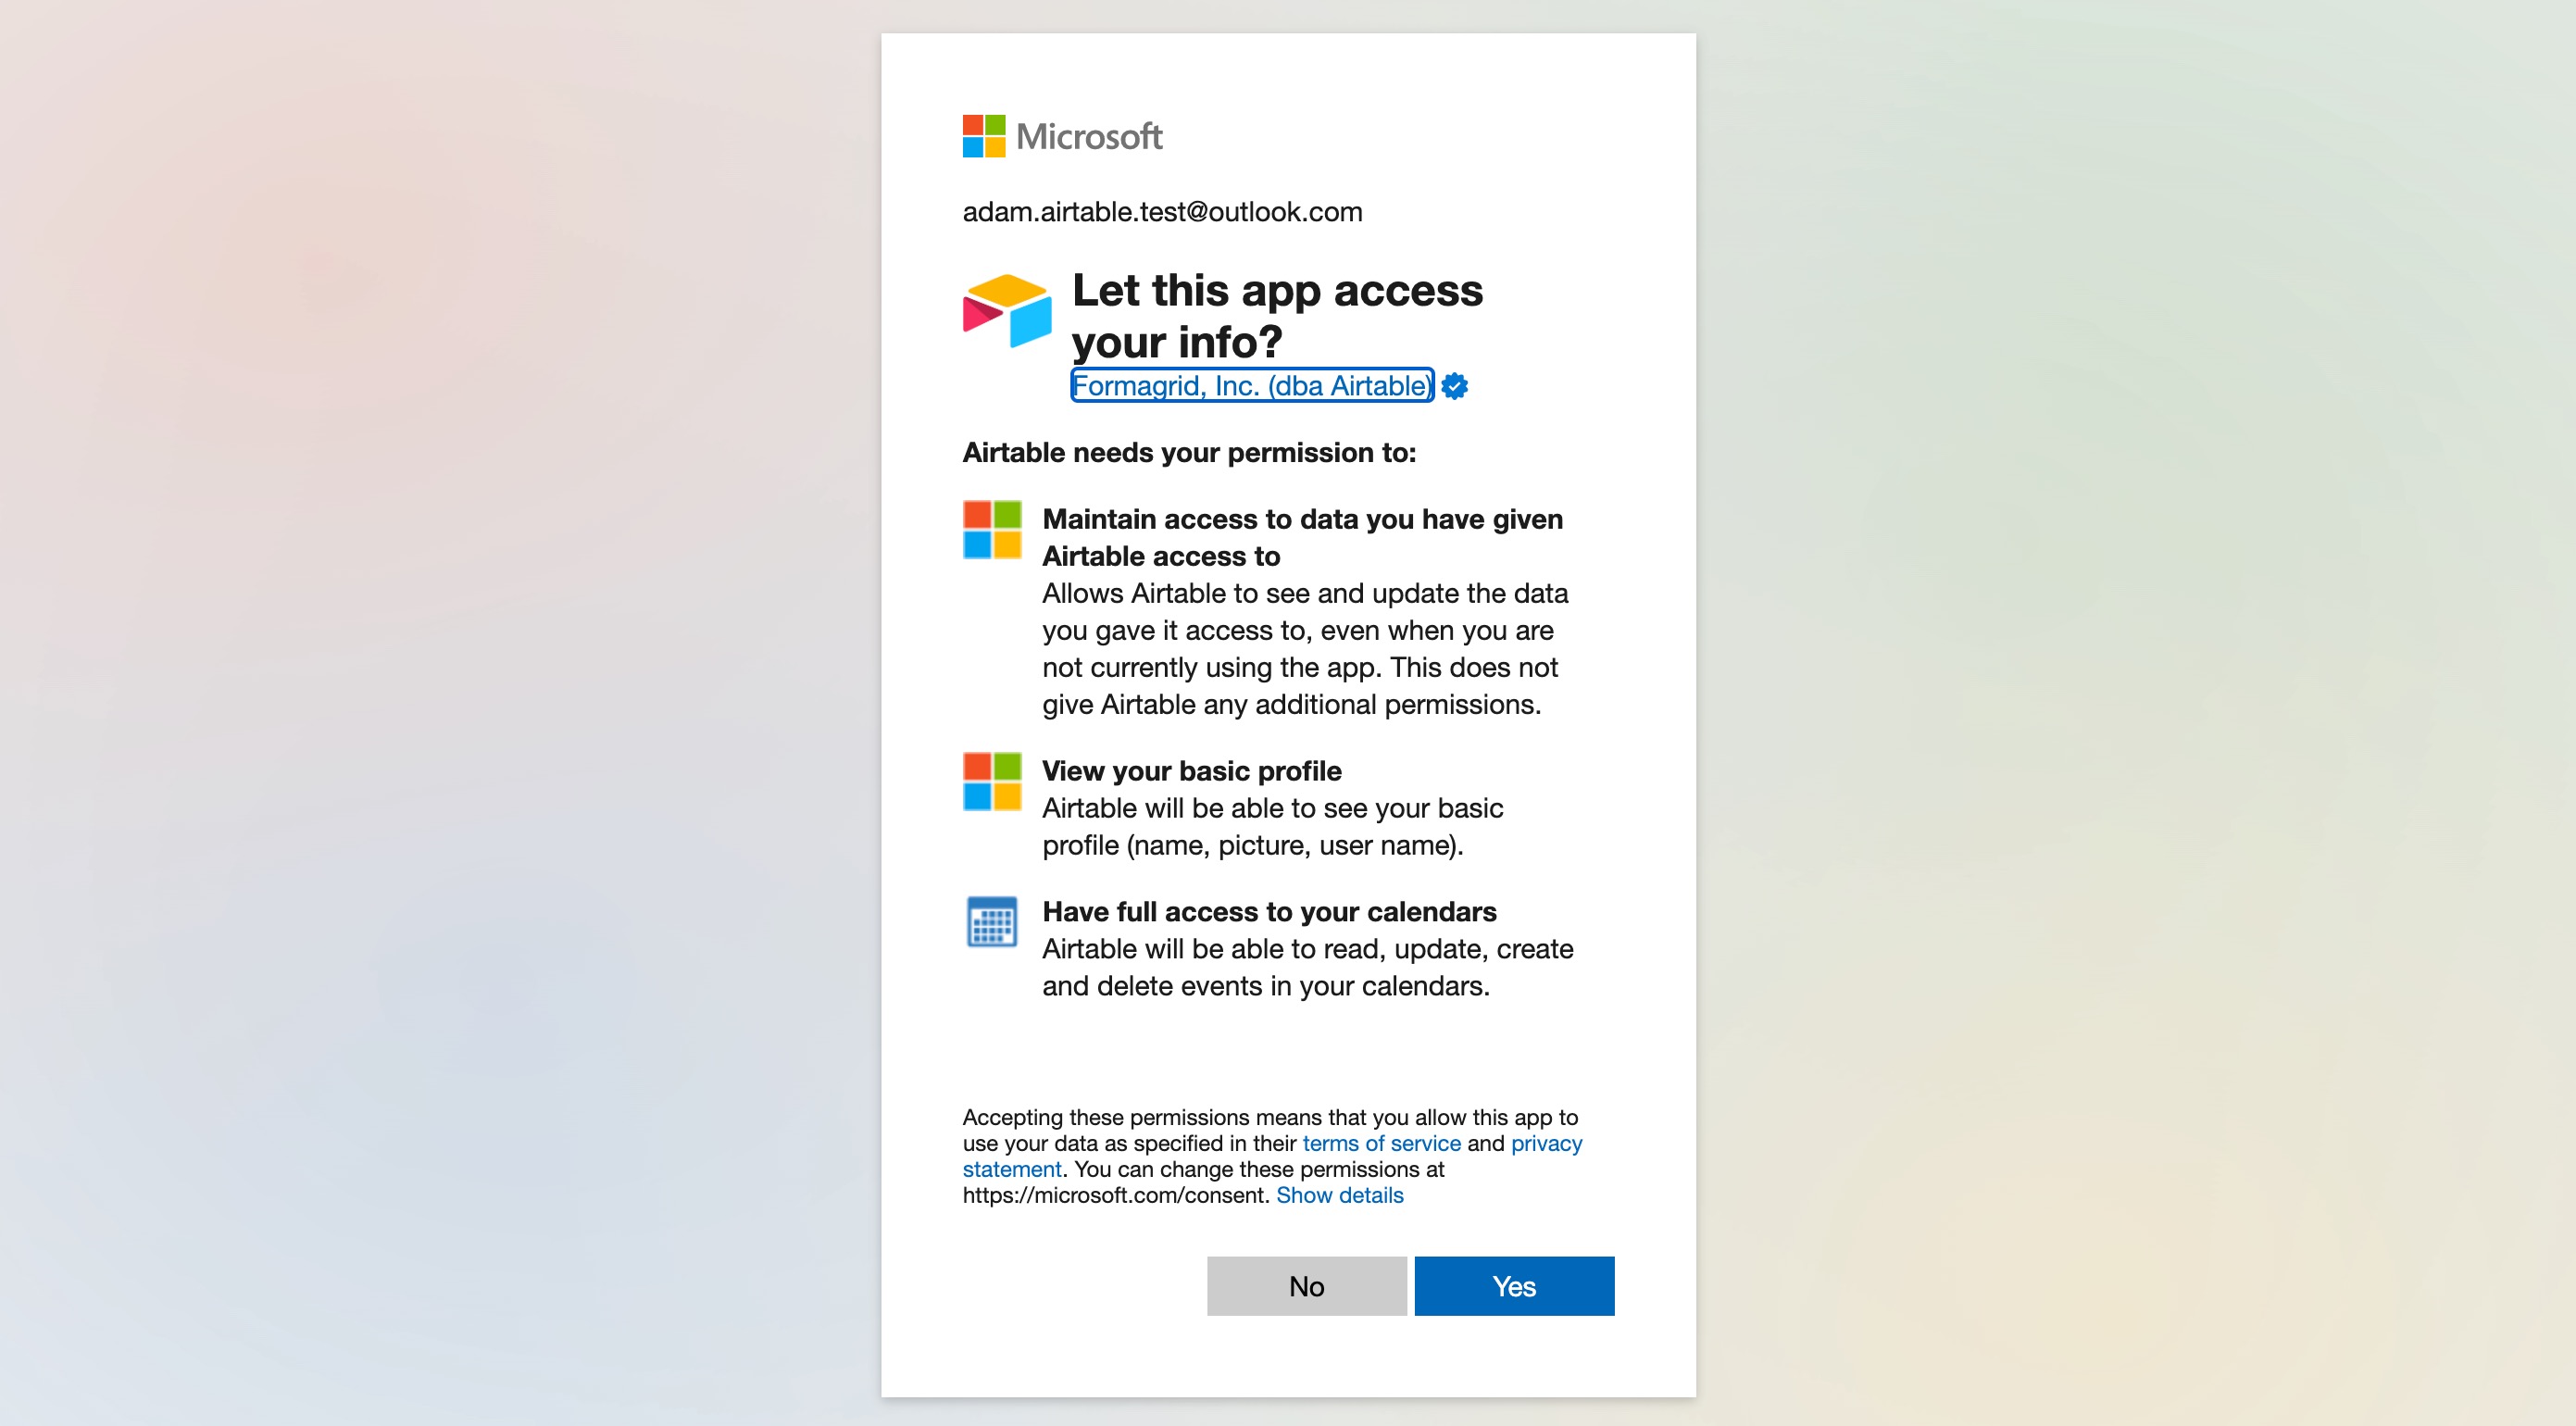
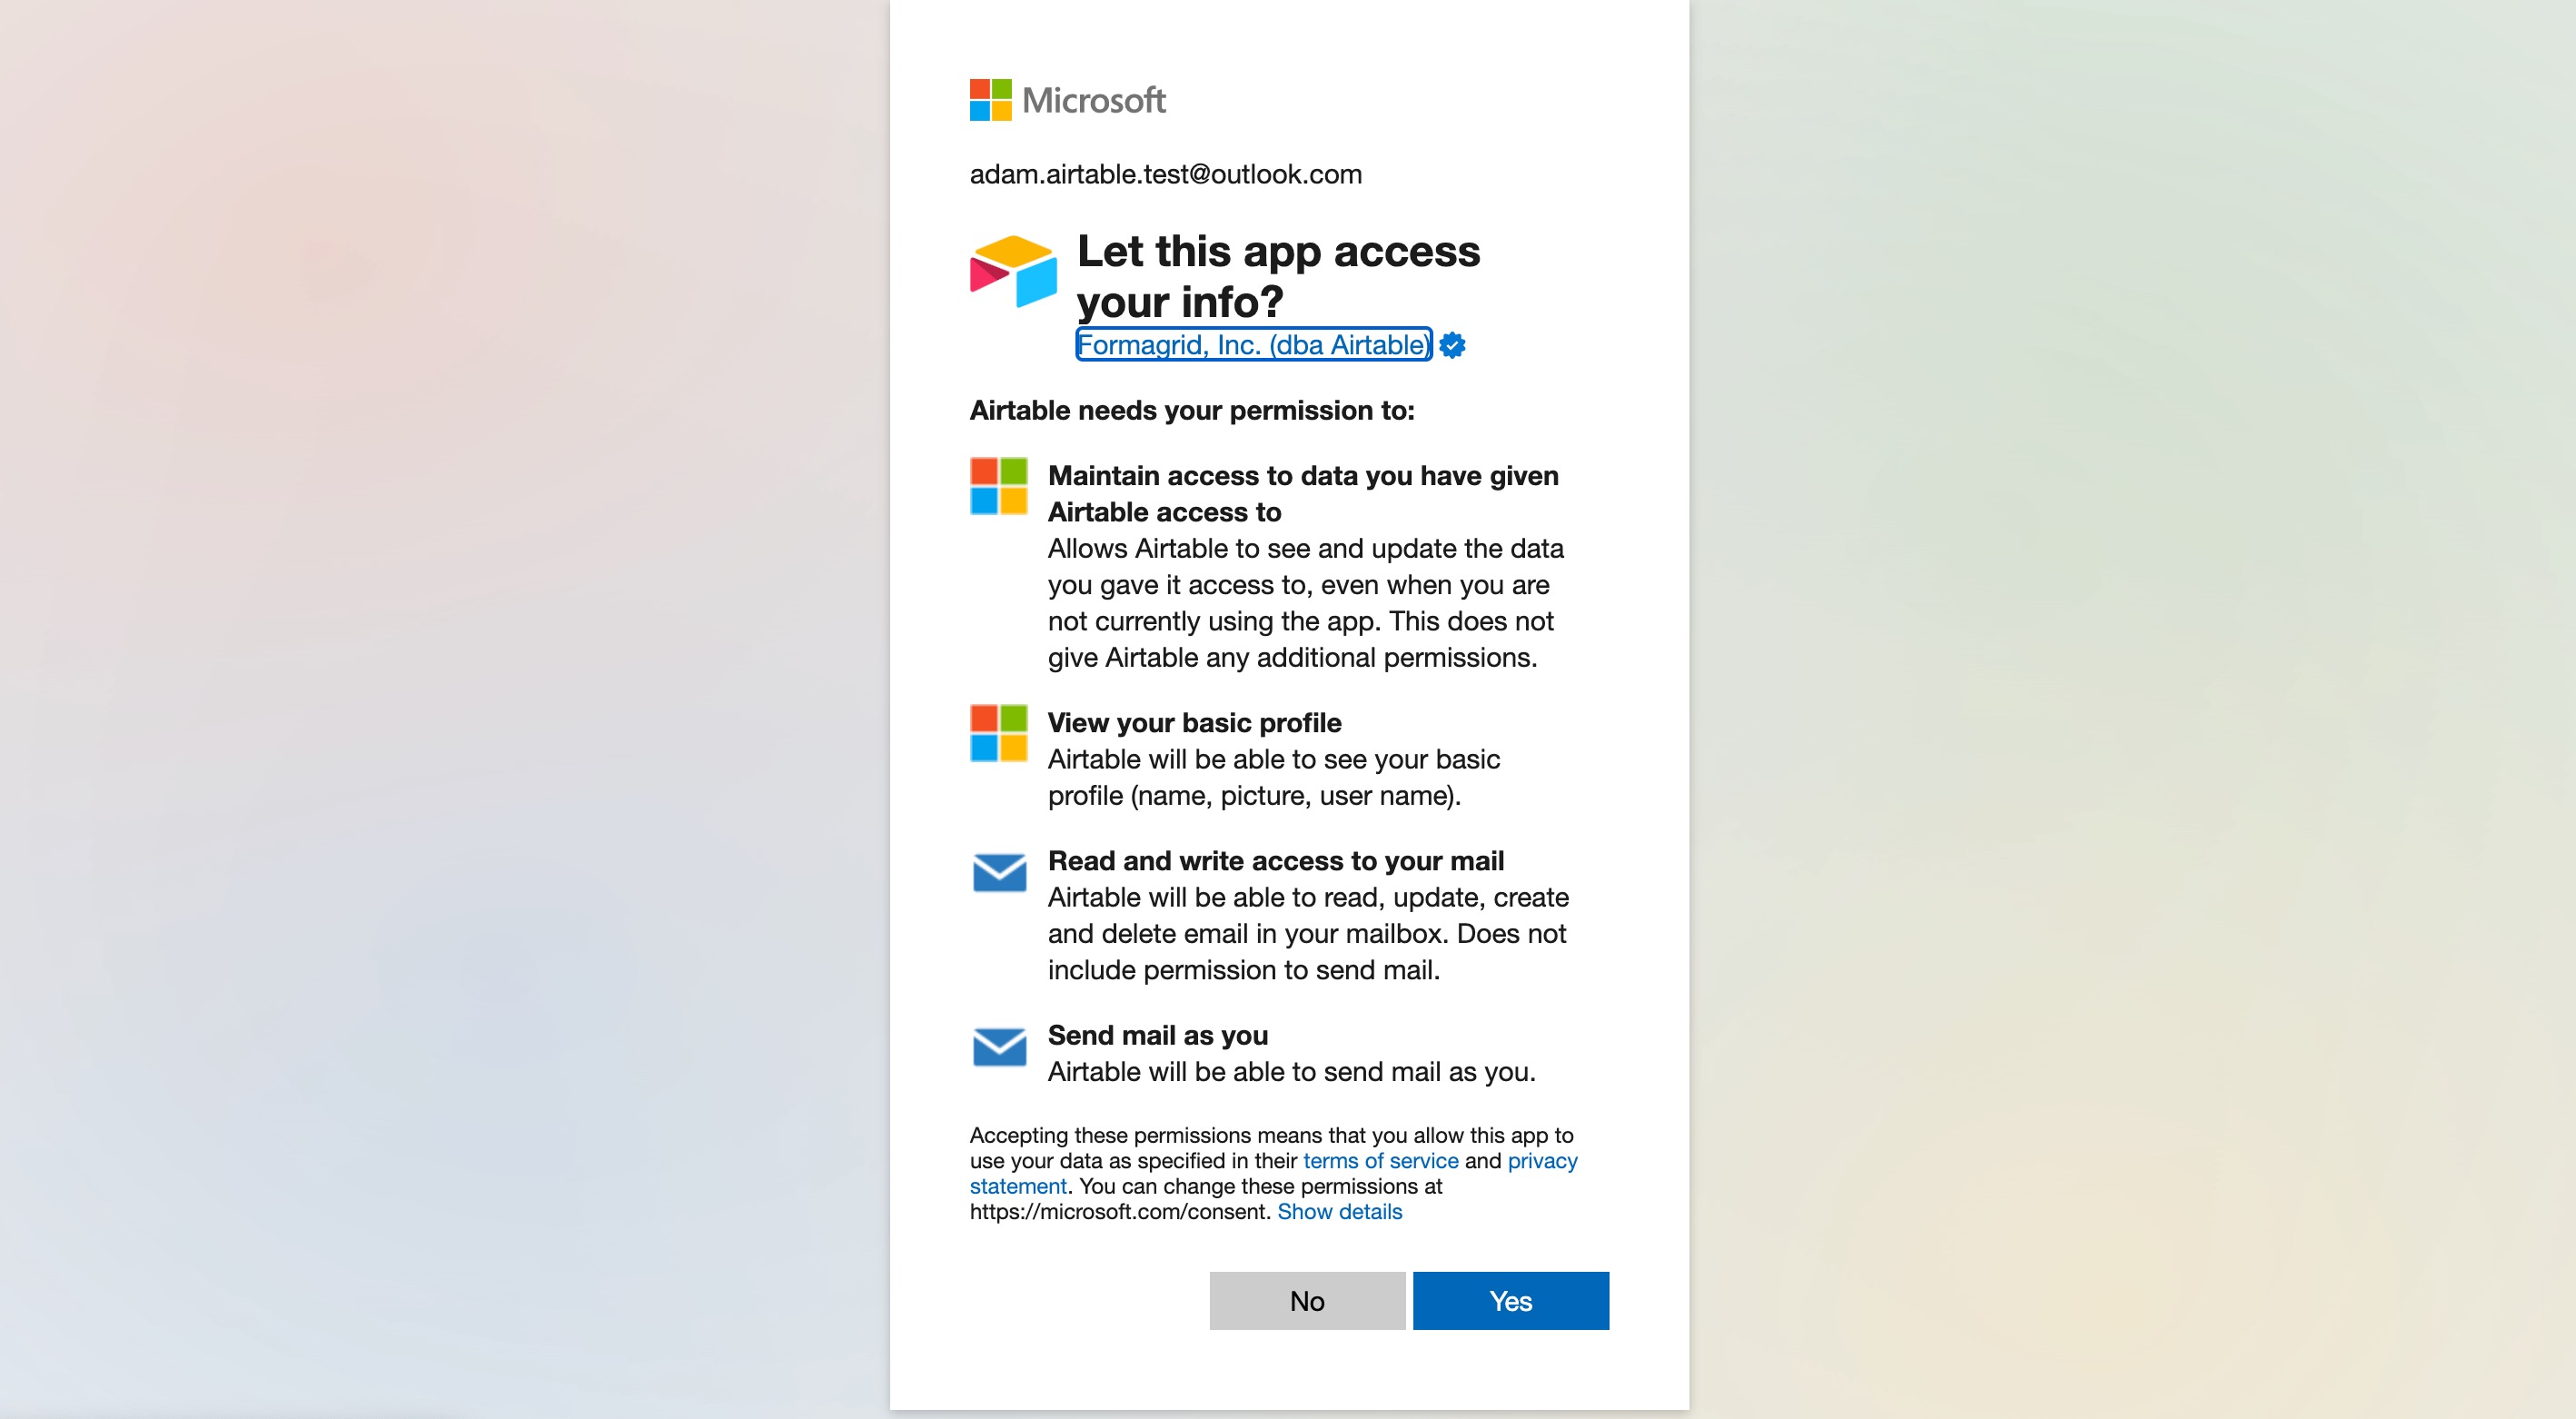
Outlook authentication - We request the minimum read/write scopes necessary to make the external source sync work. The OAuth consent screen will look like this:
The access approval screen will vary depending upon the automation you are creating. Clicking "Yes" means that you will allow us to access the necessary scopes to allow the automation to work.Outlook Calendar app access
Outlook Email app access
Microsoft Outlook scopes - We use delegated permissions for all of our Outlook integrations and tokens are transmitted between Airtable and Microsoft’s servers securely via HTTPS. On Airtable’s side, the tokens are stored in databases that are encrypted at rest. For more information on Outlook scopes, check out Microsoft's documentation here.
Scope name
Scope purpose
offline_accessFor refresh token
profileFor user metadata
openidFor sign-in
Mail.ReadWriteFor reading/writing emails 1
Mail.SendFor sending mail 1
Calendars.ReadWriteFor reading/writing calendar events 2
MailboxSettings.ReadFor reading mailbox settings related to calendar events 2
Calendar.ReadWrite.SharedFor creating, reading, updating and deleting calendar events
1 Only for Outlook Email automations
2 Only for Outlook Calendar automations
FAQs
Do Outlook Calendar events support sending attachments?
No, Outlook Calendar events do not support sending attachments.
Are Shared Mailboxes supported by Outlook automation triggers?
No, Shared Mailboxes are not supported. Only personal inboxes are supported due to security concerns.
How do I resolve the “Fix configuration” error on an Outlook automation trigger?
If your Outlook trigger shows “Fix configuration,” Airtable has detected a problem with how that trigger is set up. That usually means something required is missing, or something in the configuration is invalid (can also show if you have not tested the trigger yet). Right after you add a trigger, you may see “Finish configuration” instead. That means the same kind of issue, but for a step that was just created.
What to do first:
Open the base, go to Automations, and open the automation.
Select the Outlook trigger and read any messages on the trigger itself.
Hover over Fix configuration on the trigger (or focus it with the keyboard) to see a short explanation. That text points to what still needs attention.
Checklist for Outlook triggers:
Microsoft account – Under Configuration, confirm the correct Outlook account is selected. If it looks disconnected or wrong, use Manage connected accounts or Connect new account to sign in again.
Email trigger: folder – For “When a new email is received,” choose the folder the automation should watch.
Calendar triggers: calendar – For calendar triggers, choose the calendar the automation should watch.
Other required fields – Complete any other fields the trigger marks as required (they can vary by trigger type).
Testing (separate from “Fix configuration”)
Use Test trigger when you are ready to confirm Outlook returns sample data. That helps you build the rest of the automation with real field values.
If the trigger test fails, the status is usually “Fix testing error,” not Fix configuration. In that case, fix the error shown for the test, then run Test trigger again.
Turning the automation On requires a valid automation setup (no blocking configuration errors). Testing is still recommended before you rely on the automation in production, even when the switch is available.
If “Fix configuration” does not go away:
Disconnect the Outlook account from connected accounts, connect it again, and re-select folder or calendar on the trigger.
Confirm your scenario is supported (for example, shared mailboxes are not supported for the “new email” trigger, and some calendar triggers need specific fields—like an Outlook event ID on your table—for “event changed” style setups). If you are unsure, compare your setup to the Outlook automation triggers article for your trigger type.
If it still fails after this, contact Airtable Support with a screenshot of the trigger panel and any error text you see.
Why am I seeing "External Account error: Credential is for incorrect account type" when connecting Outlook to Airtable?
The "External Account error: Credential is for incorrect account type" error means the Microsoft account you signed in with is a different type than the one the Outlook integration expects. Microsoft distinguishes between personal accounts (Outlook.com, Hotmail, Live) and work or school accounts (Microsoft 365 / Entra ID). If you connect a personal account where a work/school account is required (or the reverse), or your email resolves to the wrong account type, the connection fails with this message. To resolve it: disconnect the account from your connected accounts in Airtable, then reconnect using the correct account type for your organization — typically your work/school Microsoft 365 account for an organizational Outlook calendar or mailbox. If you have both a personal and a work account under the same email, make sure you're choosing the work/school one during sign-in. If you're unsure which type your account is, your Microsoft 365 administrator can confirm.