Plan availability | All plan types |
Permissions | Owner / Creator - Can configure interface page layouts Please consult this support article for a breakdown of Interface Designer permissions. |
Platform(s) | Web/Browser, Mac app, and Windows app |
Elements are building blocks in legacy interfaces. Elements are only available in blank layouts or legacy record review and record summary layouts. This article will dive into everything you need to know to format your elements to display what you want and the way you want it to look.
Viewing an element’s current configuration
While in editing mode, you can click on any element on your interface to see that element’s complete configuration by checking out the list of that element’s current properties:
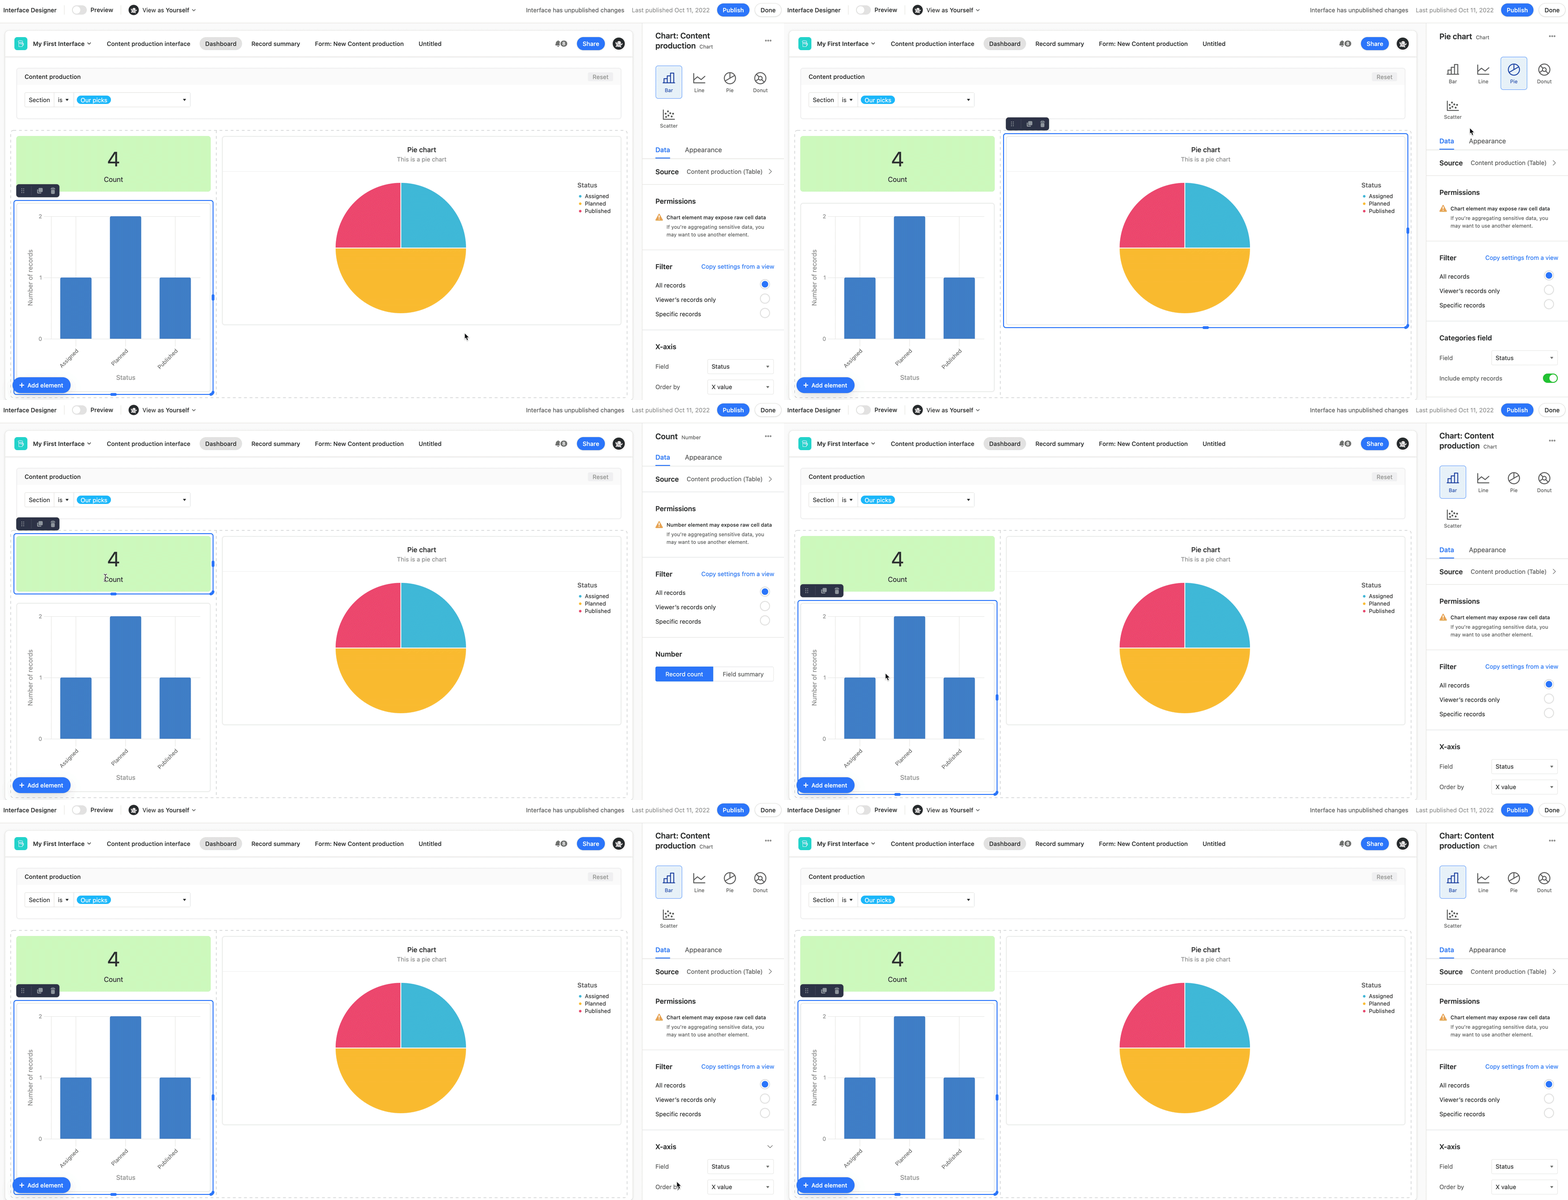
Each element’s type has its own properties, so make sure to check what’s available on your interface’s elements to see how you can customize them.
Formatting element appearance and location
Interface Designer is all about the flexibility to create visual spaces that let you show data in a way you design. Interface layouts can provide an initial structure, but you get to decide the final look. Below we'll cover:
Moving elements
An interface’s formatting is fluid by design. Interfaces are built on flexible grids that will keep elements neat by stacking them together. The flexible grid also ensures elements on your interface are always snapped in place and aligned, with no awkward shifting needed. Stacking elements by dragging and dropping them on an interface is a core feature of Interface Designer.
You can easily drag and drop new elements anywhere on your interface, and your interface’s grid will adapt:
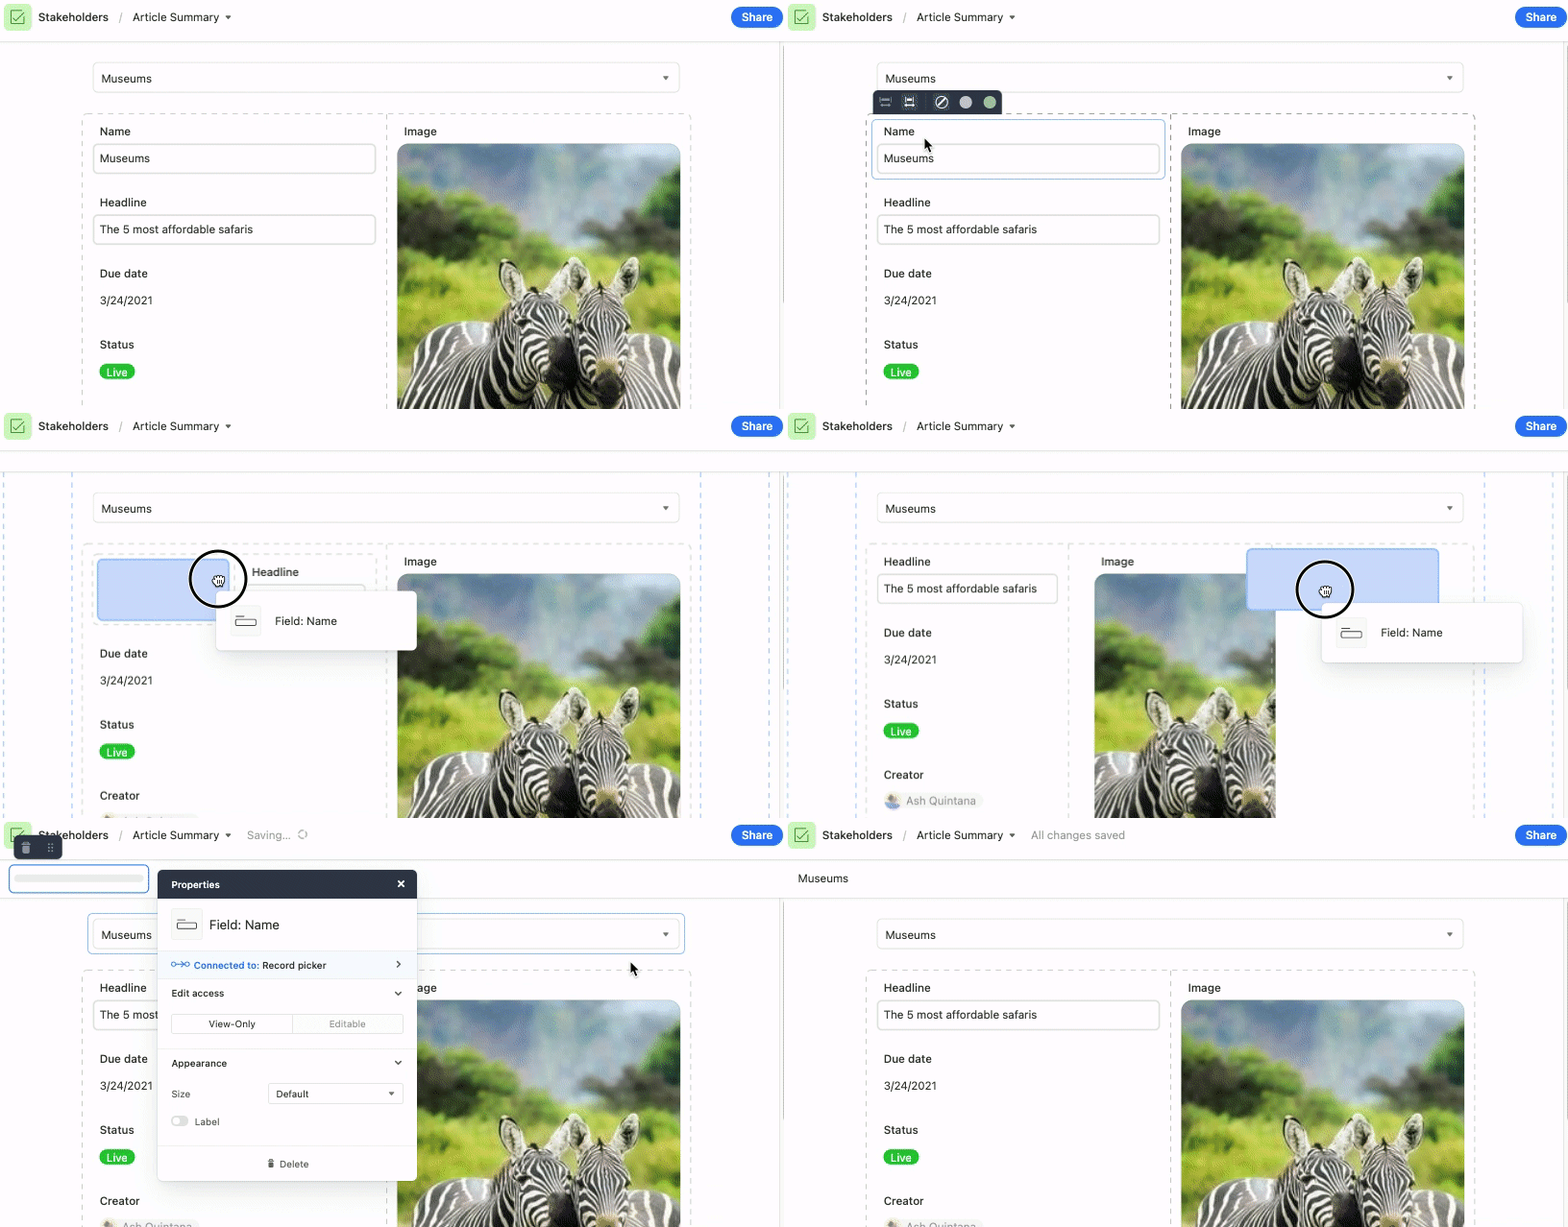
If you want to move an element already on your interface, clicking on that element will reveal a small dark grey box with a pull handle that you can click to drag and drop that particular element.
Resizing elements
You can adjust the width of an element on an interface in two ways:
The first way is to manually adjust the size of an element by clicking on that element to reveal its pull handles:
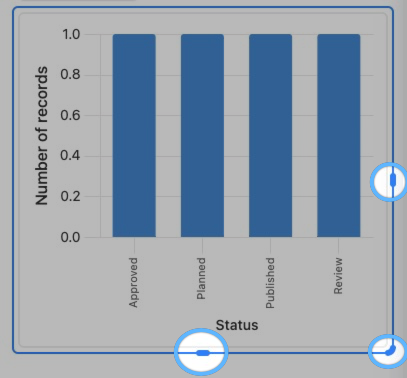
You can click and drag on these pull handle to adjust and resize the element until it looks good to you: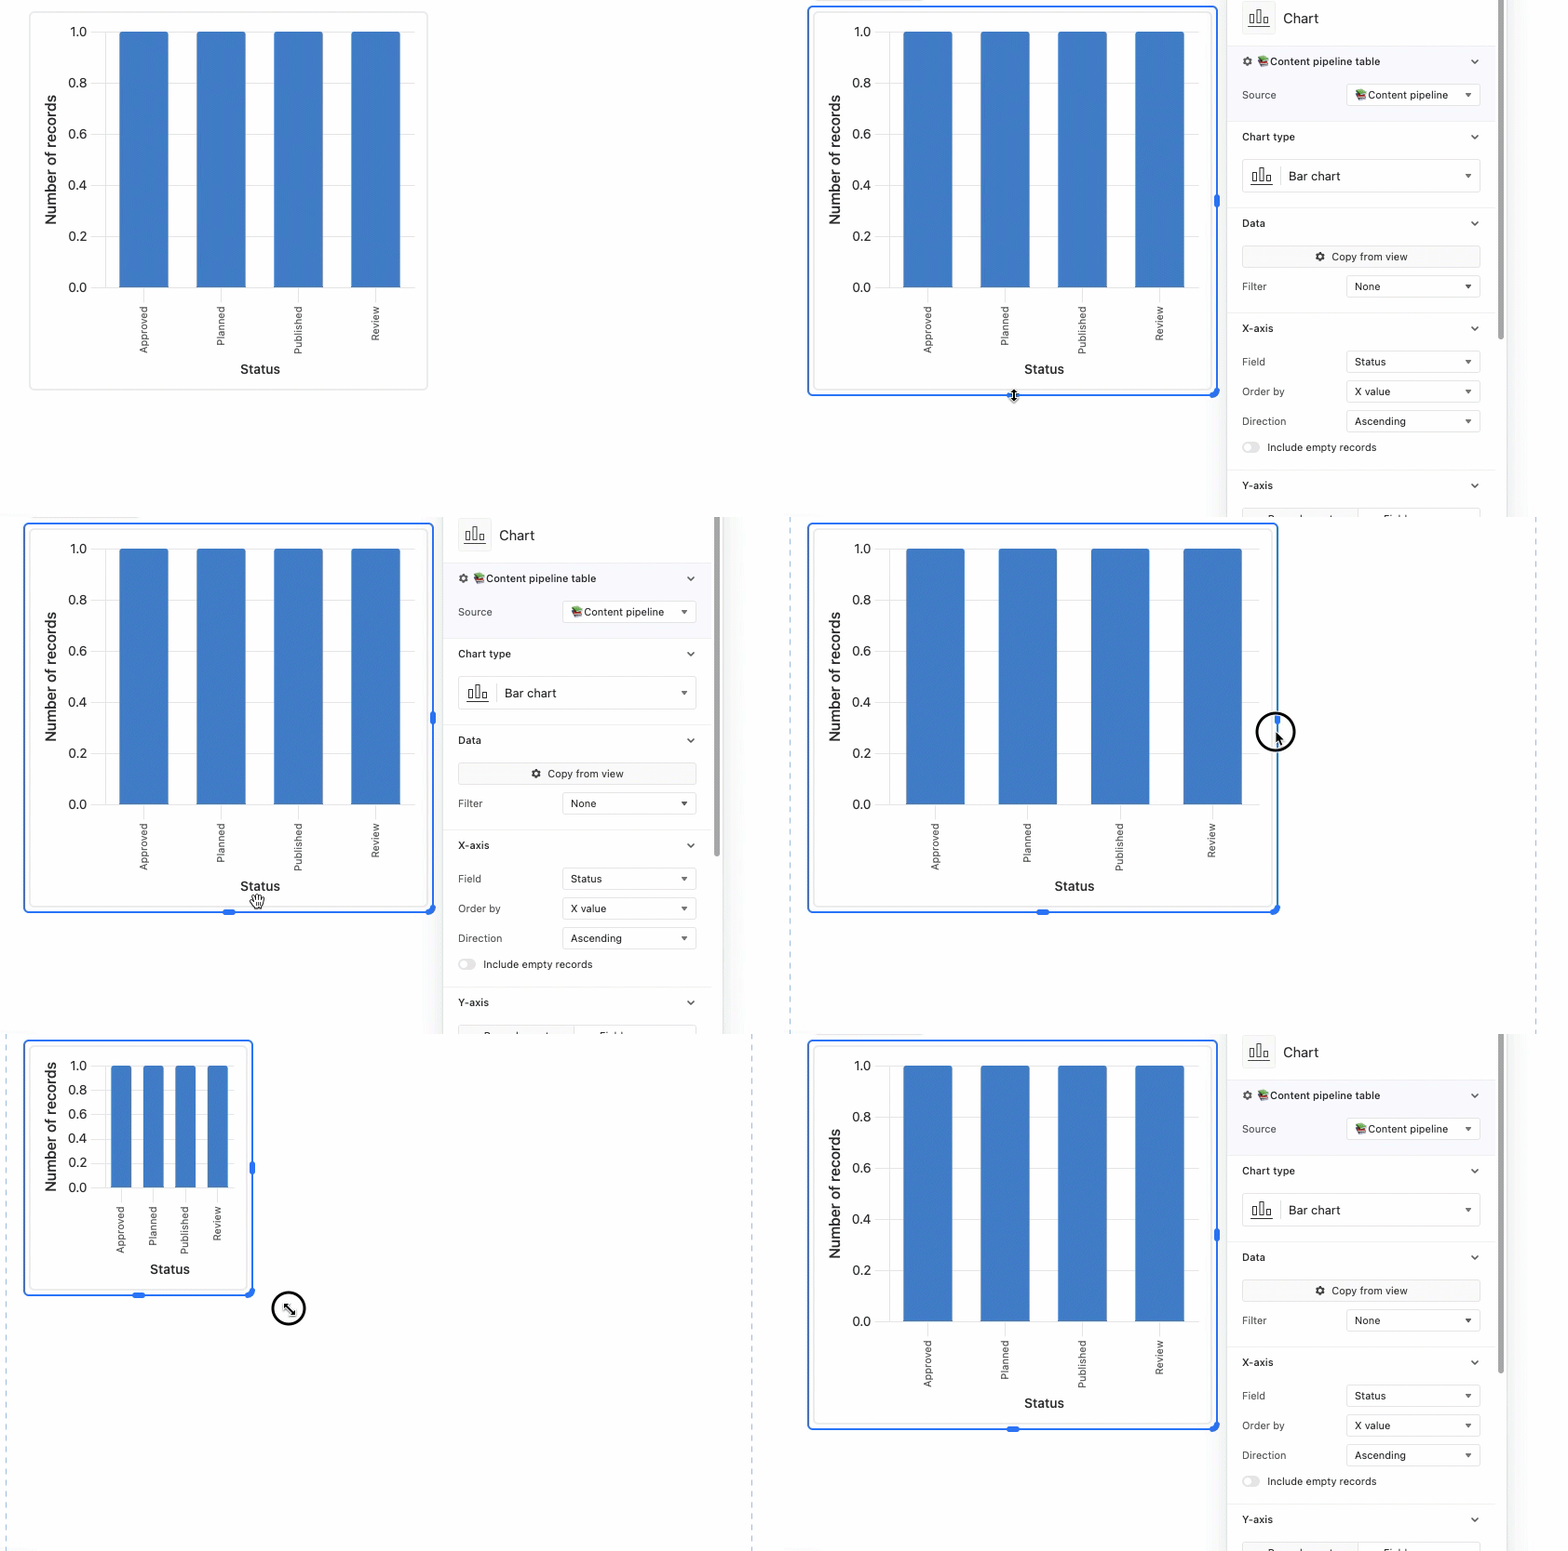
Note
You cannot adjust the height of any “Field” type elements. You can adjust the width, but all Field elements will only be as tall as needed to show the underlying record’s value for that field.
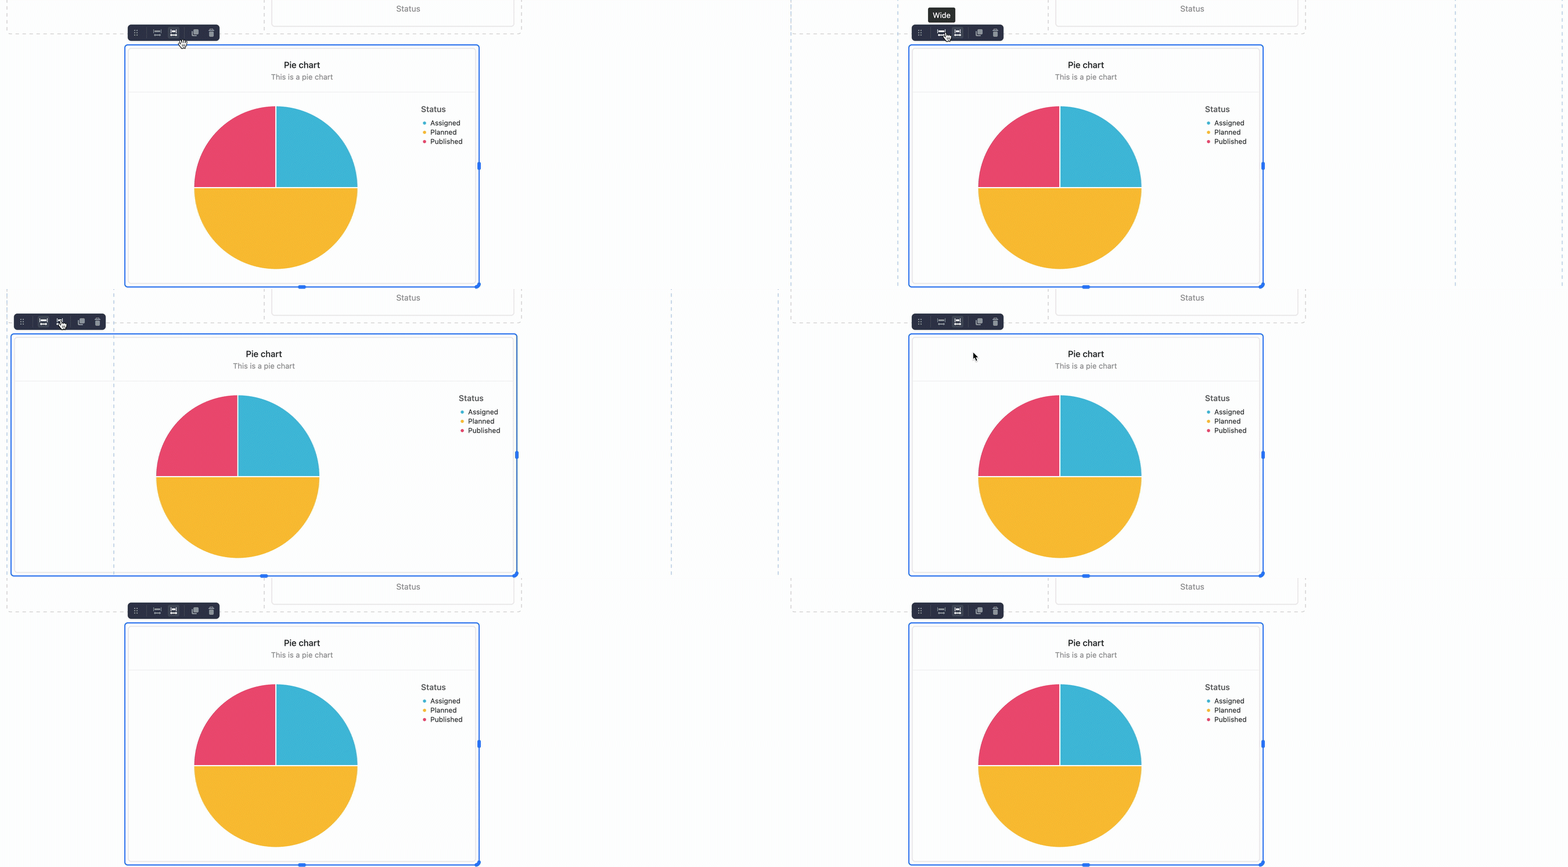
The second way to adjust the size of an element is by using one of the two buttons that pop up the top left corner of a single element, or a group of elements, when clicked. You can click on the “wide” or “narrow” buttons to quickly grow and shrink the selected element within the current grid box it is located in:
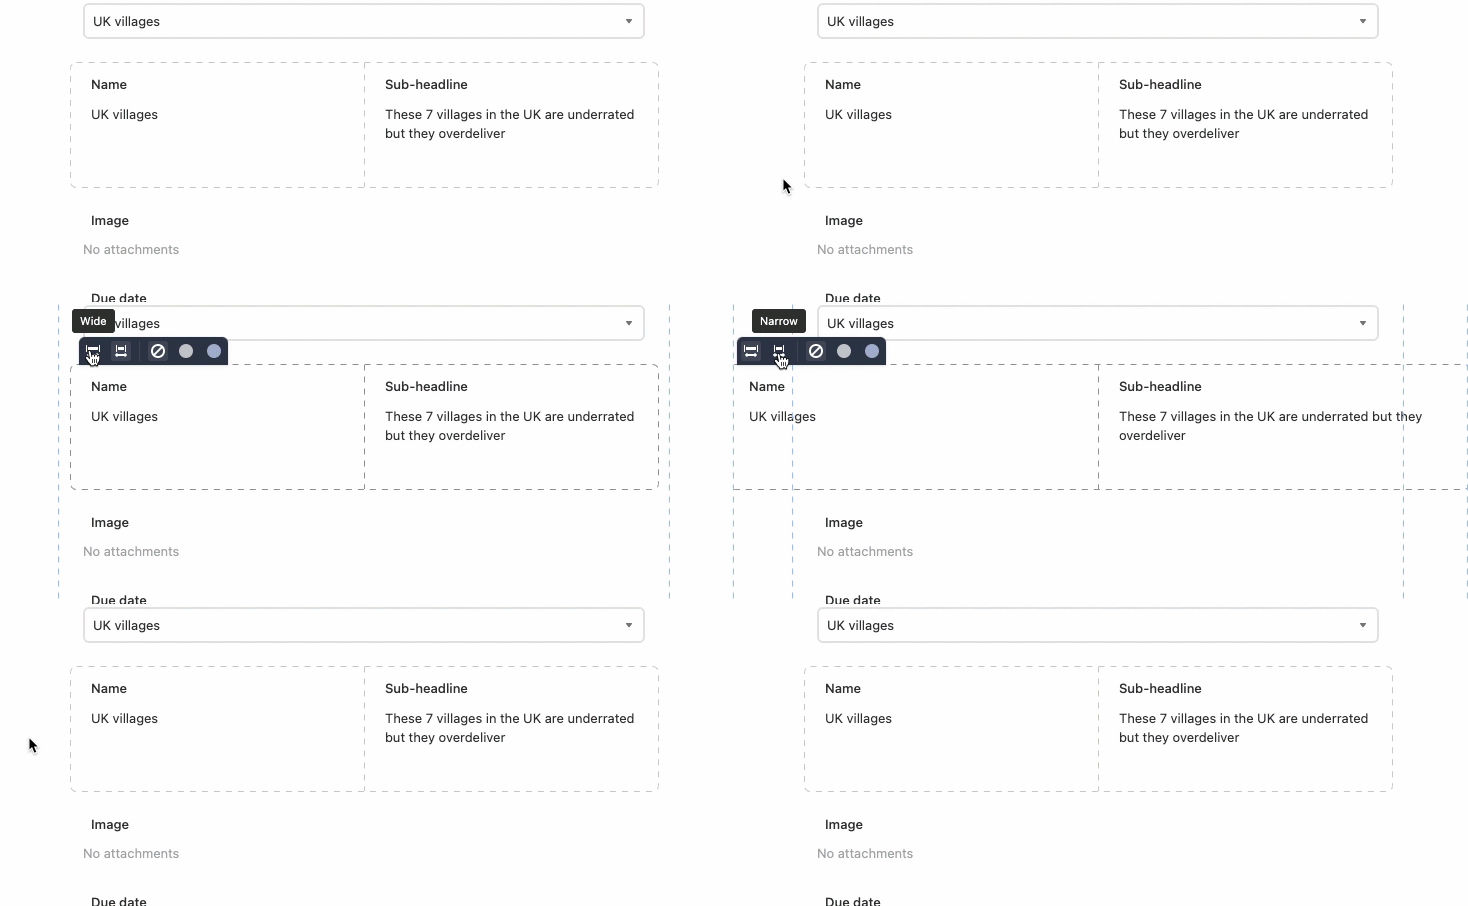
If your element is currently in a group of elements, indicated by the square made of gray dashed lines, clicking “wide” or “narrow” will widen the whole group:
If your current layout is looking right to you, you can always drag and drop your elements into a whole new arrangement!
Adding background colors
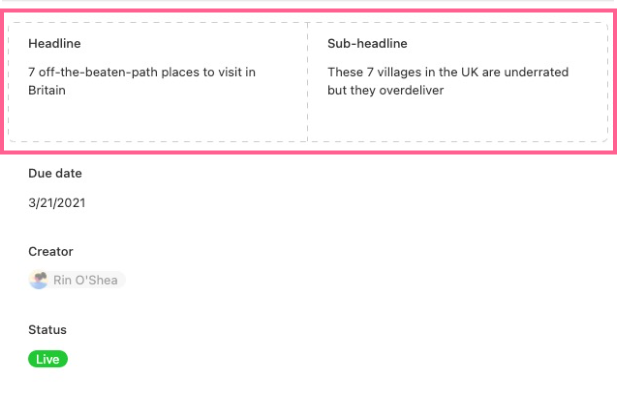
Using a background color is an excellent way to add emphasis or create a visual connection for a group of elements. As we mentioned above, groups of elements are indicated by squares of grey dashed lines.
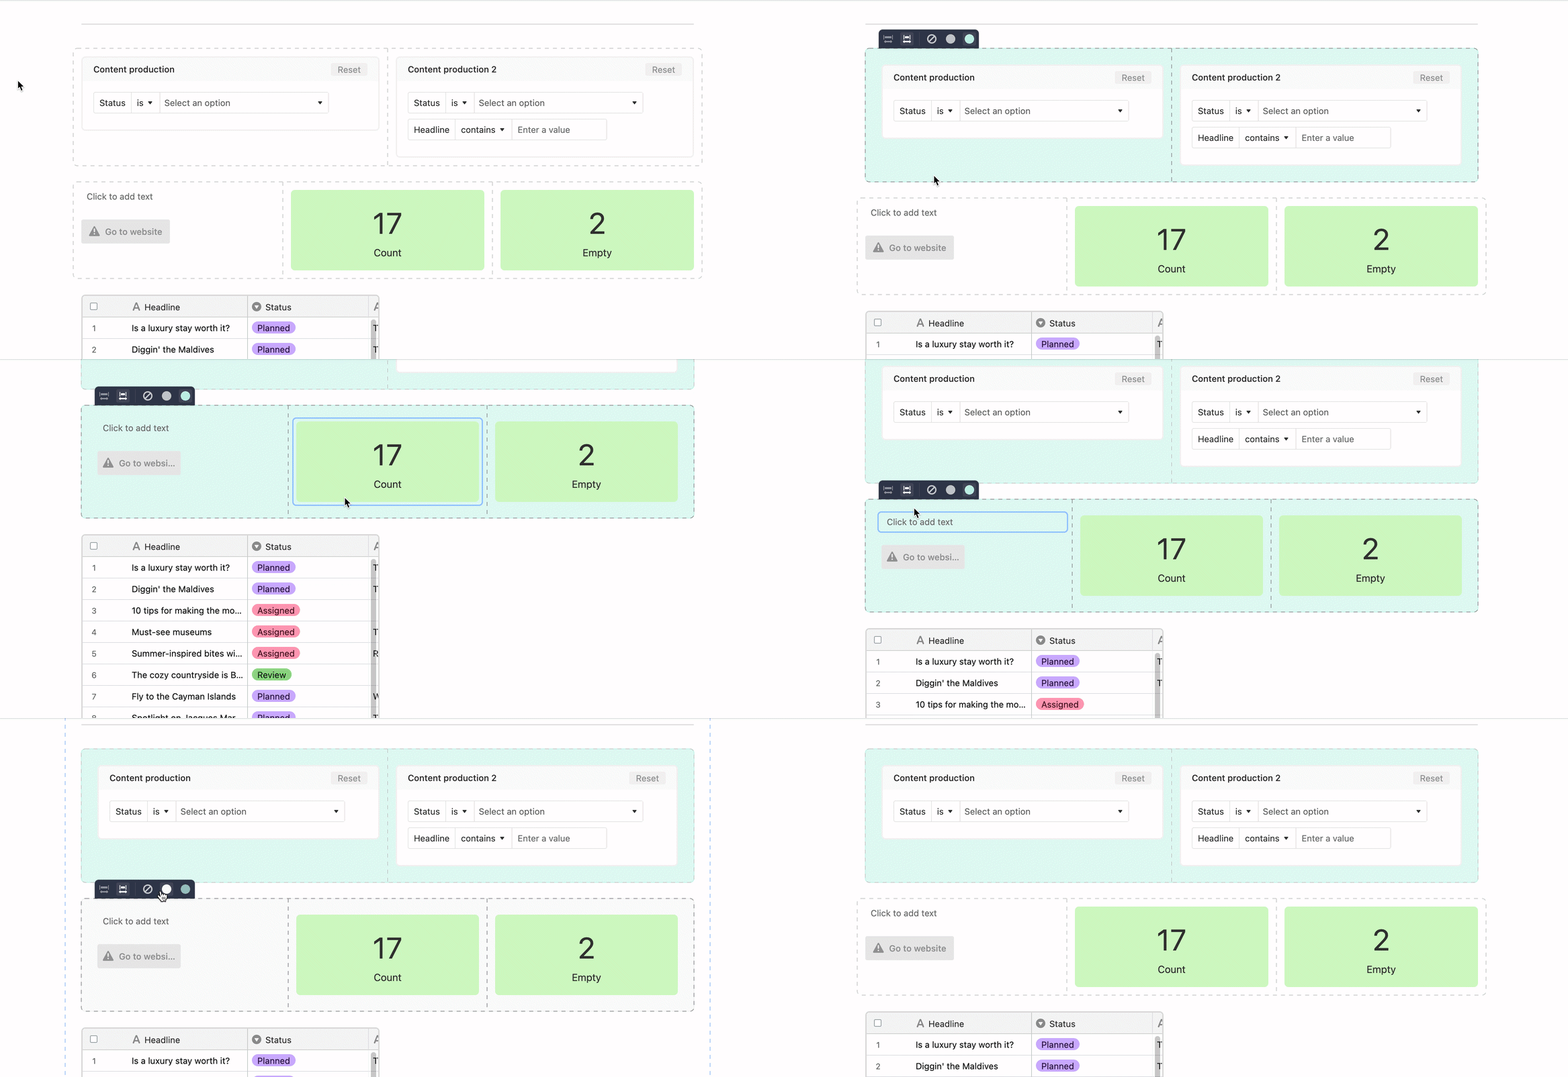
Hovering over the group of elements will reveal a dark grey menu that includes available background colors for the group of elements. Hovering over the different options in this menu, you’ll see two background colors available. The first color will always be “Grey Background,” but the second background will match the icon’s color for this interface.
Note
Notice the single grid element in the GIF above. Elements that appear alone on an interface page will not be "grouped" with other elements. Therefore, no background coloring options will appear.
To change the secondary background color of an eIement group, you'll need to adjust the color of your icon. This will cause any element groups using the colored background to update:

You can remove an existing background color at any time by hovering over a group of elements and selecting No Background.
Additional element formatting
Below, we cover a brief overview of additional formatting options for elements. Since options may vary across element types, each individual element article has more about the formatting options for that particular element.
Filtering - In Interface Designer, you can set conditions to filter out records in individual elements on your interface.
Sorting - Sorting records within an element works much the same way as it does when sorting records in a view. You can order your records in a particular order according to the values in specific fields.
Grouping - Certain elements will allow you to group your records based on one or more fields of your choosing.
Color records - In certain elements, you can also color your records by a select field or by setting conditions.
Note
Have a view configured just right and want to copy that configuration into an element? In many elements, you can do so by using the Copy from view button located under the “Data” portion of an Element’s properties.
Making elements editable for collaborators
NOTE
The ability to edit elements or fields in interfaces is largely dependent upon plan and permission type. Check out our permissions article for more information.
Interfaces are not just for making your data look good— collaborators can directly update a table’s records from an interface. Elements representing fields can be made editable for collaborators by clicking the Editable option under Permissions. When a field is Editable, it will allow collaborators to edit that field and the underlying record’s values directly. In the image below, making the "Status" field Editable means that certain collaborators will now be able to change that record's status right from the interface.

If you create an element representing an Attachment field (i.e., the Field element, Hero Element, and Carousel element) and make it “Editable,” collaborators will be able to comment directly on that attachment.
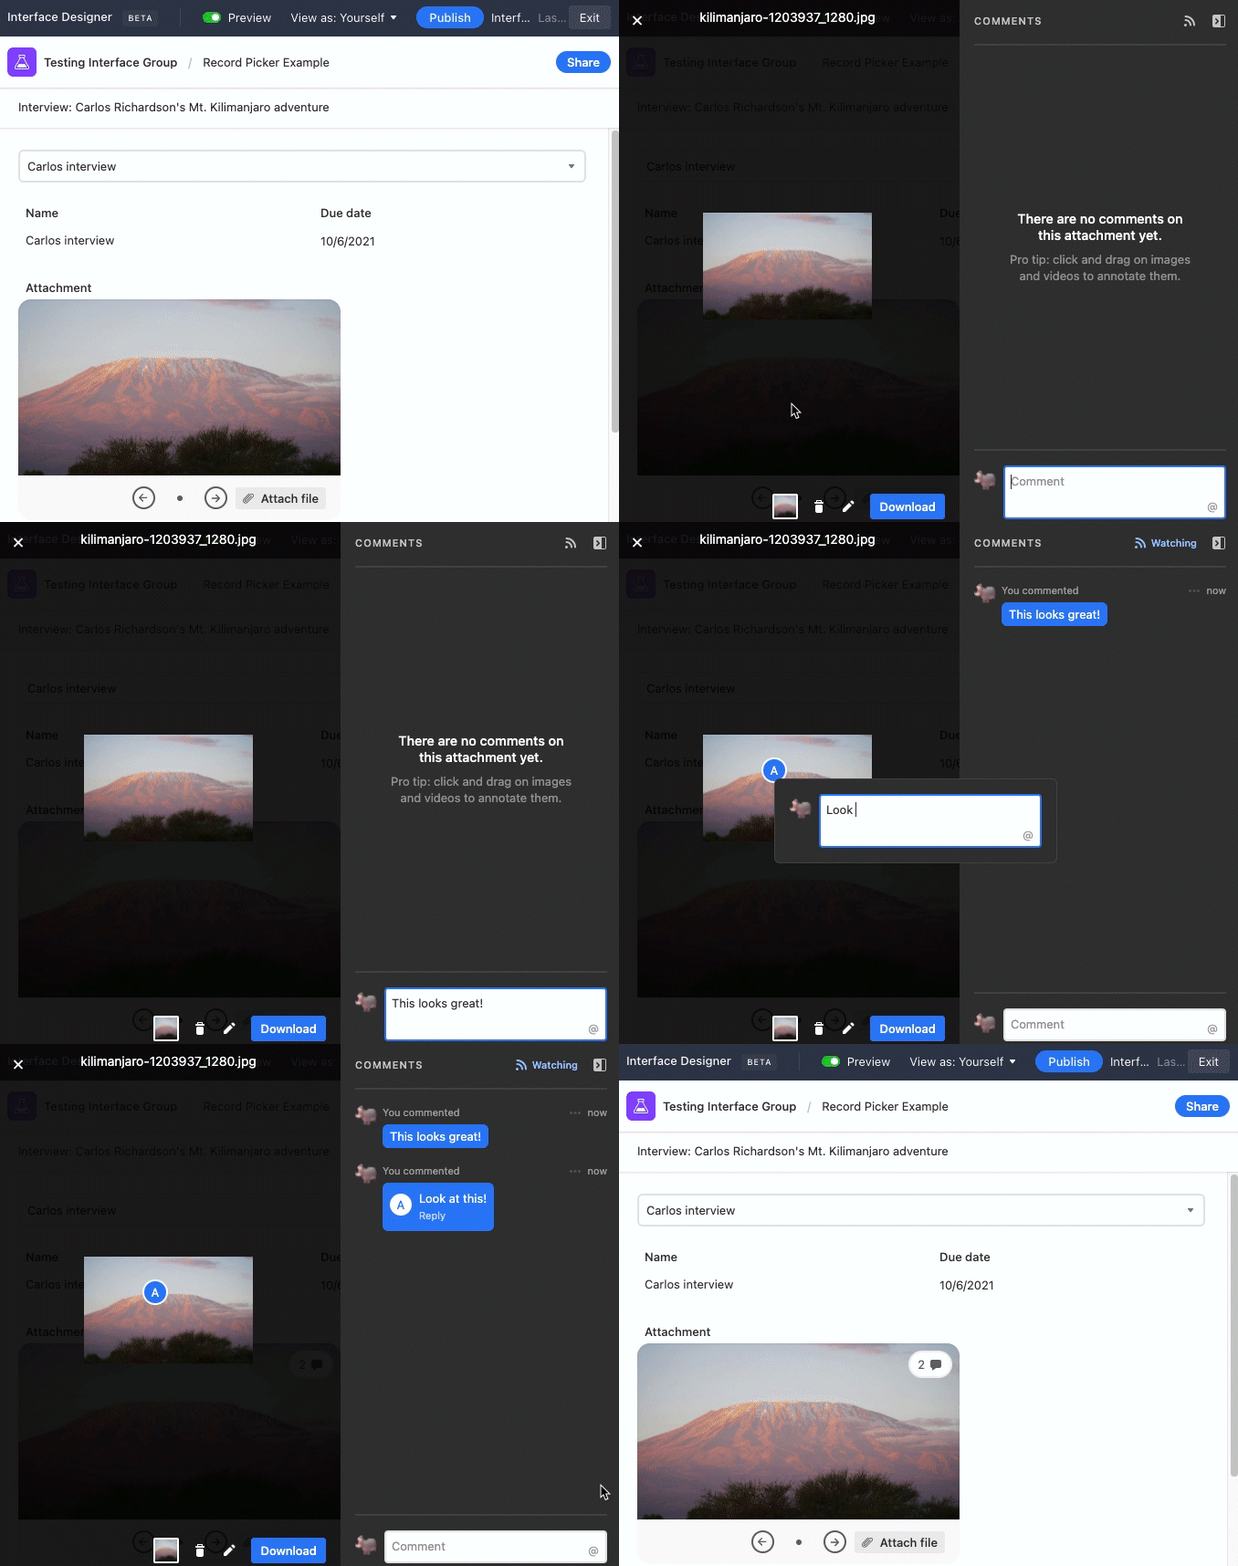
Adding the Comment element will show any current record comments and allow collaborators to add, edit and remove comments directly in an interface that will push to the underlying record.
FAQs
Can I port view configurations into Interface Designer?
Yes! You can port view configurations directly into your elements by using the Copy from view button.
Can I port extension configurations into an element?
At this time, we only support copying over a view’s configurations.
Can I duplicate an element?
Yes, you can. Click on the element of your choice and press CMD and D to duplicate the element.
Can I duplicate an element from one interface to another?
No, however, you can duplicate an interface to its own group or another group attached to the same base.
If a base collaborator has “Commentor” or “Read-only” base permissions, can they edit an interface’s “Editable” fields?
No, a base collaborator with “Commentor” or “Read-only” permissions on a base will not be able to edit or modify a base’s records through an interface.
Can an interface be connected to a shared view?
Yes, but maybe not in the way you might first think. You can add a Grid element to your interface and copy the view configuration of the shared view you are looking to showcase from the base where the interface is being built. If the shared view resides in another Airtable base, then you would need to create a synced table from that shared view and then add a Grid element to your interface connected to that synced table.