Plan Availability | All paid plans |
Permissions |
|
Platform(s) | Web/Browser, Mac app, and Windows app |
Adding a time-based extension
Open your Airtable home screen.
Create or open the base where you want to install the extension.
Click Tools in the upper-right corner.
Click the Extensions option.
Click Add an extension.
Search for and locate the extension of your choice (Countdown, World clock, or time tracker).
Click Add, then Add extension.
Countdown extension
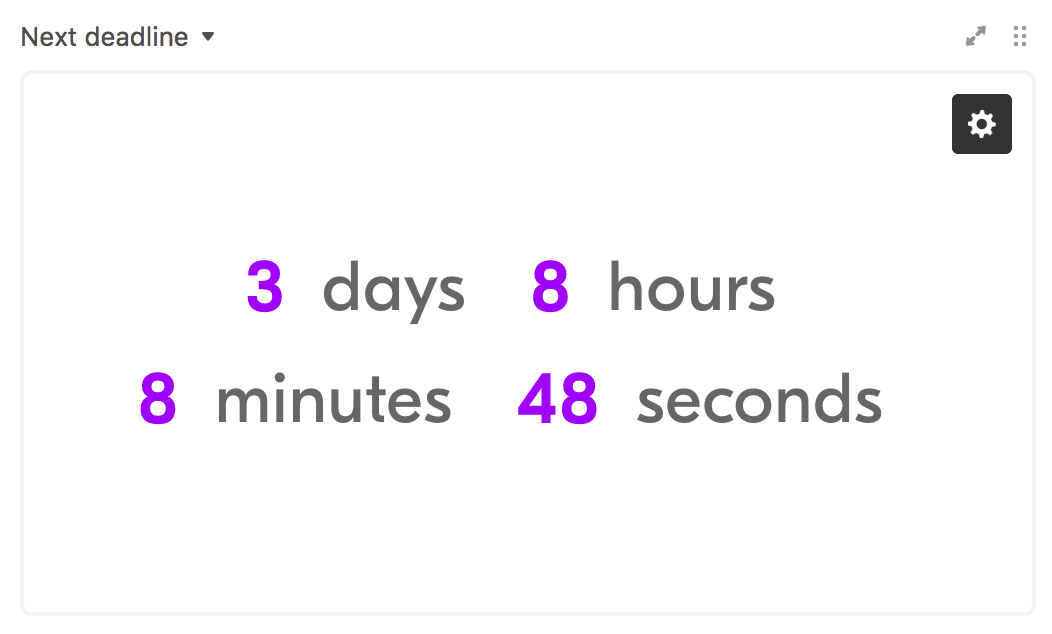
The countdown extension shows a big countdown clock in the color and units of your choosing. You can set it to count down to a specific date and time, or to the earliest or latest date in a specific view.
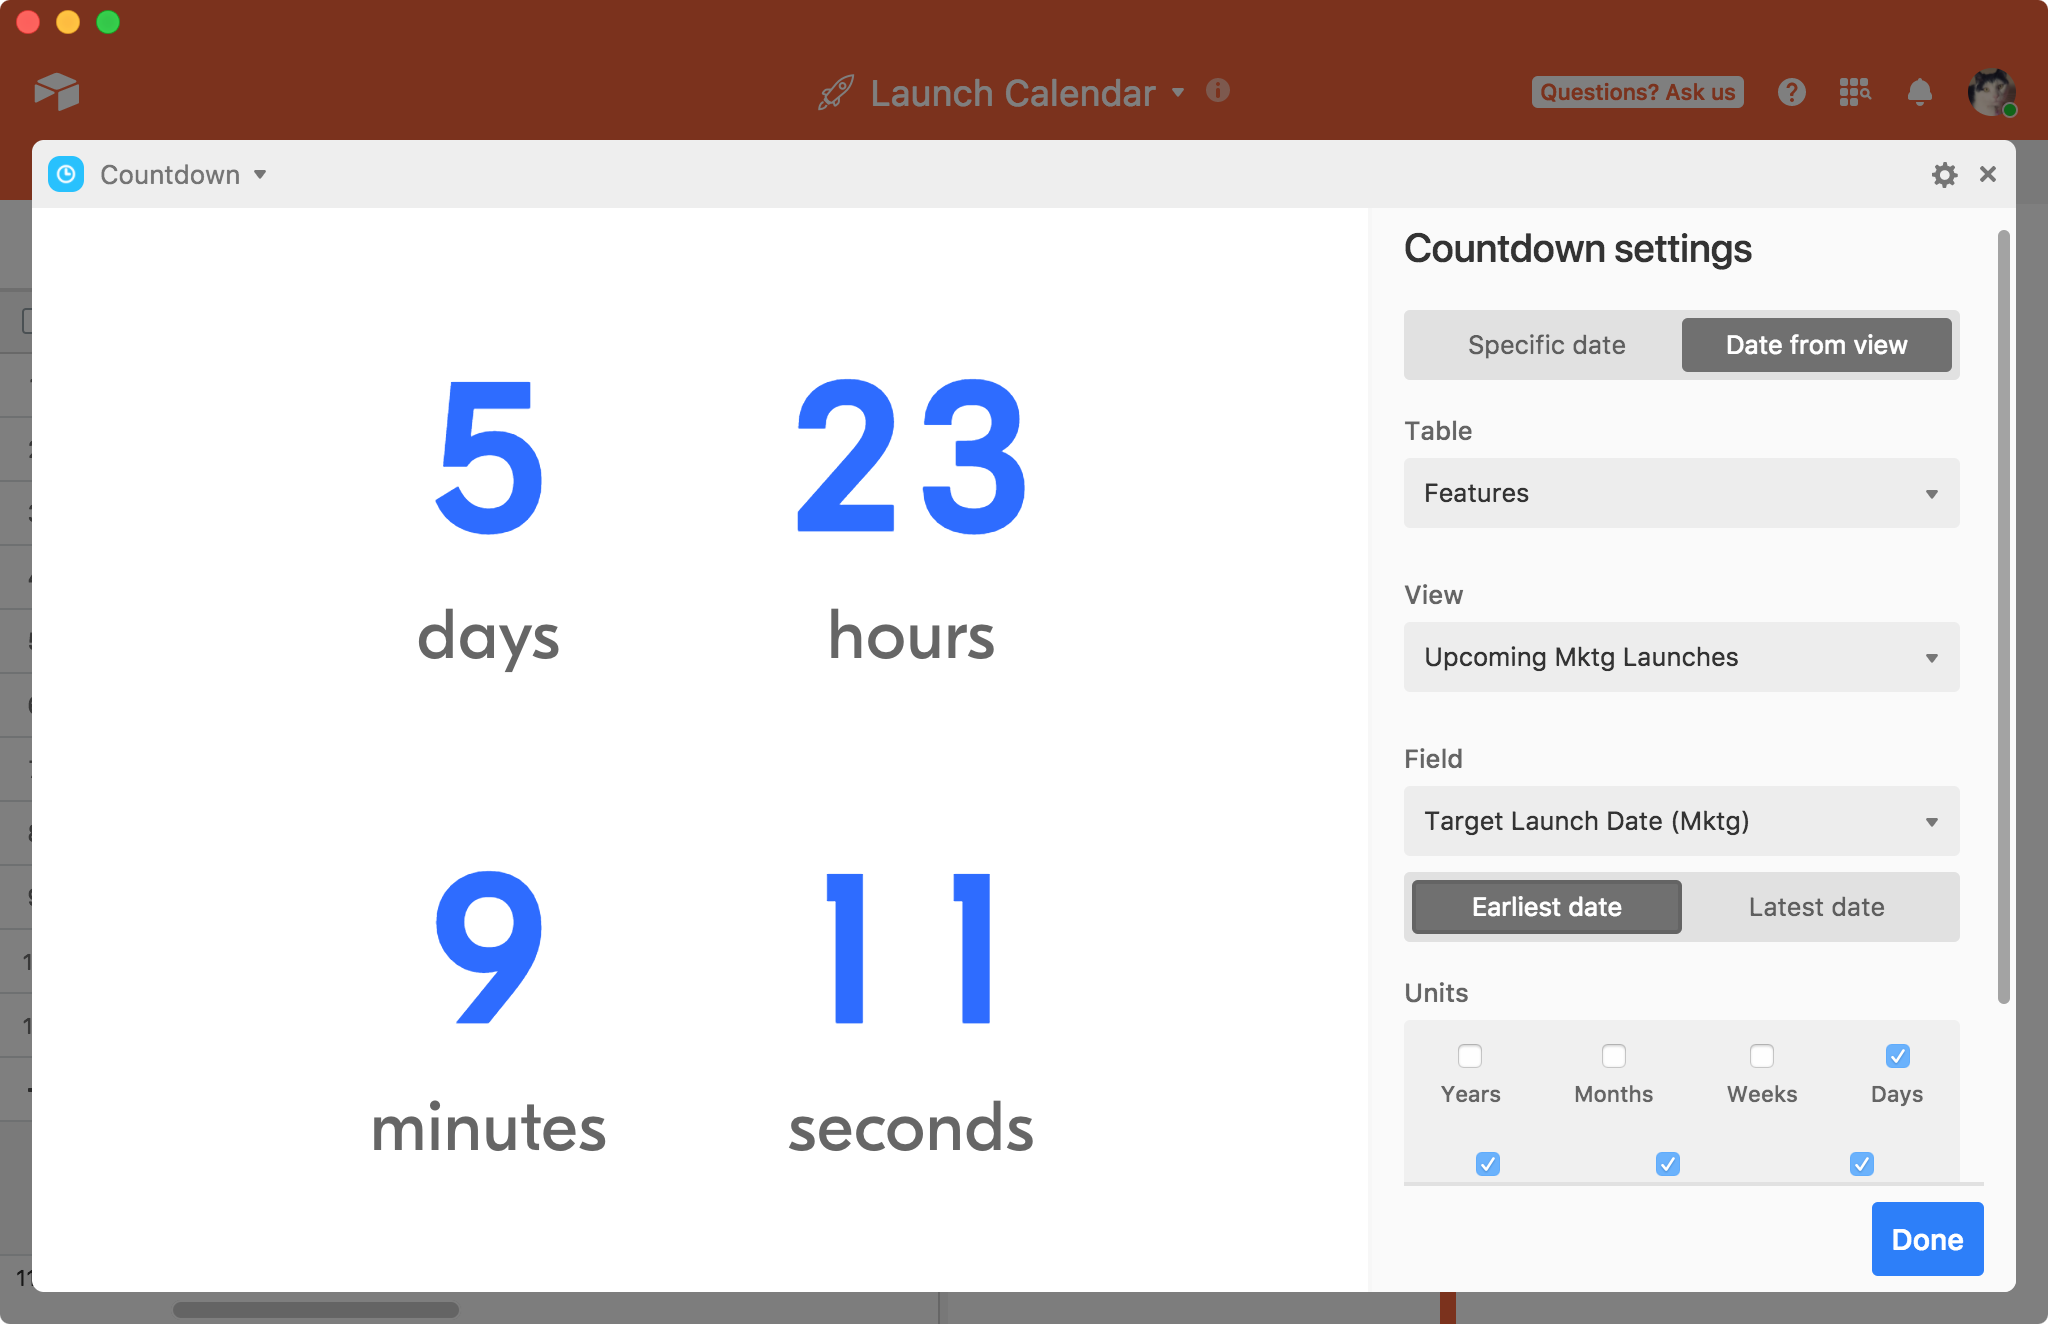
When you first add a countdown extension to your base, it'll automatically open the new extension's settings page. There are two ways for you to set a date for the countdown extension: you can set the countdown extension to count down to a specific date, or you can it to count down to a date from a view.
If you want the extension to count down to a specific date, simply click on the date/time picker and select the desired date and time, or type in your desired date and time.
If you want the extension to count down to a date from a view, click the Date from view option, then specify a table, view, and date field. You can choose whether you want the extension to count down to the earliest date in a view or the latest date in a view.
If you choose to count down to a date from a view, the countdown will change if the earliest or latest record in the view changes. For example, you can create a filtered view which shows all records with deadlines after today, and set the countdown extension to count down to the earliest date in that view. As deadlines pass and records leave the view, the countdown extension will change to match the new earliest dates in the view.
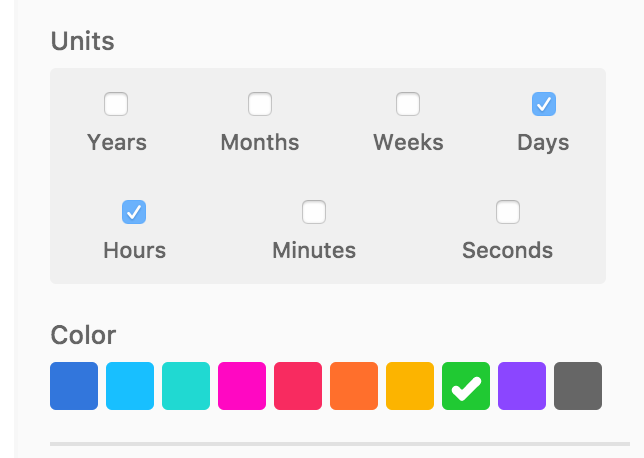
You can customize the countdown's time units—from years and months down to minutes and seconds—by checking and unchecking the appropriate boxes in the Units section. You can also adjust the color of the countdown numbers.
World clock extension
The world clock extension adds a live clock to your base, calibrated to the time zone of a city of your choosing. You can customize the clock's appearance (digital, analog, or both) and give it a color and label.
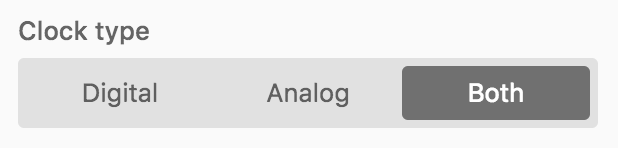
When you first add a countdown extension to your base, it'll automatically open the new extension's settings page. Under the “Clock type” settings, you can choose to display the clock as digital, analog, or both.
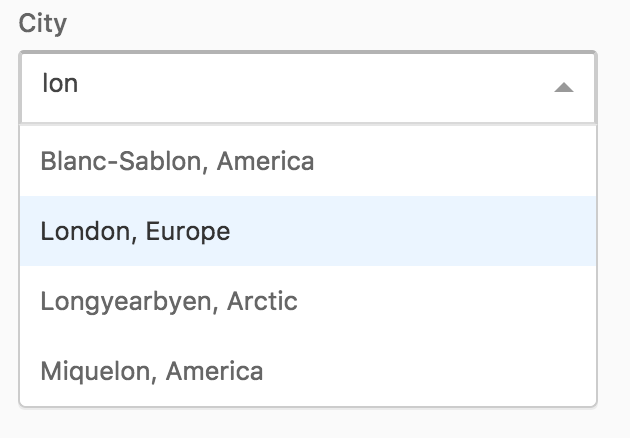
From the City dropdown menu, pick the city whose time you want to display on the clock. You can search for specific cities by typing a search query. If the specific city you want is not represented in the menu, pick a city in the same timezone as the timezone you want to display.
Pick a color for your clock from the available swatches, and—if you want—give the clock a custom label. If you don't give the clock a custom label, the clock will automatically be labeled with the name of the city you chose in the City dropdown menu. If you do give the clock a custom label, it will overwrite the name of the city.
Time tracker extension
The time tracker extension allows you to measure the minutes or hours in a day spent on a specific task. You can also add collaborators to each task, giving you a high-level overview of how long your team is spending on a project.
Learn more about the time tracker extension below:
General setup
You can track time for existing records, or create new records directly from the time tracker extension. After you've added the time tracker extension to your base, you'll need to adjust the settings.
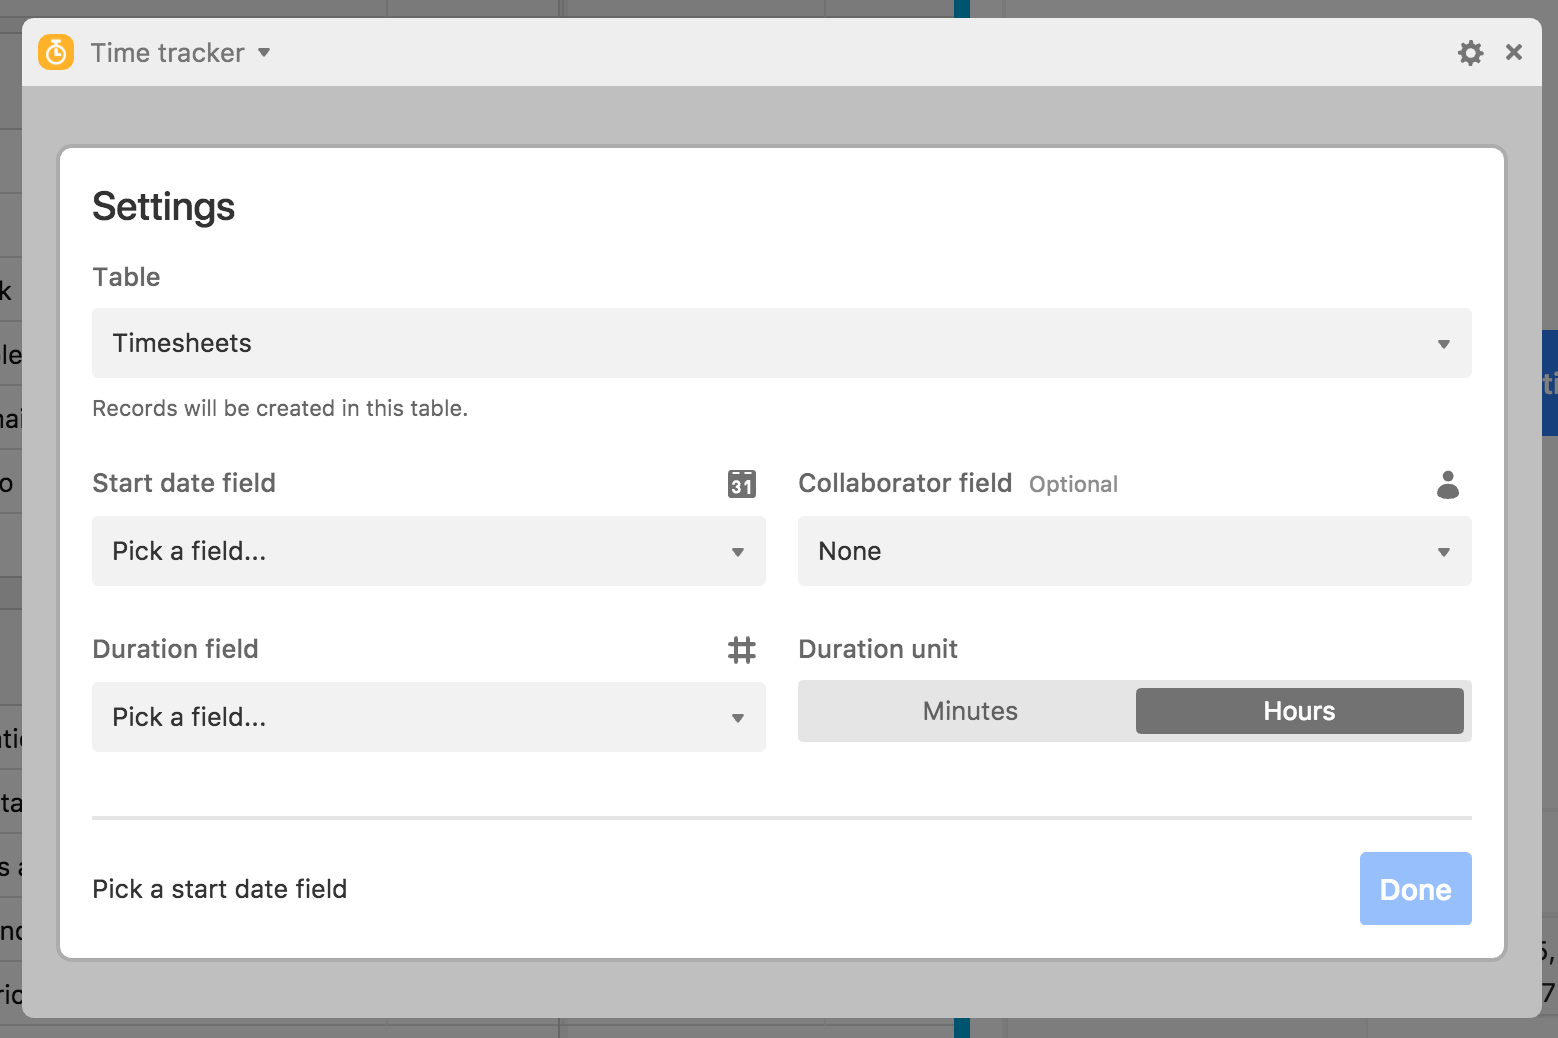
Pick the table in which you'd like your records to be created using the Table dropdown menu; select a start date field. (The start date field is optional, but must be configured as a date field.)
You have the option of designating a user field. If you do this, the field you designate will automatically get filled in with the name of whichever collaborator starts the time tracker.
You can choose to pick a "view" for the time tracker extension. If a view is selected, only records from that view will be shown when picking a record to start tracking time.
Then, choose your duration field (which must be configured as a number field or a duration field) and duration unit—either minutes or hours.
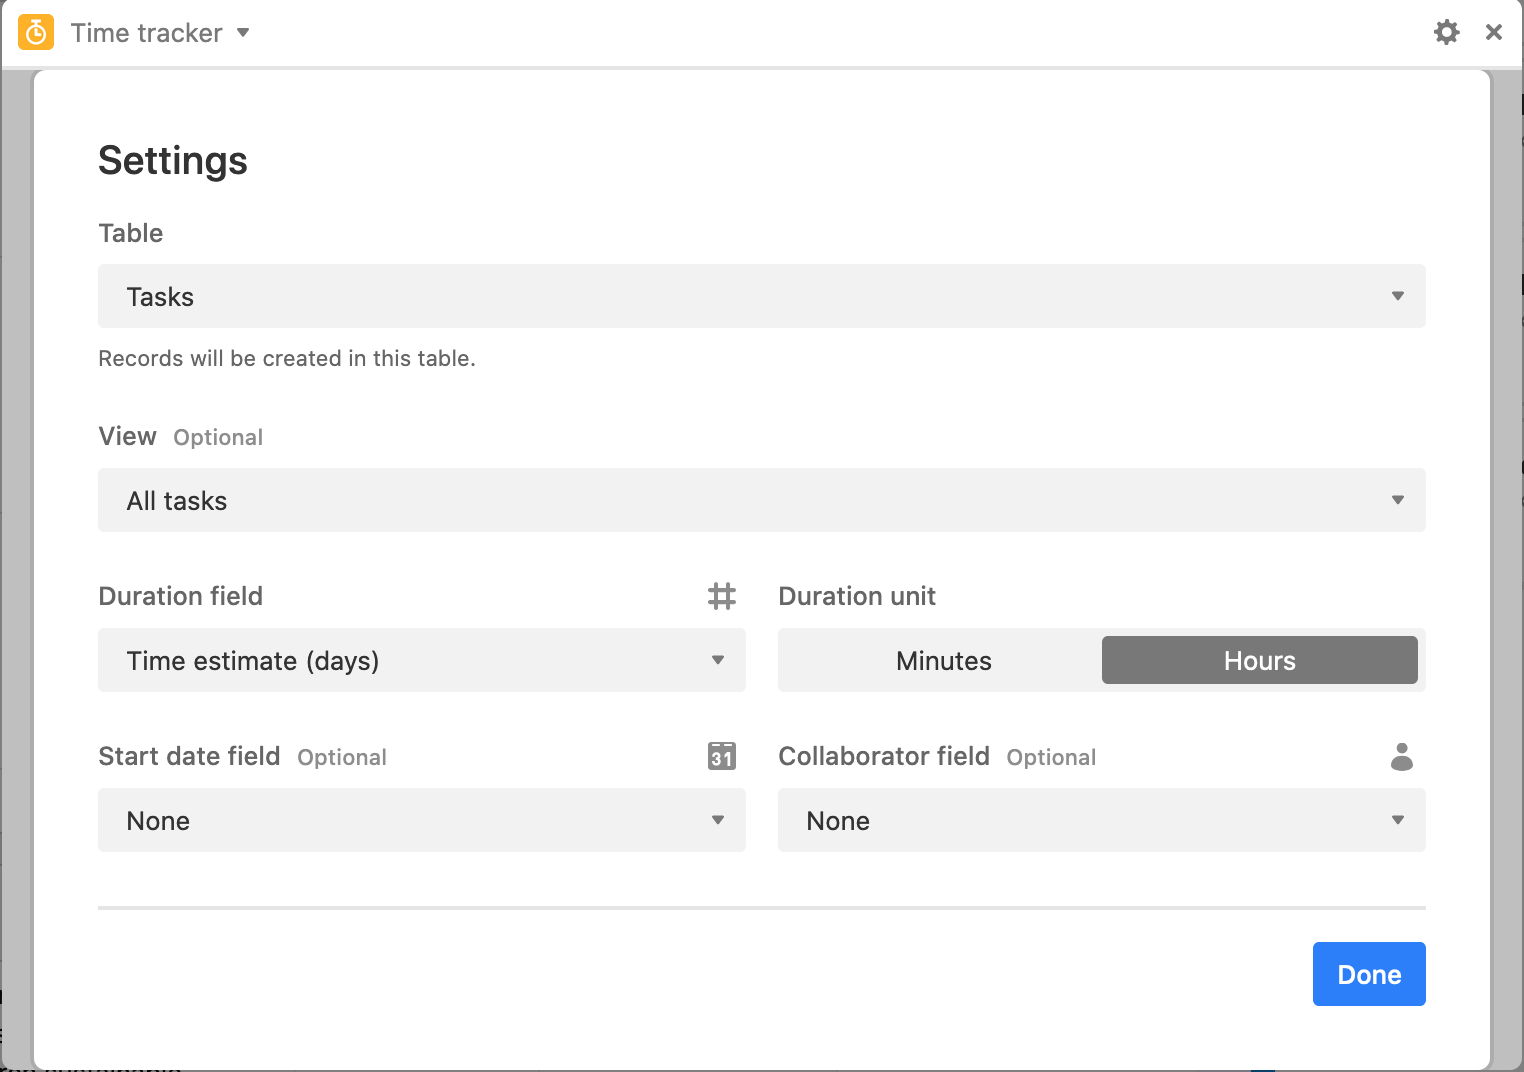
When you're all set up, select Done. A large button will now appear labeled Start tracking. Clicking this button will let you choose an existing record to add time tracking to, or create a new record to start tracking time.

Track time for an existing record
When you click Start tracking, you'll be given the option to choose an existing record to add time tracking to. After you choose your record and start tracking, if you have a start date field the current date will appear in that field. If you set up a collaborator field, the collaborator field will automatically fill in with the name of whichever collaborator started the timer (but you can change the collaborator later if you need to).
The time tracker will continue running even if you switch to a different base or leave Airtable. If you select Expand record you can update your tracked record.
You can also pause your session by clicking on the yellow pause button.
Click the Stop tracking button when you're ready. This will stop the timer and add that value into the designated duration field. Note that using the Time tracker extension to update a duration field will not prevent you from manually updating that field value if need. If you didn't add project details earlier, you can now with titles, links, and checkboxes to designate whether or not you've completed the task at hand.
Track time to create a new record
Instead of selecting an existing record, you can choose to create a brand new record by selecting + Add new record.
This will create a new record with a value in the designated start time field. If you set up a collaborator field, the collaborator field will automatically fill in with the name of whichever collaborator started the tracker (but you can change the collaborator later if you need to).
The time tracker will continue running even if you switch to a different base or leave Airtable. If you select Expand record you can add and edit fields associated with your tracked record.
You can also pause your session by clicking on the yellow pause button.
Click the Stop tracking button when you're ready. This will stop the timer and add a value into the designated duration field. If you didn't add project details earlier, you can now with titles, links, and checkboxes to designate whether or not you've completed the task at hand.