Plan availability | All plan types |
Permissions |
|
Platform(s) | Web/Browser, Mac app, Windows app, and some basic functionality on iOS and Android mobile apps |
Adding new records in Gantt views
If you have creator or editor permissions on a base you can add a new record to your Gantt chart in two different ways:
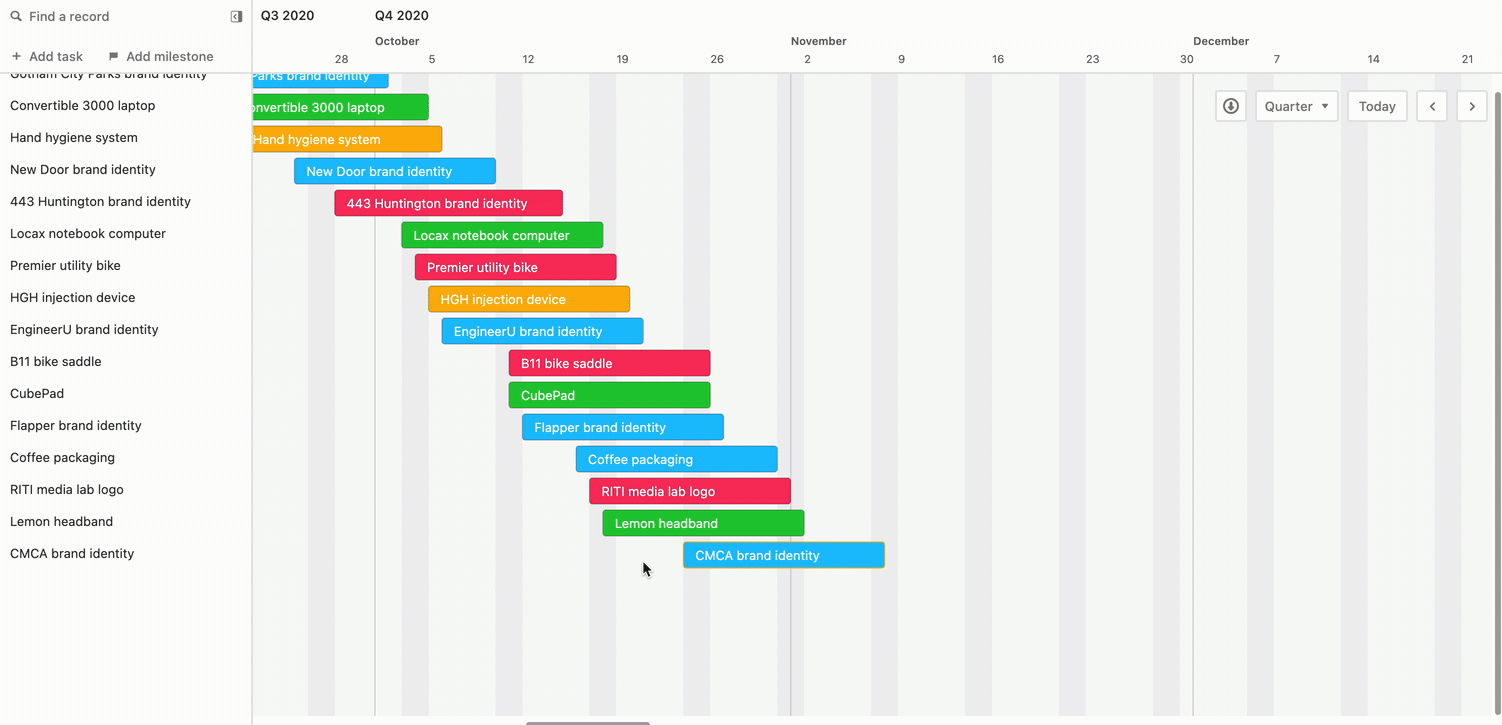
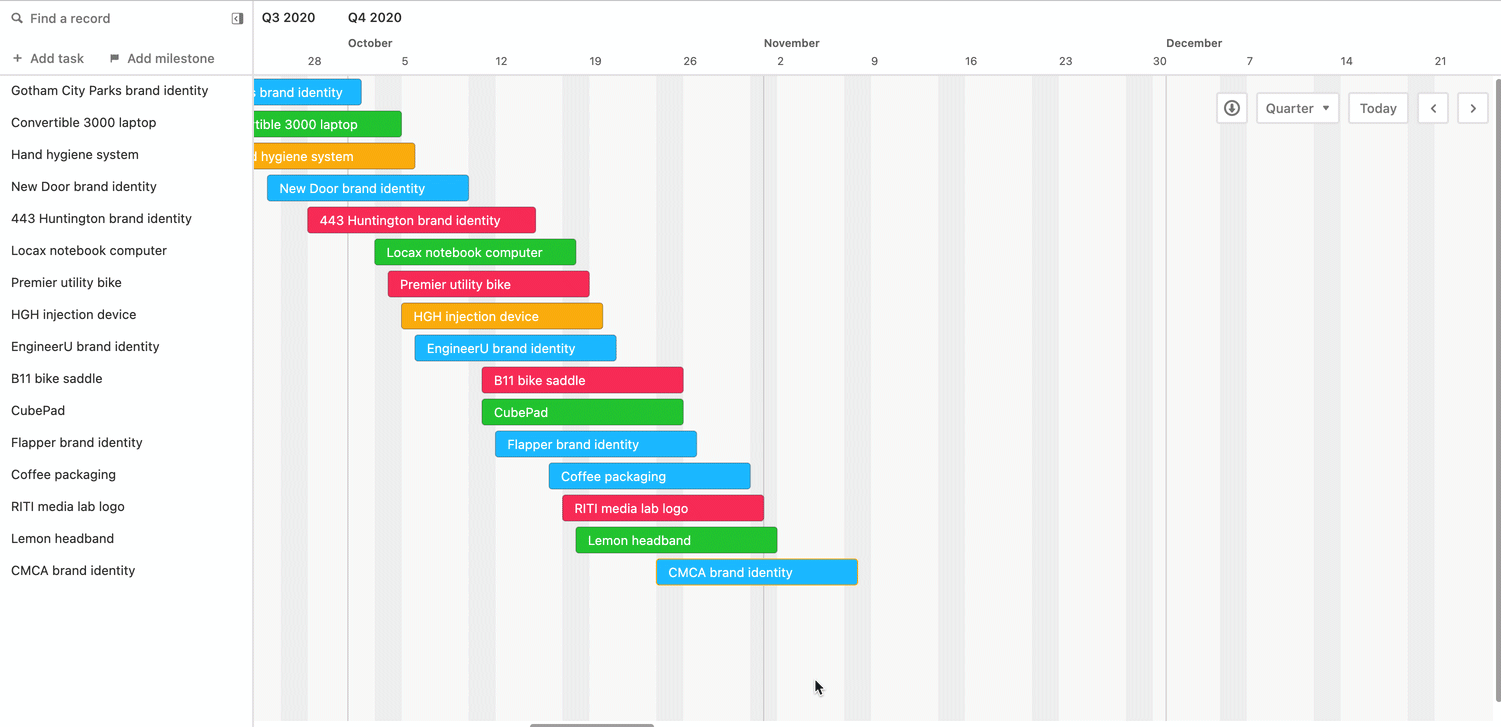
Click the + Add record button in the upper-left portion of the view. This will present the option to name the record and set a start and/or end date.
You can also click and drag in an empty space (anywhere without an existing record) to begin defining a date range for a new record. Once you release clicking, a window will appear to let you customize, save, and create the new record.
Click the blue Save button once you have configured the new Gantt record.
Deleting records
To delete a record in the Gantt view you can right-click on the record you want to delete and click Delete record.
If you want to delete several records at one time, then you can select multiple records and right-click off to the side. This will show an option to Delete 'x' selected records.
Finally, you can always navigate to another view type, like a grid view, and delete records from that view. Just remember to pay attention to any filter conditions that may prevent you from seeing certain records.
Rescheduling individual records
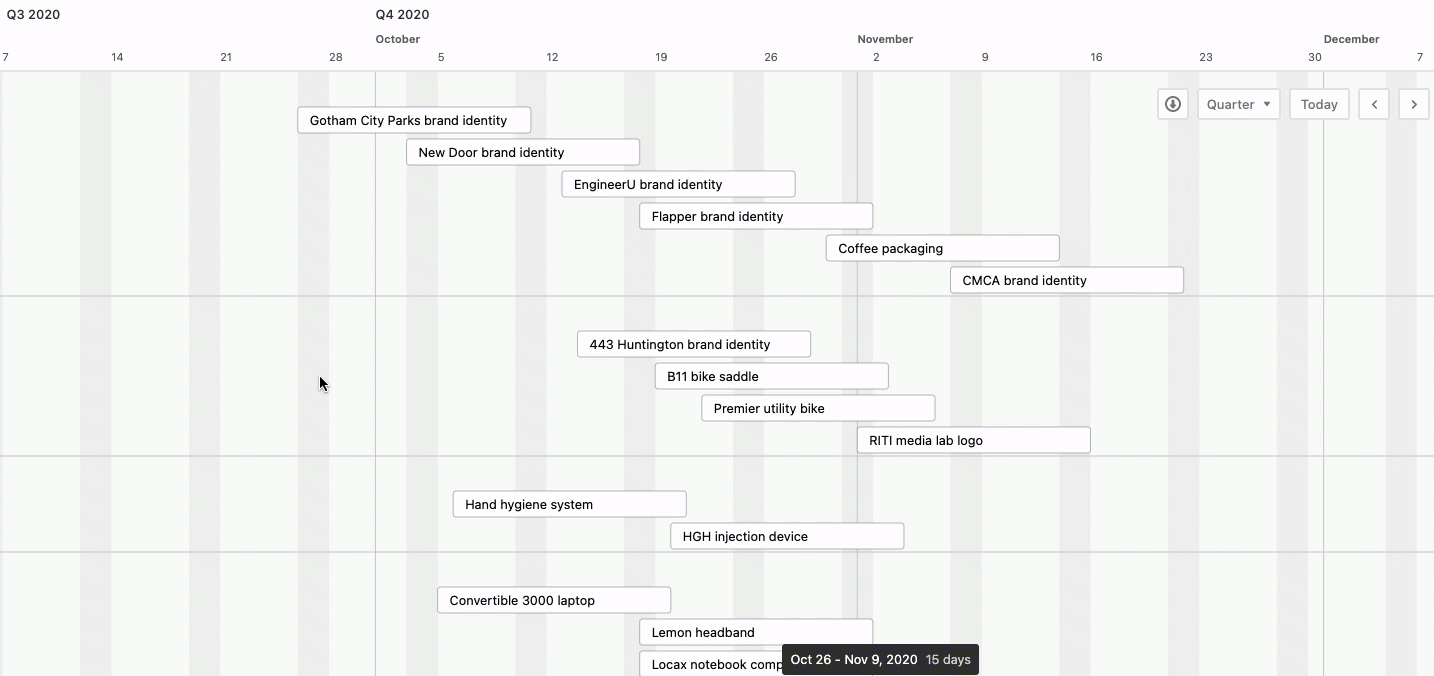
To change the duration of a record, you can lengthen or shorten a record by clicking and dragging on its left or right edges.
You can also adjust the dates that a record begins and ends (without changing its duration) by clicking and dragging the bar earlier or later on the timeline.
If needed you can press the Esc key while dragging to cancel, returning your record to its original date before you started dragging.
Rescheduling multiple records
Similar to rescheduling a single record, you can also select multiple records at a time to adjust their start and end dates.
Additionally, if you have record grouping enabled in a Gantt view, collapsed record groups can now be dragged and the record items will update within it.
Note
Multiple records can also be selected with the keyboard shortcut cmd + click (Mac) or ctrl + click (Windows).
Creating a dependency on the chart
If you've selected a self-linking linked record field to serve as a dependency field for your Gantt view, you can make dependencies directly within the Gantt chart interface. When you move your mouse over a record, a white circle will appear. Click and drag this white circle to another record to create a dependency arrow.
As you create dependency arrows, links will be created in whichever field you designated as your dependency field.
Note
Want to learn more about dependencies? View the article Gantt view milestones, dependencies, and critical paths.
Slack and cascading dependencies
Adjusting a record can affect other records that have been linked to it as successors or predecessors. For instance, if you change the end date of a predecessor to end later than the start date of any of its successors, the start dates of those successors will change automatically.
When you drag a record to reschedule it, slack or "lag time" between the records will be consumed before any predecessor or successor record dates get changed. As an example, if there are 5 days between a record's end date and its successor's start date, you can move the first record forward 5 days, and the successor's start date won't change. But if you push it forward by more than 5 days, the successor's start date will get pushed forward so that it starts on the next day following its predecessor's new end date.
If you want to adjust the duration or dates of a record without affecting any dependent records, press and hold the Shift key while making changes.
Fixing invalid dependencies
When an individual task is dependent upon another task's completion, you can click the "Fix invalid dependencies" button in the side menu to fix any conflicting dates.
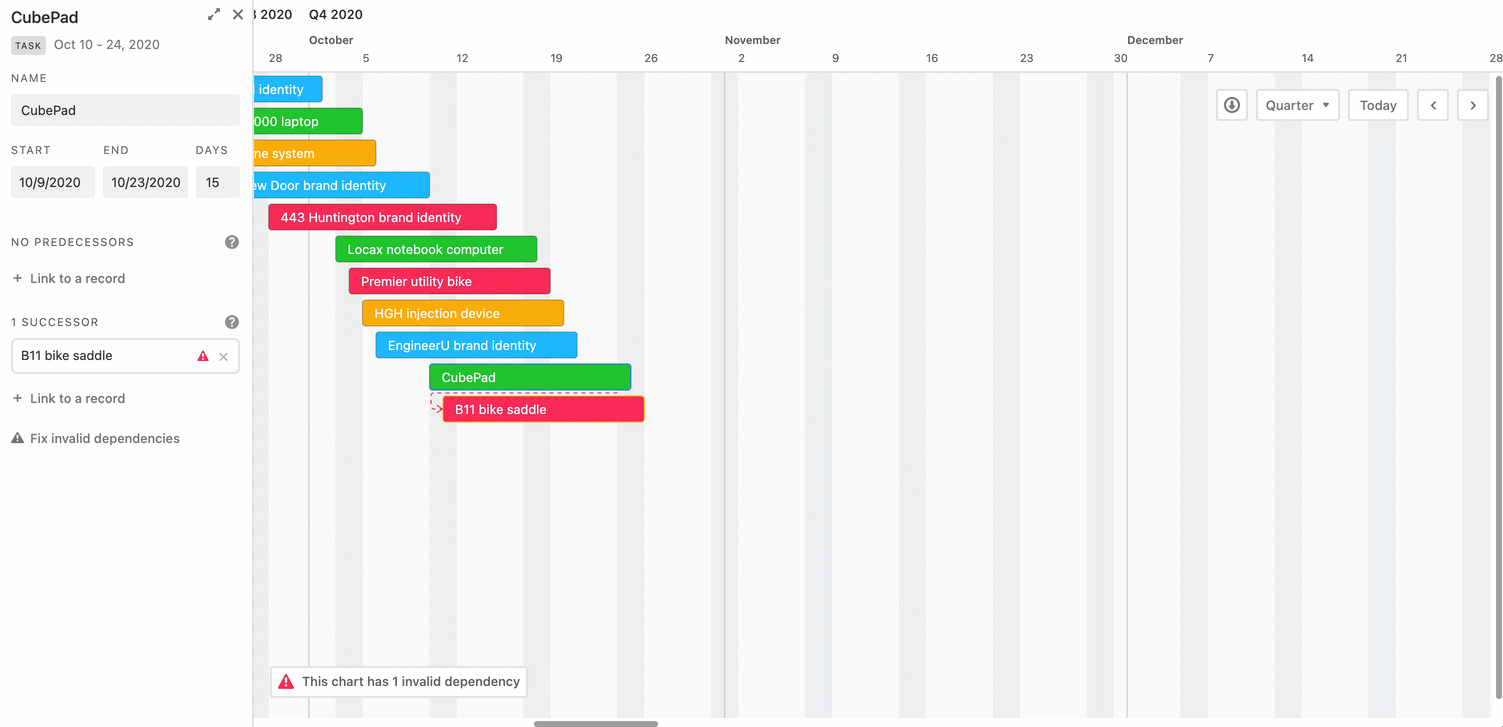
Clicking this button will always preserve the date range (start and end date) of the selected task, and only move tasks that are successors or predecessors of this task. For example, if you click this button in the predecessor's record, then it will push the start date of invalid successors to be after the end date of the predecessor.
Alternatively, if you click the successor's record and fix the dependency, then it will keep the current dates of the successor record and push the end date of any predecessor records to the day before the successor's start date. The length of a task (number of days or workdays depending on settings) will always be preserved for all tasks.
Find a record
If you're working with a large amount of records, you may want to quickly find a single record to view its details.
Start by clicking the "Find a record" button in the top-left of the view.
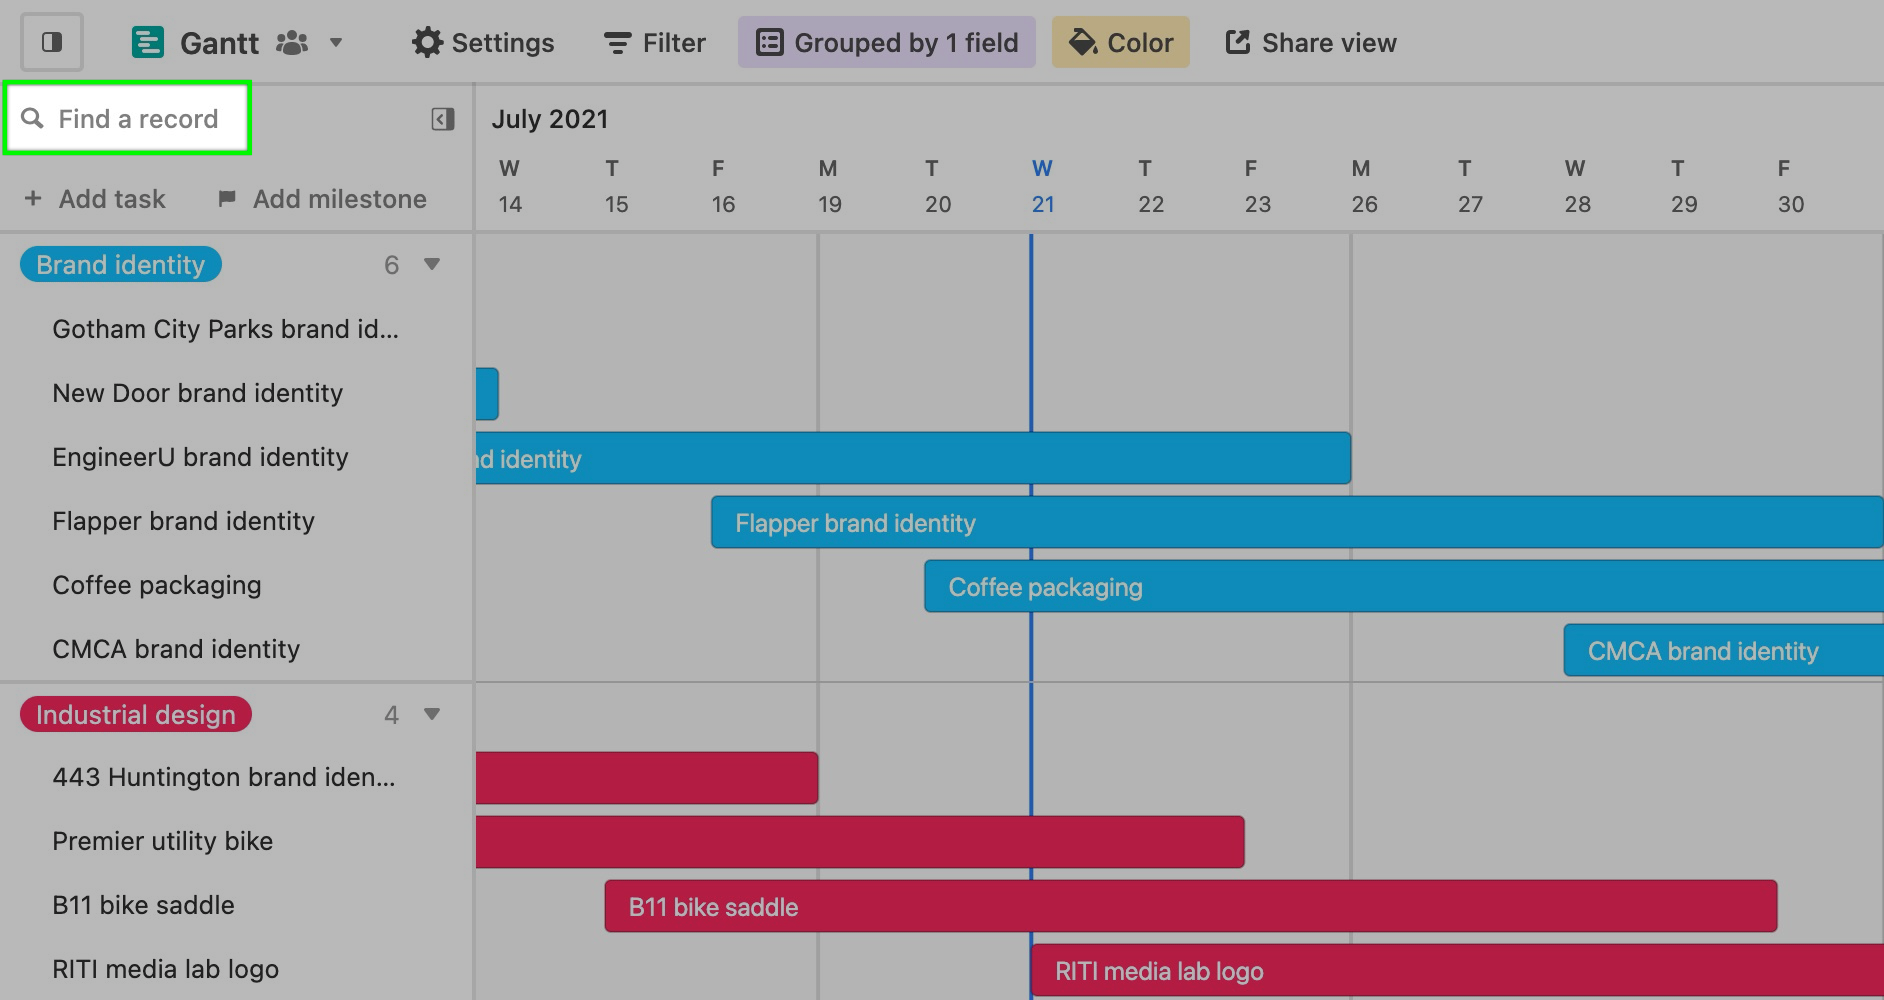
Then, you can either visually browse through the records included in the chart or type a few letters to quickly search for a specific record.