Plan availability | All paid plans |
Permissions |
|
Platform(s) | Web/Browser, Mac app, Windows app, and some basic functionality on iOS and Android mobile apps |
Understanding milestones in Gantt views
Learn about the advanced settings that are available for the Gantt view, including milestones, dependencies, and critical paths. To learn about the other Gantt view settings, including how to add the Gantt view, see this article.
In the Gantt view, you can work with two different kinds of records; tasks and milestones.
A task represents work done over a date range. A task record must have both a start date and end date.
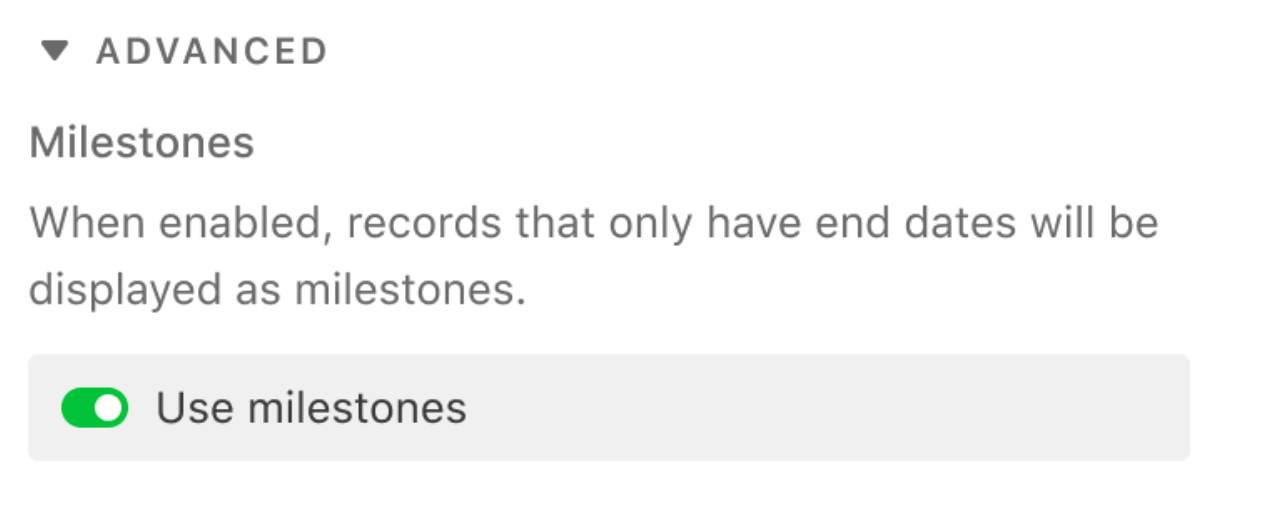
A milestone represents a single point in time like a checkpoint, deadline, or meeting. A milestone record must have only an end date (with no start date).
When choosing to work with either or both types of records, note that they must be records within the same table.
Note
Milestones currently only support date fields, and aren't yet compatible with formulas that produce a date (e.g. {Start date} + duration = End date).
Milestones are represented in the Gantt chart as diamonds with vertical lines. Like tasks, they can have dependencies and record coloring.
To enable this feature, turn on the “Use milestones” setting in the Gantt view.
Milestones can be created just like any other record in an Airtable view, but you can also use the “Add milestone” button in the left-hand sidebar of the Gantt chart.
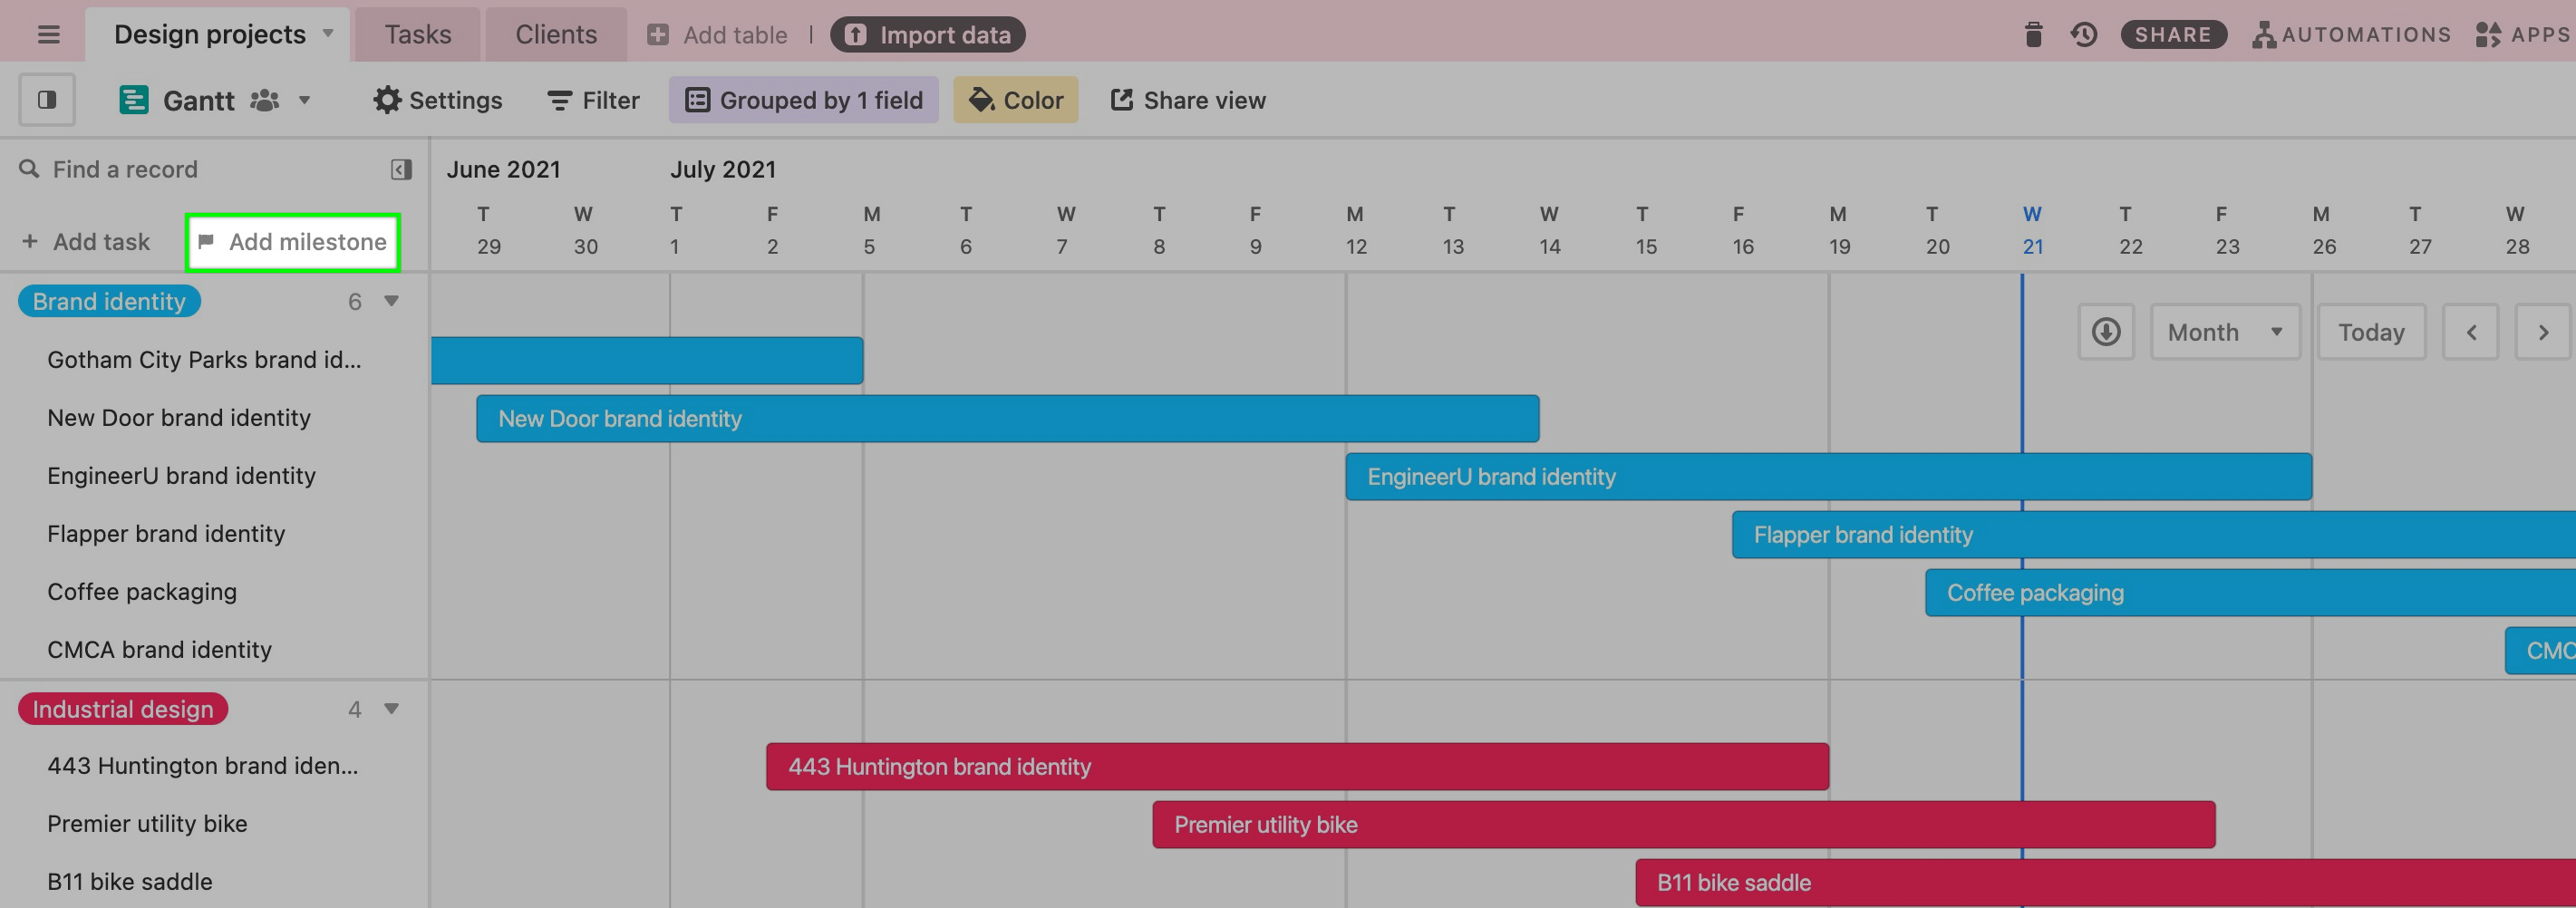
This will automatically create a record with no start date and an end date based on the chart’s current scroll position.
Understanding the dependency field in Gantt views
In some cases, a project plan or schedule will require that activities be performed in a certain order. For example, you need to finish making a presentation deck before you give a presentation. You can visualize these dependent relationships between different tasks with arrows (called dependencies) connecting the different bars in the Gantt chart.
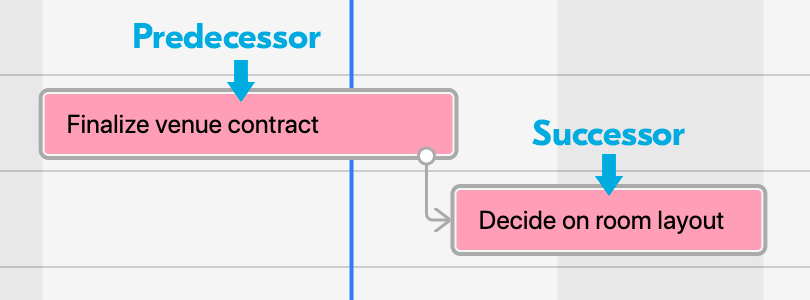
The arrow reflects the direction of the dependency. The base of the arrow comes out of the record that needs to be completed first (the predecessor) and points toward the record that can only be started after the predecessor is completed (the successor).
To create this relationship, you need a linked record field that links to its own table rather than to another table ( a "self-linking" record field).
To create this type of linked record field, start by clicking the plus button to the right of your existing fields. Then, select the "Link to another record" option, and select the same table that you're creating the field in.
Note
If you already have a single line text field or other field containing successors or predecessors, you can convert this existing field into a self-linking linked record field. Otherwise, you can create a new self-linking linked record field using the instructions above.
Once you've added the linked record field, you can use it to contain either:
Links to activities that can start only after the activity in the primary field is completed (successors)
Links to activities that must be completed before work can start on the activity in the primary field (predecessors)
Setting the dependency relationship
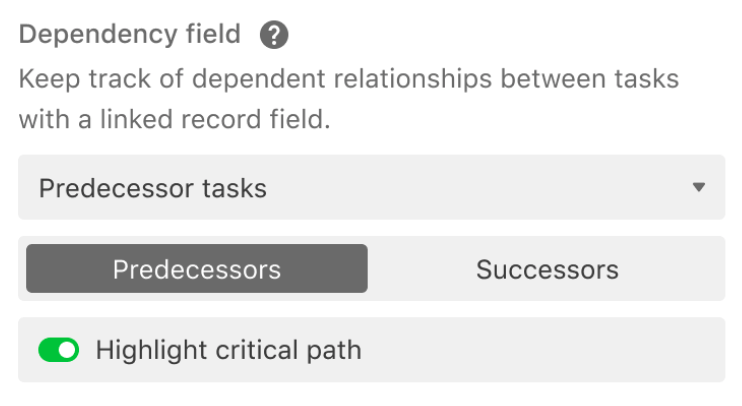
Let's circle back to the Gantt view settings. There you'll find the option to decide if the type of relationship you've configured for your self-linking record is a predecessor or a successor.
After making the selection - and if your self-linking record field already has record links in it - your Gantt chart will automatically populate with dependency arrows.
If your self-linking record field doesn't already have record links in it, you won't see any dependency arrows yet, even after selecting a dependency field. However, as long as you have a dependency field set, you can create your own dependency arrows in the view.
Invalid dependencies
If a dependency appears with a red line, that means the dependency is invalid: either a dependent record is scheduled to start prior to one of its precedent tasks, or the records are in a dependency loop.
Creating dependencies directly in the Gantt chart
If you've selected a self-linking linked record field to serve as a dependency field for your Gantt view, you can make dependencies directly within the Gantt chart interface. When you move your mouse over a record, a white circle will appear. Click and drag this white circle to another record to create a dependency arrow.
As you create dependency arrows, links will be created in whichever field you designated as your dependency field.
Highlighting critical paths in Gantt views
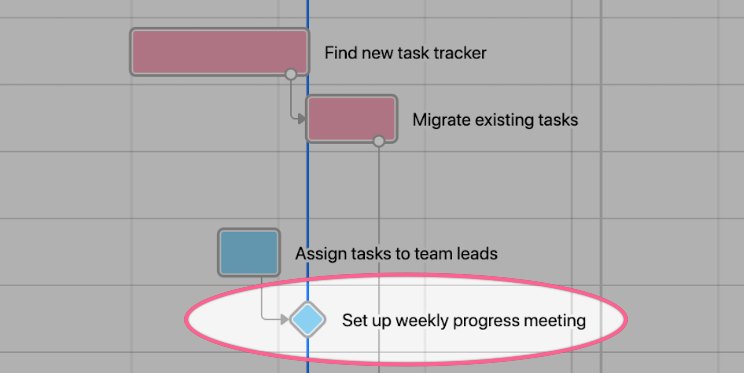
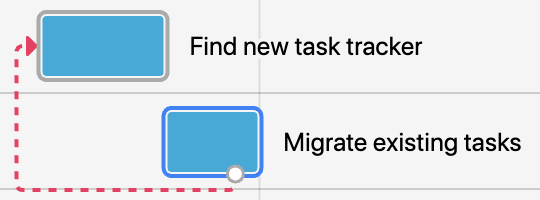
When tasks are dependent on each other, delays to individual tasks can end up directly affecting the completion date of an entire project. A chain of dependent tasks that can influence the finishing date of the overall project is called the critical path. The Gantt view will highlight the critical path based on the earliest and latest records from your dependencies—below is a quick example demonstrating this behavior (outlined in gold)
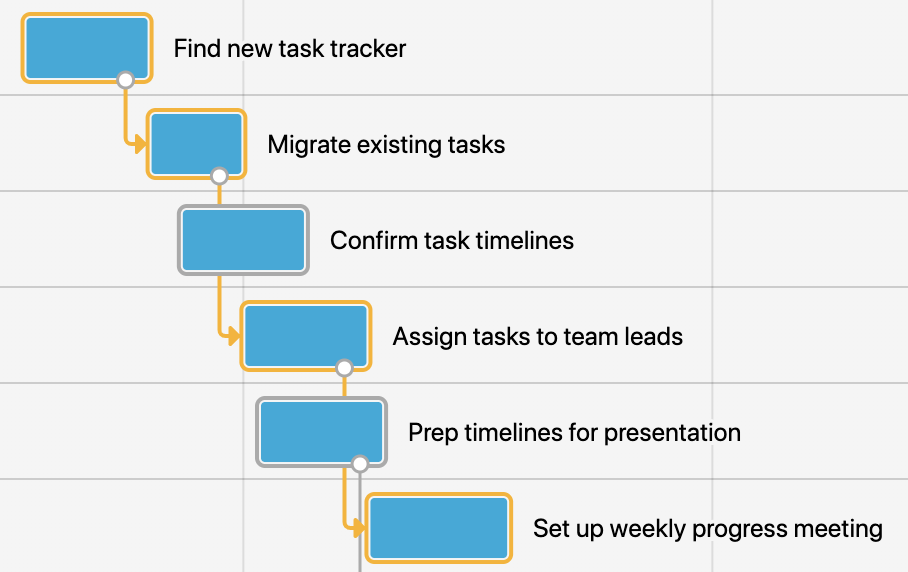
Delays to earlier tasks (i.e. 'Migrate existing tasks' above) that affect the sequential timing of the final task(i.e. 'Set up weekly progress meeting' above) are considered critical to remaining on schedule.
Tasks that do not have a dependency link to the final task will be omitted from the critical path (i.e. 'Confirm task timelines' in the above example).
If you have a dependency field selected in your Gantt view settings, you can highlight the records and dependency arrows on the critical path by toggling the Highlight critical path button. This will automatically display the critical path for any applicable records.
Note
If you already have a field named "Dependencies" in the table you are looking to create a new Gantt view in, then the option to add a new linked "Dependencies" field will not appear in step 2 of the configuration window. This is because two fields of the same name are not possible within the same table.