Plan availability | All plan types |
Permissions | All logged-in, verified users |
Platform(s) | Web/Browser, Mac app, and Windows app (Mobile apps have different UI) |
Related reading |
|
Understanding Airtable notifications
When something important happens in Airtable, we let you know through notifications. The events that are currently able to trigger notifications include when someone shares a base with you, adds you to a workspace, @mentions you in a record, or assigns you to a record using a user field. These alerts are delivered through email, mobile push notifications, and the bell-shaped notification icon in the app.
Note
If you'd like notifications for other events not listed above, you may be able to create an automation to send your own custom notifications. You can learn more about creating custom notifications in this article.
Interacting with notifications in Airtable:
You can open up your notifications by clicking on the bell icon in the upper-right corner of the home screen, or the lower-left corner inside a base or from an interface page.
The notifications window allows you to select between Unread and Read notifications.
You can mark all unread notifications as "read" by clicking the button above the unread notifications.
You can also mark an individual notification as "read" by clicking the circle next to that particular notification.
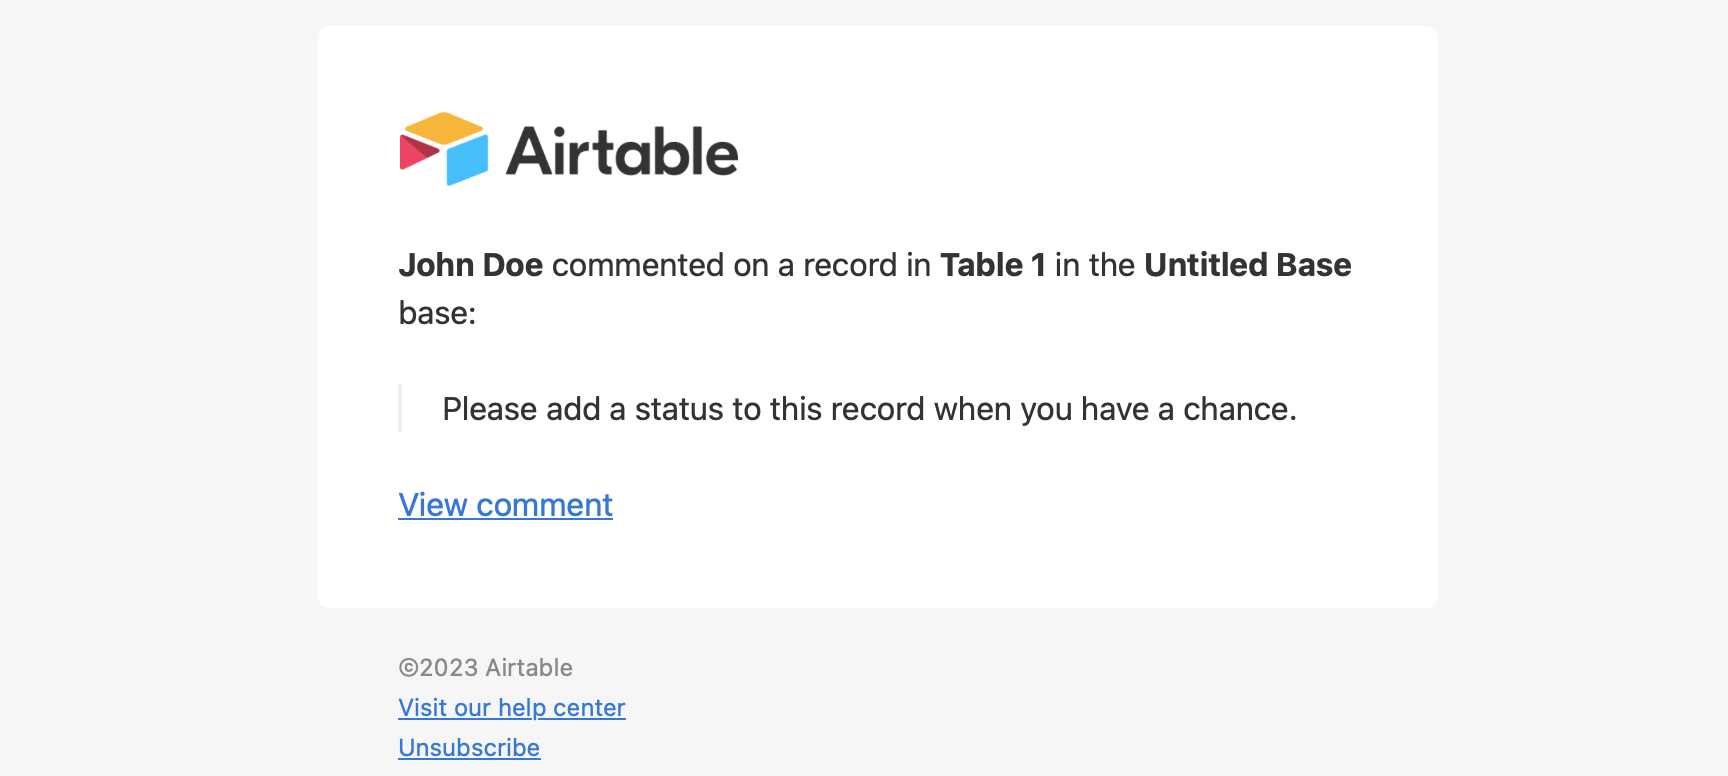
Here's an example of what a notification via email might look like:
Managing comment notification settings
NOTE
As mentioned in Airtable, you will always receive email notifications for invites and access requests. This includes invites to workspaces, bases, or interfaces as well as when you are added to a user group in Airtable.
Notifications older than 180 days are automatically deleted.
To turn on comment notifications:
Open your Airtable home screen.
Click your account profile icon in the upper-right corner.
Click Notification preferences.
Select the checkboxes next to “Mobile push notifications” and “Email.”
To turn off comment notifications:
Open your Airtable home screen.
Click your account profile icon in the upper-right corner.
Click Notification preferences.
Deselect the checkboxes next to “Mobile push notifications” and “Email.”
Searching through notifications
Searching notifications allows you to quickly track down any notification via the search bar in your notification panel. Search across person names, base names, record names, and comment text.
Open up your notifications by clicking on the bell icon in the upper-right corner of the home screen, or the lower-left corner inside a base or from an interface page.
Type in the search bar (ex. user names, record names, base names, and comment text).
Click on a result to open up the surface you are looking for.
Note that you may want to toggle between Unread and Read to see all possible results.
FAQs
Can I choose specific types of notifications to receive?
No, it isn't possible to only receive notifications for one particular event, like being mentioned in a record comment. However, the note near the top of this article links to an article that covers the possible workaround of using Airtable Automations to create custom notifications.
Will I receive notifications when I @mention myself?
No notifications are sent when @mentioning yourself. However, it is possible to set up custom notifications as outlined in this article.
I'm not receiving notifications for a base. How do I switch them back on?
Notifications for a base can get switched off in many ways:
Toggling them off via the in-base drop-down menu.
Clicking 'Unsubscribe' from one of the notification emails.
Note: These unsubscribe links are unique to individual users. If you forward a notification email from your inbox to another person and they click the unsubscribe link, it will unsubscribe you from notifications.
In either case, you can toggle notifications back on by following the instructions in the managing comment notifications section above.
I've clicked on a notification but it doesn't jump to the record, it just remains on the notification window. What might be occurring?
When a notification is not clickable or won’t take you to the record (or comment thread) that is being mentioned, then it's possible that the notification is for a deleted record (or a deleted comment). In these cases, if the record or comment no longer exists, the notification may remain but it will no longer have anywhere to navigate to.
We recommend checking the record manually in your base to see whether the record has recently been deleted. If so, then this is expected behavior for the notification menu. If you do find the record (or comment), then another error may be occurring and we recommend contacting our Support team.
Why are interface-only collaborators not getting notified about mentions inside a long text field?
In many cases, this is expected behavior because Airtable intentionally separates comments and @mentions made in the Base layer from those made in the Interface layer. Here are some more details to better understand this behavior:
Interface-only collaborators will only receive a notification for a mention in a long text field if that mention was created in an interface. If the mention was added from the base layer, they won’t be notified.
If mentions are being made from within an interface and usually work as expected, it's worth noting that tagging the same user in the same long text cell more than once within a 5-minute window won’t trigger another notification.
For long text mentions to work in interfaces, the user being mentioned must have access to the same specific interface where the mention is happening. If this is the case, we'd recommend having your users tagged within a comment instead of a long text field.
I was expecting to receive an email notification from an @mention, what might be occurring that prevented the email from notifying me?
No notification email will be sent when an @mention is inserted as a text value during record creation (e.g., via form submission or duplicating a record).
Notifications are only sent when a user is mentioned by typing directly into a field after the record exists.
Unless other settings are preventing a notification, when you select a collaborator after beginning to type their name into a field or a comment, they will be notified.
A previous bounce or spam report on your email address can also silently suppress all future notification emails, including @mentions. If you've confirmed a mention was made correctly but no email arrives:
Check whether you've previously marked an Airtable notification email as spam, or whether a past email to your address bounced
Contact Airtable Support to check whether your email address is on the notification suppression list, and to request removal if so.
If needed, you can set up custom notifications as outlined in this article.